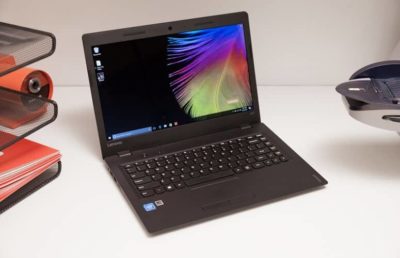
The screen flickering issue has been bugging Lenovo IdeaPad laptop users for quite some time now. The issue mostly crops up when you install updates related to graphics card drivers or BIOS critical updates. As soon as you install an update and reboot your laptop you would instantly notice screen starts flickering to an extent that you can not use it properly.
What Causes Screen Flickering on Lenovo Laptops?

The primary reason for screen flicker issue is incorrect or corrupted display adaptor drivers. A certain range of Lenovo IdeaPad comes with two display adaptors, for example, integrated Intel UHD graphics and secondary dedicated Nvidia Geforce graphics. In these range of laptop conflict between two display adaptor also results into screen flickering problem,.
Even latest BIOS update might lead to incompatibility rending your laptop hardware unusable.
Table of Contents
How to Fix Lenovo Ideapad Screen Flickering
1. Rollback BIOS Update
Since for most users, screen flickering started happening immediately after applying BIOS updates, it becomes obvious that BIOS update is what messing with your display adaptor.
In order to rollback BIOS you will need to grab BIOS Update (Bootable CD) ISO from Lenovo PC support. You can create bootable USB using that ISO and boot your Lenovo IdeaPad laptop using USB drive.
2. Integrated Intel Graphics Drivers
Intel integrated graphics display adaptor drivers are known to cause screen flickering. You can try disabling drivers or updating to the latest version. To do so,
- Press Windows Key + X keyboard shortcut to launch power menu
- Go to Device Manager
- Expand Display Adaptor
- In the list, you will find one or multiple display adaptor hardware
- Right click on Intel(r) graphics and click on Uninstall Device.
- Make sure to check the option for delete the drive and hit uninstall button.
That’s it, now reboot your Lenovo laptop and check if the flickering issue is solved.
Note: You can also uninstall drivers in safe mode
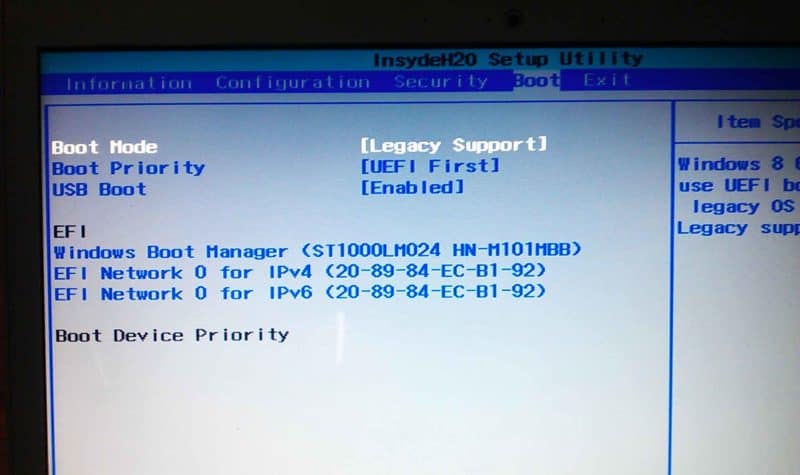
3. Switch Boot Mode to UEFI
UEFI (Unified Extensible Firmware Interface) boot mode is designed to provide you more security by having a secure boot which prevents virus or malware infected bootloader from booting up. However, UEFI does have its own issues too, a buggy UEFI may cause certain issues like screen flickering, the solution to this is switching to legacy boot mode which you can do it by,
- Restart your Lenovo laptop
- When it’s starting up press Esc or Del or F12 key to get into Boot menu
- On screen, you should see BOOT section
- Under boot section, find UEFI/BIOS BOOT Mode and switch to LEGACY Mode

- Hit Save & Exit
4. Connect to Secondary Display to troubleshoot
If want to confirm its indeed Lenovo Laptop screen has gone haywire then you can find that out by connecting secondary display like another monitor, tablet or mobile screen. If the screen on secondary display isn’t flickering meaning that it is your Laptop display screen which is causing this issue.
Even after following above fixes if your Lenovo IdeaPad screen is still flickering then it could be the hardware issue rather simple software or driver problem. In such case you will need to get in touch with Lenovo customer support and look for RMA option if its still under warranty.


2 thoughts on “How to Fix Lenovo Laptop Screen Flickering Issue”
Thank you, tip no.2 worked for my Lenovo Thinkpad X380 Yoga almost instantly! It’s been a life saver!
I struggled with not only the flickering screen on my Lenovo Legion 5, but also with the black screen. I connected to a second screen and checked multiple websites and fixes. I updated BIOS, all drivers, and Windows. Finally, I opened my NVIDIA control panel and selected “Use Only NVIDIA”. This fixed my issue.