You just finished installing Windows 10 October 2018 update aka Features Update and realized your important software/tool doesn’t work anymore or some of the hardware is acting weirdly or doesn’t get detected at all. Although, you can wait patiently for Microsoft to acknowledge such bugs and it would take weeks if not months (worst case scenario) before any patches are released.
The only solution you have right now is to restore from backup assuming you did a backup before applying Windows 10 Features Update, which we are sure most don’t do it due to many reasons, such as, not having enough storage or the time it takes to create a full system backup.
The second solution is to roll back to old working version of Windows 10 i.e version 1803 aka April 2018 update which doesn’t require backup. Gladly this solution comes straight from Microsoft itself. and its possible via Windows 10 recovery settings. The only downside is, it can only be done if you are within 10 days of applying Features update.
If it is past 10 days since you installed Windows 10 October update, then you lose the ability to roll back Windows 10 to version 1803. Follow the below instructions on how to rollback right away,
How to Roll Back to Windows 10 Version 1803 From 1809
In order to give an option to downgrade or go back to the previous version of Windows 10, Microsoft stores all the old Windows files in a folder named Windows.old which is stored at the root drive of your existing Windows installation drive, which is mostly C:/ drive.
Hence it is essential to have that folder in its place if you like to roll back to Windows 10 version 1803, if you have removed or deleted by mistake, you lost your chance to rollback Windows 10 forever.
- You must be signed in on your Windows 10 as Administrator privileges
- Click on start menu and open Settings app or press windows + i keyboard shortcut to open Windows Settings.
- Under Windows Settings, go to Update & Security.
- Click and open Recovery from left navigation pane
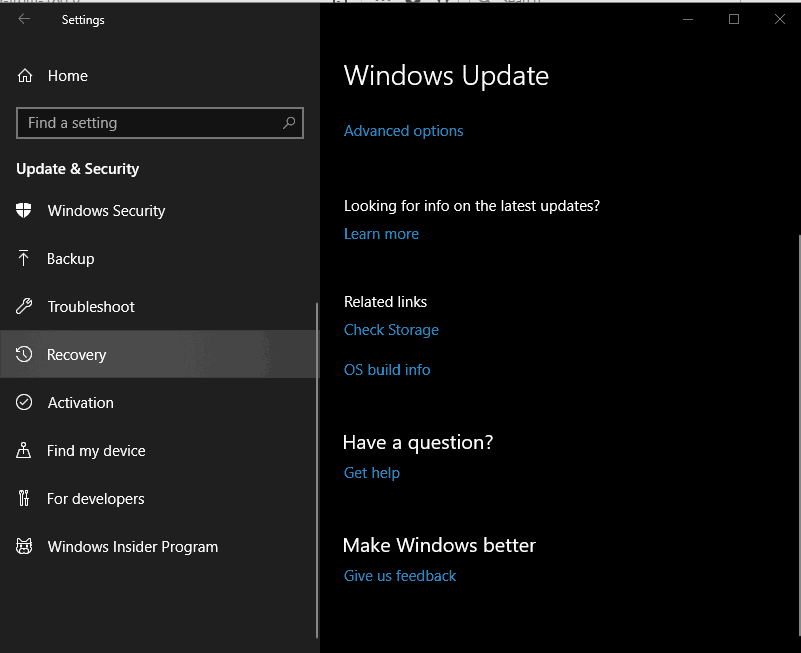
- Under Recovery, locate Go back to the previous version of Windows 10 & click on Get Started.

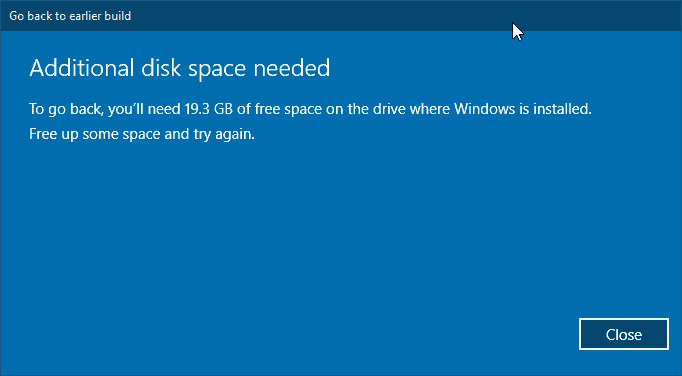
As this stage Windows 10 will gather all the relevant date and show you the necessary action that you must take before the rollback process is initiated. You must have sufficient disk space available in your C: Drive else you will get a message to free up some disk space and try again.
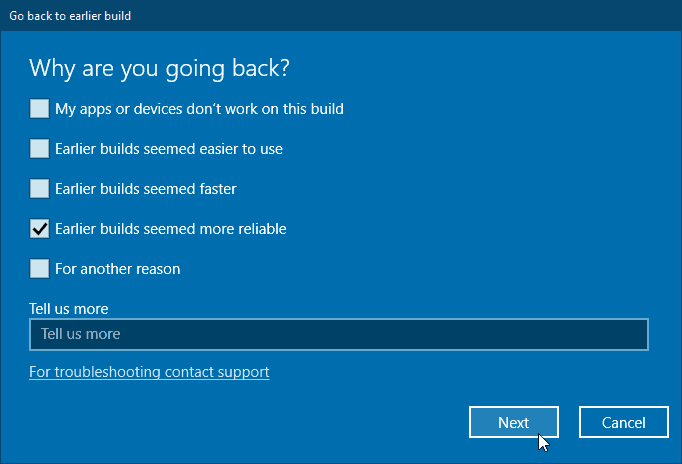
If everything is okay, you will be asked for the reason why you want to downgrade Windows 10 version. You may select any answer and click on next button.
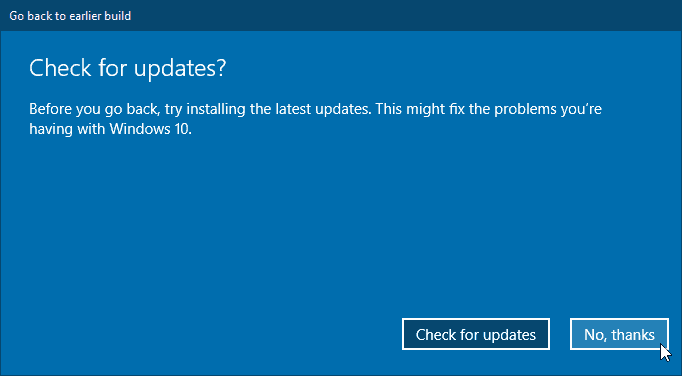
Click on “No, thanks” on check for updates prompt.
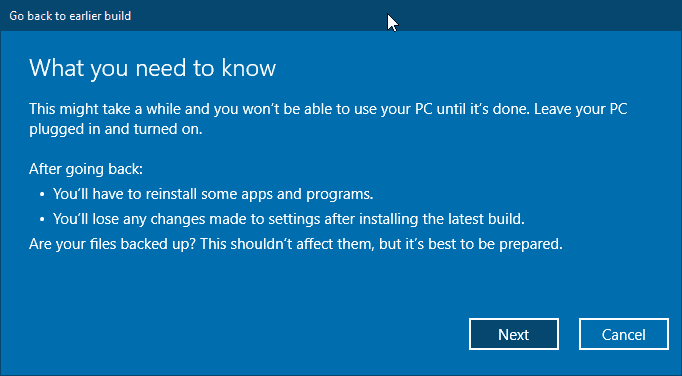
The next screen would brief you about the installed apps, programs & changes made to settings, please read carefully and understand it. Click next on both the dialogue boxes,
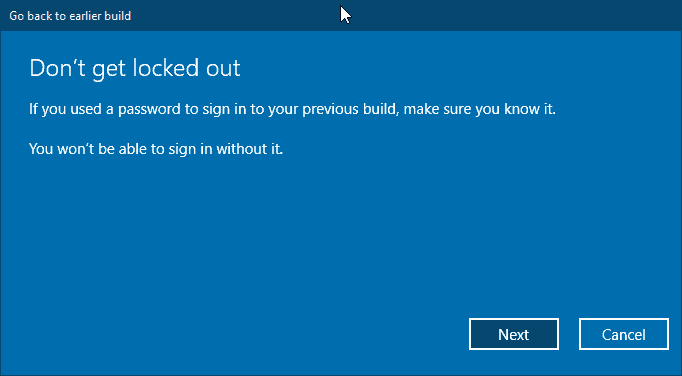
If you had the password setup on earlier build then make sure you remember that password as you move back to old build, the same password needs to be used and not the changed one if you changed post updating to version 1809.
Click on “Go back to earlier build”, this is the final message after which the process of downgrading Windows 10 1809 to 1803 will begin.
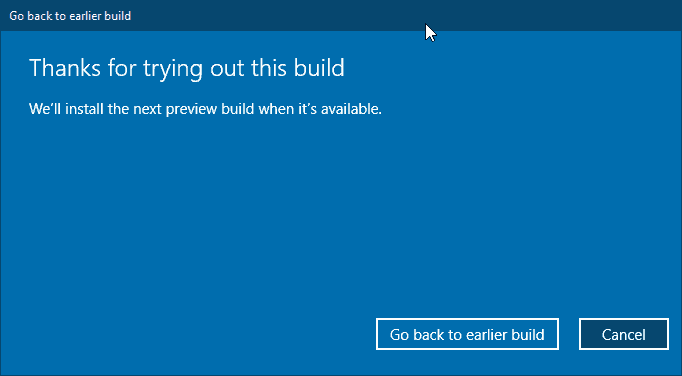
That’s it, the long process of rolling back Windows 10 from 1809 to 1803 would begin. Please keep in mind, the process can take really long and may feel like rollback is stuck and not moving ahead, please do not panic or fear, give the sufficient time for Windows 10 rollback.
Video Guide to Go back to Windows 10 build 1803
It is advisable that you take the backup of your Windows 10 before proceeding for updating or rolling back to the previous version, as anything can go wrong and you may lose your important documents and files if the system fails to boot.
The decision to rollback Windows 10 has to be taken immediately as waiting longer than 10 days past to update, you lose the ability to roll back. After roll back is finished, you may need to install drivers and the apps that you had installed on Windows 10 version 1809 Features Update.


1 thought on “How to Roll Back to Windows 10 Version 1803 From 1809”
PORCODDIO