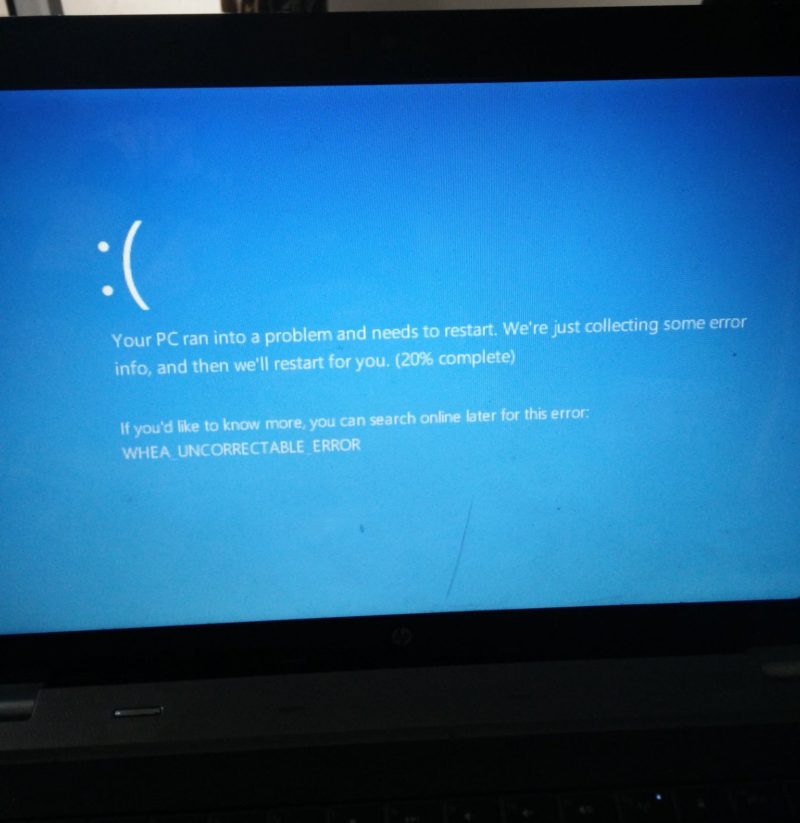
The “WHEA_UNCORRECTABLE_ERROR” is a blue screen error [BSOD] that is directly related to your CPU and it occurs when the CPU runs into some issues. The Windows 10 will throw WHEA_UNCORRECTABLE_ERROR when there is a conflict with drivers, overclocked CPU or corrupted system files. The screen will turn blue with a message stating Your PC ran into a problem and needs to restart. The worst part of this blue screen error is, you don’t get chance to save your work as Windows instantly throws blue screen error and collects the system dump information. There is no way you can do anything except wait for a system reboot.

While it can be a hardware related issue, but it mostly occurs due to overclock CPU and it is not stable. In these cases, the best thing to do is roll back the overclock and see if this error goes away. If it doesn’t then we have listed a bunch of solutions that you can try and they might just fix the error for you.
Table of Contents
WHEA_UNCORRECTABLE_ERROR on Windows 10, How to Fix?
Solution #1: Roll back your overclock
The best part about having a PC is that you can push it beyond its limits and have the system run faster than it is supposed to. This is known as overclocking and in a PC you have three things that you can mainly overclock – CPU, GPU, and RAM. These overclocks are very sensitive and a wrong or unstable overclock can definitely cause the computer to produce the “WHEA_UNCORRECTABLE_ERROR” error.
The simple solution for this is to disable the overclock. For people who want to keep the overclock, you might need to do your own research about the correct voltage and frequency that is required. You can alternatively use the automatic overclock that a lot of motherboards automatically apply when there is a need.
Solution #2: Reassemble the CPU setup
On a hardware level, the solution that you can try is to take your computer apart and pull out the processor out of the motherboard. The second step would be to check for any bent pins on the motherboard or the processor. You should also remove the old thermal paste from the CPU lid and the cooler and reapply a new paste to solve the heating issue.
After doing all this, check if your computer still runs properly or produces the same error all over again. The extra thing you can do is download a program like the Open Hardware Monitor and check for the temperature changes after and before you applied the new and fresh thermal paste. If you still have this error, move on to the software-based solutions below.
Solution #3: Update all Drivers and BIOS
On the software level, the first thing that needs to be done is a driver and BIOS update. If you have a desktop computer, you should download all the drivers for all the components from your computer/motherboard’s support website. The BIOS update is a complicated process and every manufacturer has their own way to do it. So it is a research that needs to be done by you.
Laptop owners can easily update their BIOS and the drivers using the utility tool that comes installed on most laptops. If you don’t have such a tool on your laptop that is preinstalled, then you need to go to the laptop manufacturer’s website and download them from there. The update will help your computer interact in a better way with the operating system and even the slightest of the changes in the OS needs a driver update.
Solution #4: Run chkdsk & Windows Memory Diagnostic
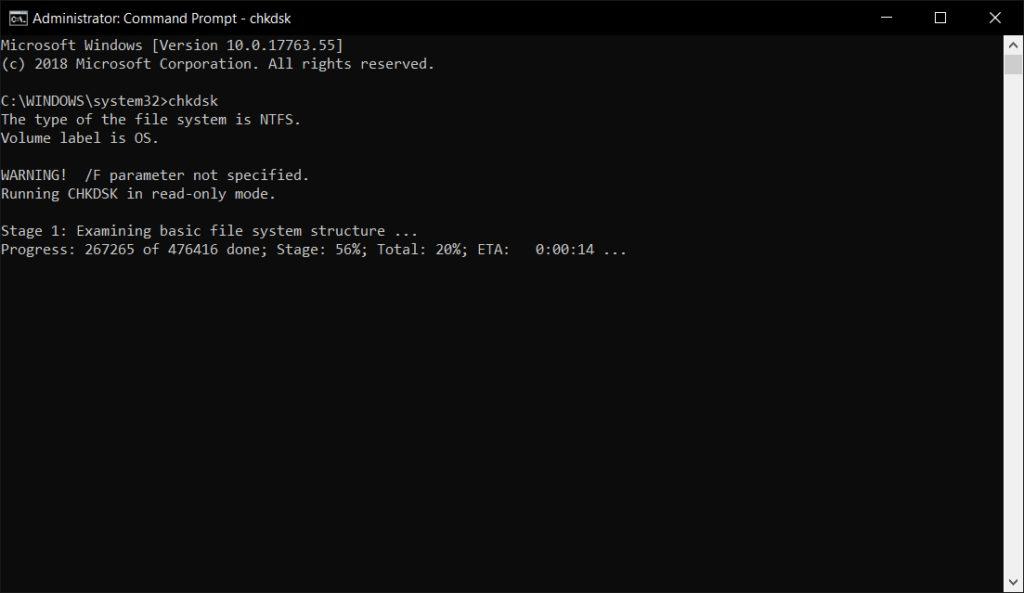
In many cases, the CPU returns or shows this error because there’s something wrong with your hard drive or RAM. To confirm these things, we need to run chkdsk or Check Disk which is an inbuilt command in Windows and uses Command Prompt to run. Follow the steps below.
- Open the Start Menu and search for Command Prompt by typing cmd.
- Right click on Command Prompt in the Start Menu and click on Run as administrator.
- Once you have the Command Prompt window, you need to type chkdsk into the window and press ENTER.

- Let the command run and the Check Disk utility check for errors on your hard drive.
Once the command run is complete, you should see the results and if you see no errors or problems in the utility, move on to the memory test. Follow the steps below and run the Memory Diagnostics.
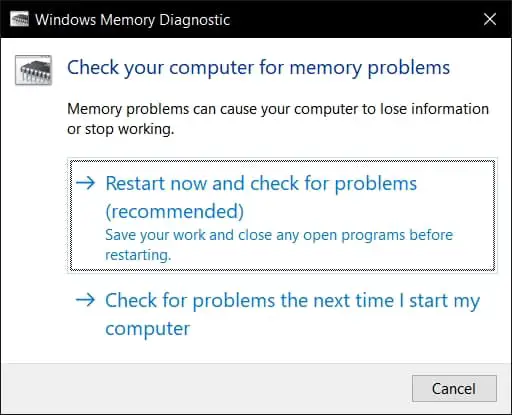
- Open the Start Menu and type Windows Memory Diagnostics and then open the tool.

- You will be asked to run the memory test by restarting the computer right away or you can set it up to run automatically when the computer turns on the next time.
The test will run some diagnostics and scan and test your RAM for any issues that it might be having. In case you find out there’s some error, you need to replace the RAM. The same stands true for the hard drive because if your hard drive produces errors, you need to get it checked or replaced.
Solution #5: Disable automatic overclock from BIOS
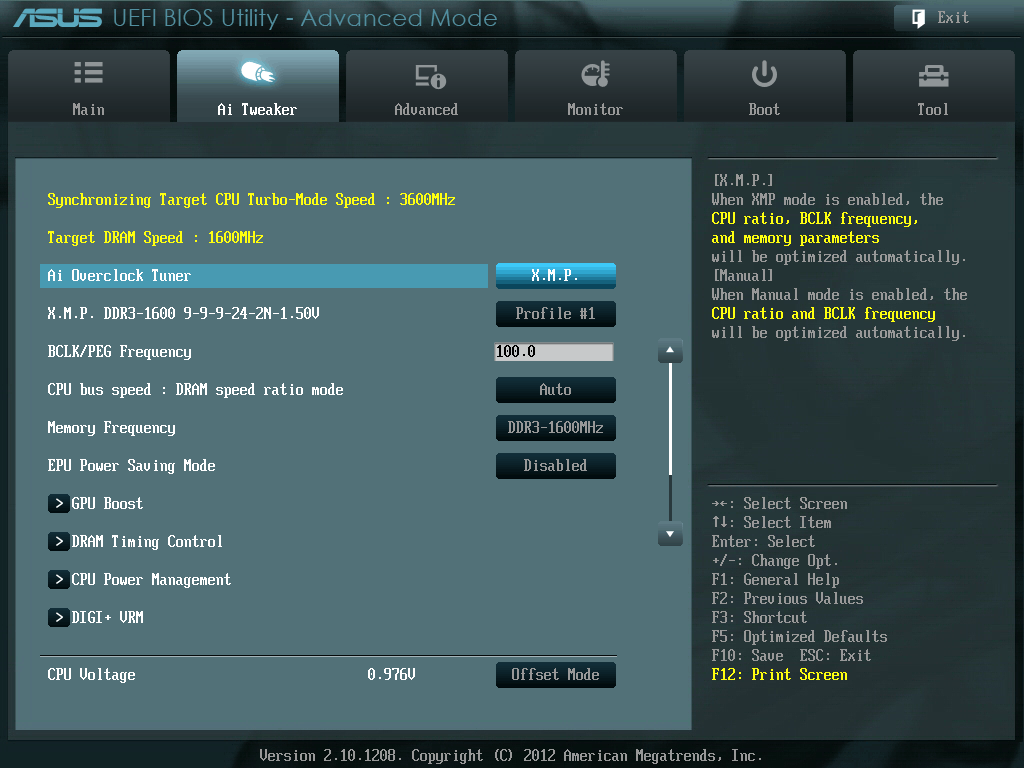
Every computer has a BIOS interface and most of the modern computers come with something called automatic overclock built right into the BIOS. It automatically sets the voltage and frequency once you go through the wizard. But sometimes this can be problematic and in those cases, it is best that you disable the automatic overclock.

To disable the automatic overclock, you need to reboot into BIOS by pressing the correct key while your computer boots up. Once you’re in the BIOS interface, you need to look for the toggle for automatic overclock and disable it. Set it to manual if you want to try manual overclock but it is recommended that you completely turn it off.
Wrapping it up!
For an error that is mostly hardware related, you can only try so many software-based fixes. You can try reinstalling Windows as a last resort but it is very unlikely that this error occurs due to a problem with Windows. Ultimately you might need to get the processor or the RAM replaced or fixed by RMA.

