Issues: Windows Update Error 0x80004005
Microsoft Windows development team is consistently working on improving and securing Windows OS by offering updates at regular intervals. These updates not only include security and bug fixes but also the new features. Applying these updates doesn’t require much technical knowledge or need to be tech-savvy. However, when Windows fails to download & apply updates you do need to mess around to fix it. This article is about one such error which Windows 10 users keep receiving every now and then.
The Error 0x80004005 is directly related to Windows Update on Windows 10 and can pop-up when your updates cache has been corrupted or for some other reasons as well. The Windows Update Error 0x80004005 is not related to one typical update and often can be fixed with the simple restart. Unfortunately, that doesn’t work always and that’s when it can get annoying as you can not apply other Windows 10 updates unless the error is fixed first. Even the retry button doesn’t work when this error comes up.
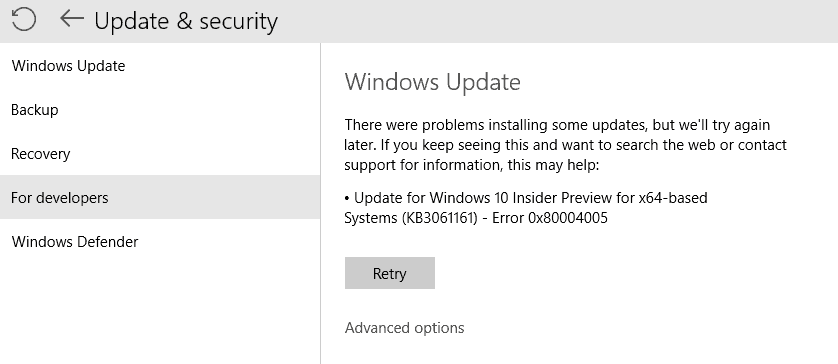
The article covers some of the best solutions that have worked for most users in fixing Error 0x80004005 on Windows 10. We suggest you go through these solutions one by one until Windows update error is fixed for you.
Table of Contents
How to Fix Windows Update Error 0x80004005
Solution #1: Reset Windows Update
When your Windows Update isn’t working properly, it can be due to wrong configuration or an issue with the Windows 10 Update cache on your computer. In order to fix this, we will use a script that will reset your Windows Update and its cache giving you a fresh restart when it comes to updating Windows.
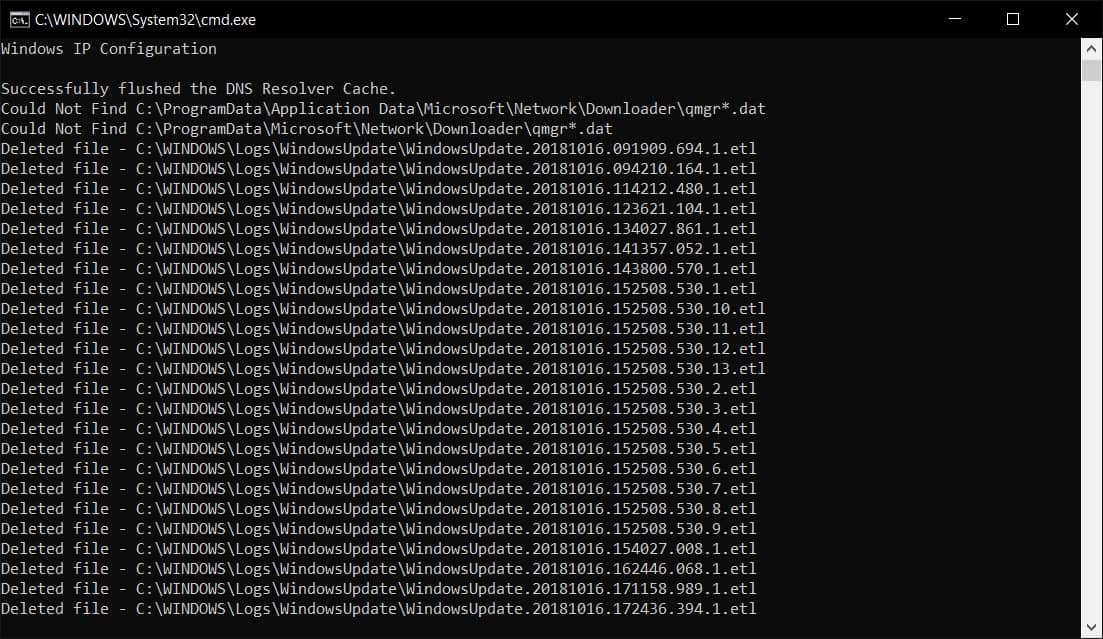
- Download the script by opening this page and download the .bat file mentioned on the page.
- Once you have downloaded it, open the folder where the file was downloaded and right-click on the file.
- Click on Run as administrator and the script will start running in Command Prompt.
- Wait for the script to complete its job and once done, restart your computer.
Once it has been restarted, you can open the Windows 10 Settings and search for an update and see if the update issue has been fixed or not.
Solution #2: Run System File Checker
It can also be the issue that one of your system related files have been corrupted and now needs to be replaced and fixed before Windows Update can work properly. In order to check that, you can use System File Checker or SFC. Follow the steps below.
- Open the Command Prompt window and open it as an Administrator.
- Once you’re in the command prompt, type sfc /scannow and then press the ENTER button.
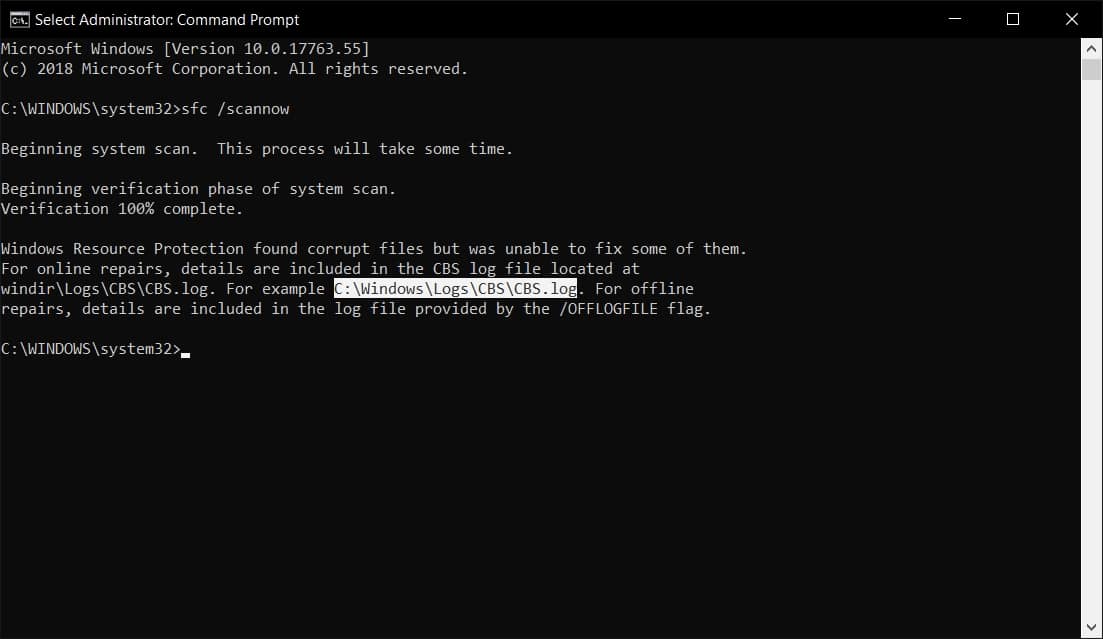
The tool will take 15-20 minutes to scan your computer and once it is done, your results will be displayed in the Command Prompt window itself. As you can see in the image above, there are some corrupt files on the PC and the log has been saved to the path that is highlighted.
Open the log file and then check for the error. The error message can be related to anything and if you need more information, you will have to do some research on your own.
Solution #3: Use the SFCFix Tool
The SFCFix tool is a third-party tool for Windows that can be used to fix SFC related issues. If you have errors with SFC in the solution #2, you can use this tool to fix them.
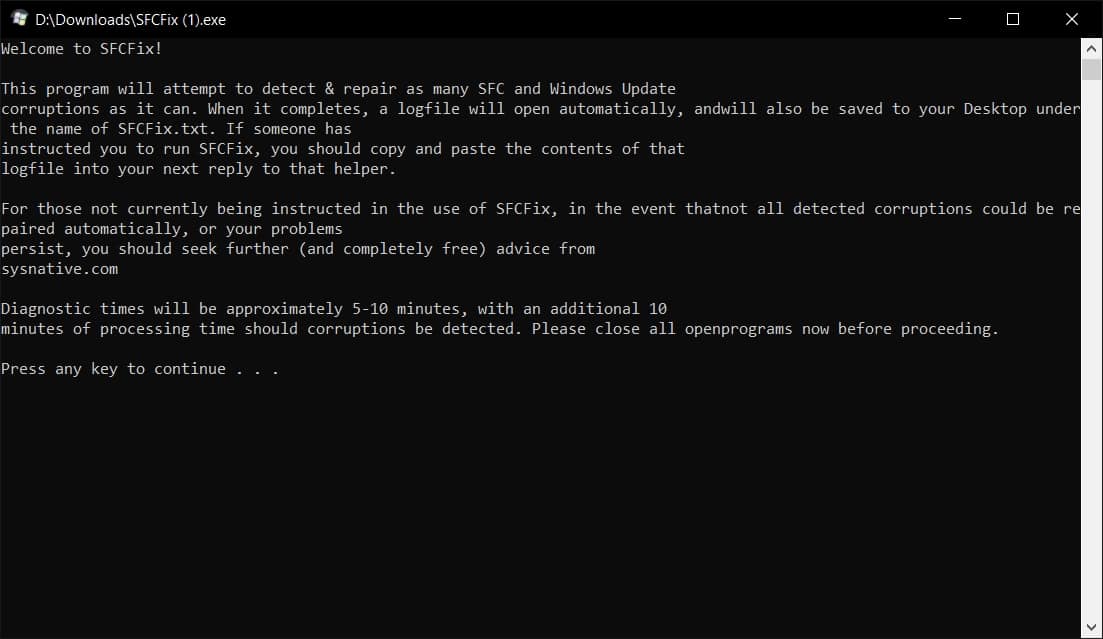
- Download the SFCFix tool and then follow the steps below.
- Once downloaded, open the Command Prompt in administrator mode and run the sfc /scannow command which will take 15-20 minutes to scan your computer.
- Once the SFC has been completed, run the SFCFix tool and let it scan your computer properly.
Once it has scanned your computer for issues, it can automatically download and make repairs to your computer’s file. This is a great tool for people who are facing issues with the original SFC command on Command Prompt.
Solution #4: Use Windows 10 Update Assistant
One tool that Microsoft provides for free to its user is the Windows 10 Update Assistant which can manually update your computer to the latest version of Windows 10. While it is designed to help people from an older version of Windows to migrate to Windows 10, you can also use it to upgrade from an older version of Windows 10 to a newer version.
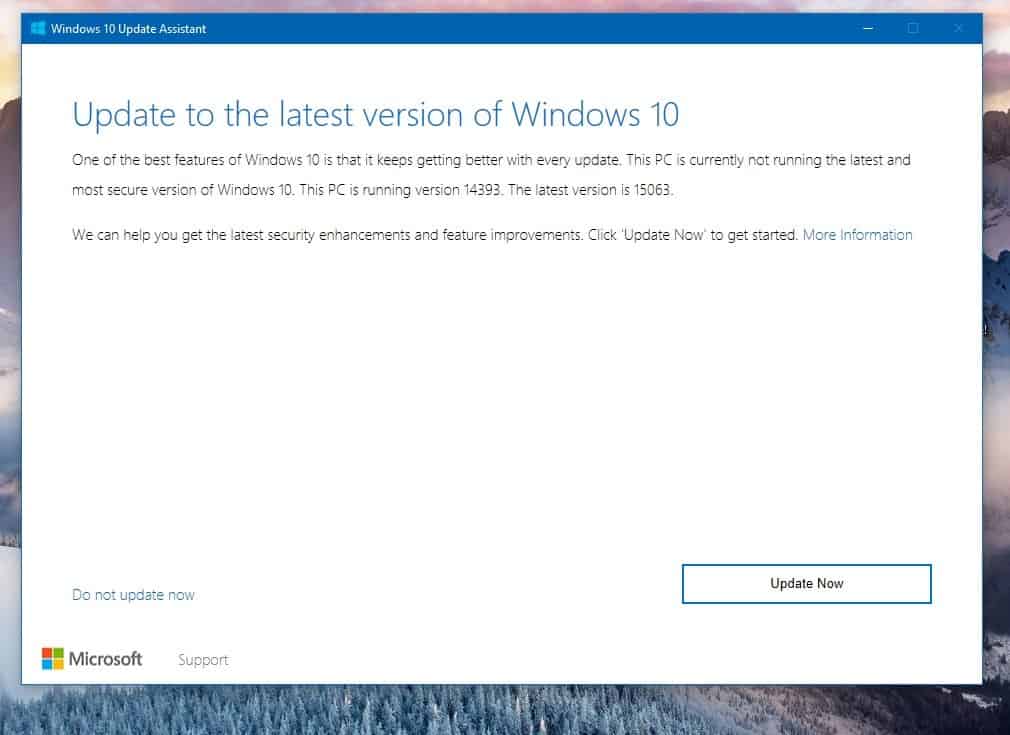
All you need to do is head over to this page on Microsoft.com and click on the Update now button. This will download the Windows 10 Update Assistant file that will automatically look for newer versions of Windows 10 and then update your computer to the newest version without losing any files. Your error and issues will also go away once you have upgraded to a newer build of Windows 10.
Solution #5: Use the Windows Update Troubleshooter
Windows 10 has a really functional troubleshooter for issues integrated and you can use it to figure out the issue and solve it using the Windows Update troubleshooter. In order to open the troubleshooter, follow the steps.
- Open the Windows 10 Settings app from the Start Menu and then open Updates & Security.
- In this window, look for Troubleshoot on the left side of the window and click on it.
- Click on Windows Update and then click the Run the troubleshooter button.
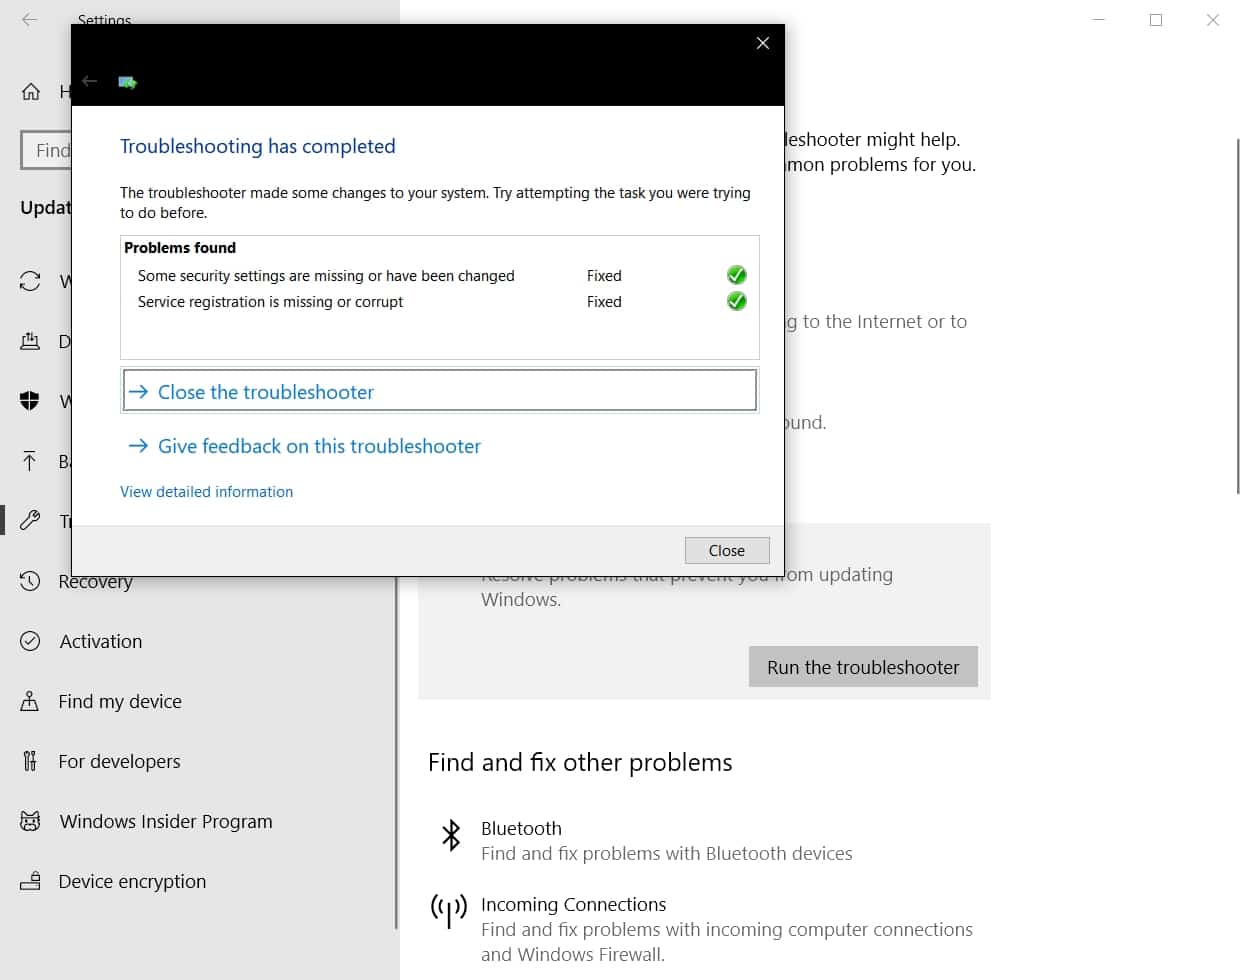
Let the troubleshooter complete the scan and if it finds an issue, it will apply automatic fixes that Microsoft has provided in order to fix the Windows Update issue. Once it is done, you will be able to see what the troubleshooter did in order to fix the detected issues as well.
When all else fails, Reset Windows 10
Sometimes these error messages can only be fixed by resetting Windows 10. The best part about the reset is the fact that your files remain safe and the apps downloaded from the Windows Store are installed again. But the desktop programs you have installed will be uninstalled and you have to set them up again. Small price to pay for fixing the issue?
To reset your Windows 10 computer, open the Windows 10 Settings app and then open Updates & Security. Once you’re in the window, click on Recovery on the left side and this will open a new screen that will allow you to reset your PC. Click the Get Started button in the Reset this PC section. You will be guided through the process of resetting Windows 10 without losing any files.

