Software Drivers are the main driving force for your system hardware, without proper driver, you will not be able to use installed hardware like GPU, Keyboard, Mouse etc. The responsibility of developing drivers is on hardware manufacturers and pre Windows 7 era, Microsoft didn’t bother to check and verify drivers for its stability.
But as more and more hardware manufacturers started ignoring guidelines designed by Microsoft for Windows drivers, which are the leading cause of blue screen of death errors on Windows, Redmond had to put in place a system called Device Signing; wherein, vendors have to submit the newly created driver to Microsoft for digital signing.
This digital signature enforces the driver quality, stability and compatibility with Windows. The Driver Signature Enforcement aka DSE is used in Windows OS to verify its signatures, those who didn’t pass the check will fail to install on your Windows.
The chances are high that, your system is already having unverified drivers installed if you have upgraded to Windows 10 from an older version of Windows. If you ever see unexpected blue screen errors like DRIVER_POWER_STATE_FAILURE, then you must first check and find all the unsigned drivers and replace it with WHQL (Windows Hardware Quality Labs) passed drivers for your Windows 10.
Another reason to only have verified drivers is to protect from virus and ransomware which can modify these driver files in order to hide as well as load as soon as Windows is booted. This can make it extremely difficult to completely remove if it manages to infect driver files. By having DSE in place, Windows will not load drivers file if it is modified.
Here are the different ways to check & find out all unsigned drivers installed on your Windows 10.
Table of Contents
How to Find Unsigned Drivers on Windows 10
1.Sigverif – File Signature Verification Tool
Windows 10, as well as older version of Windows (8,8.1 &7), comes with prebuilt to perform file signature verification. In order to perform file signature verification follow the below steps.
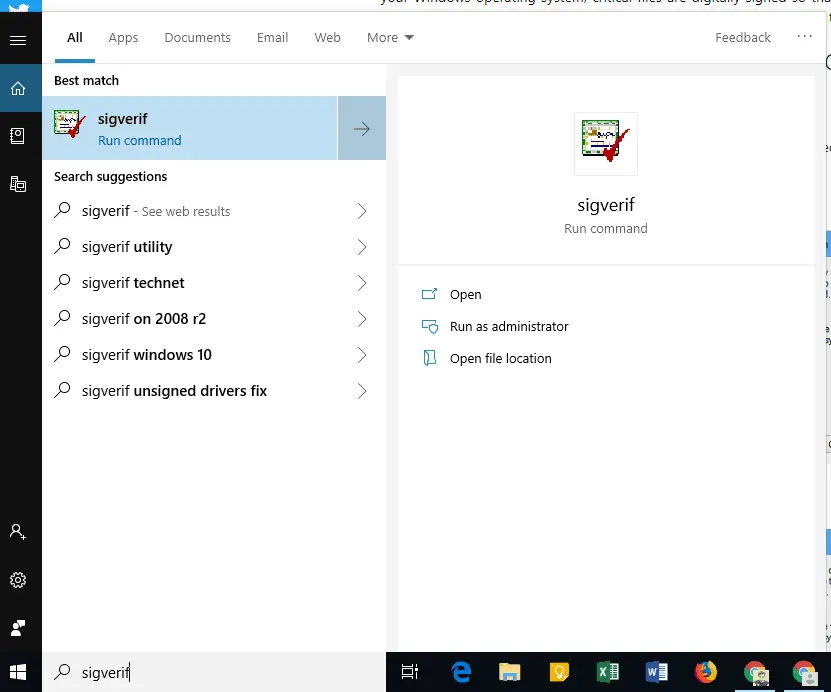
- You can type Sigverif at Cortana search bar and click and open sigverif (run command) from the result.
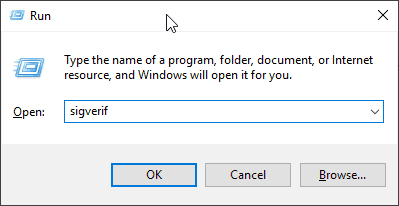
- Or you can press win+r to open run command and type Sigverif and hit the enter key. (if you get an error then make sure to run it as an administrator mode)
- Click on start button to let the File Signature Verification tool to perform the scan.
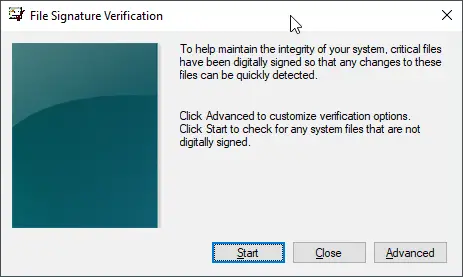
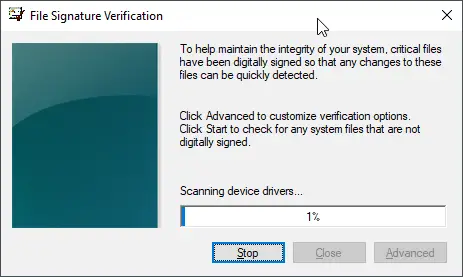
- The scan process will take some time, let the process complete its operation.
- At the end of scan, a message will be displayed, “Your files have been scanned and verified as digitally signed”.
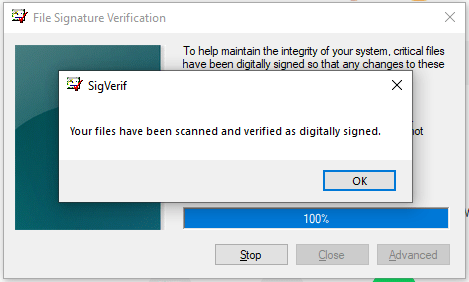
- Hit ok button to close the dialogue box.
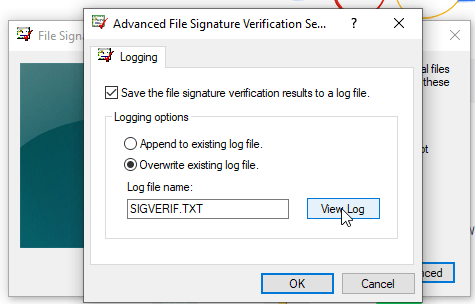
- In order to check the scan result and identify unsigned drivers, click on the advanced button and hit view log button.
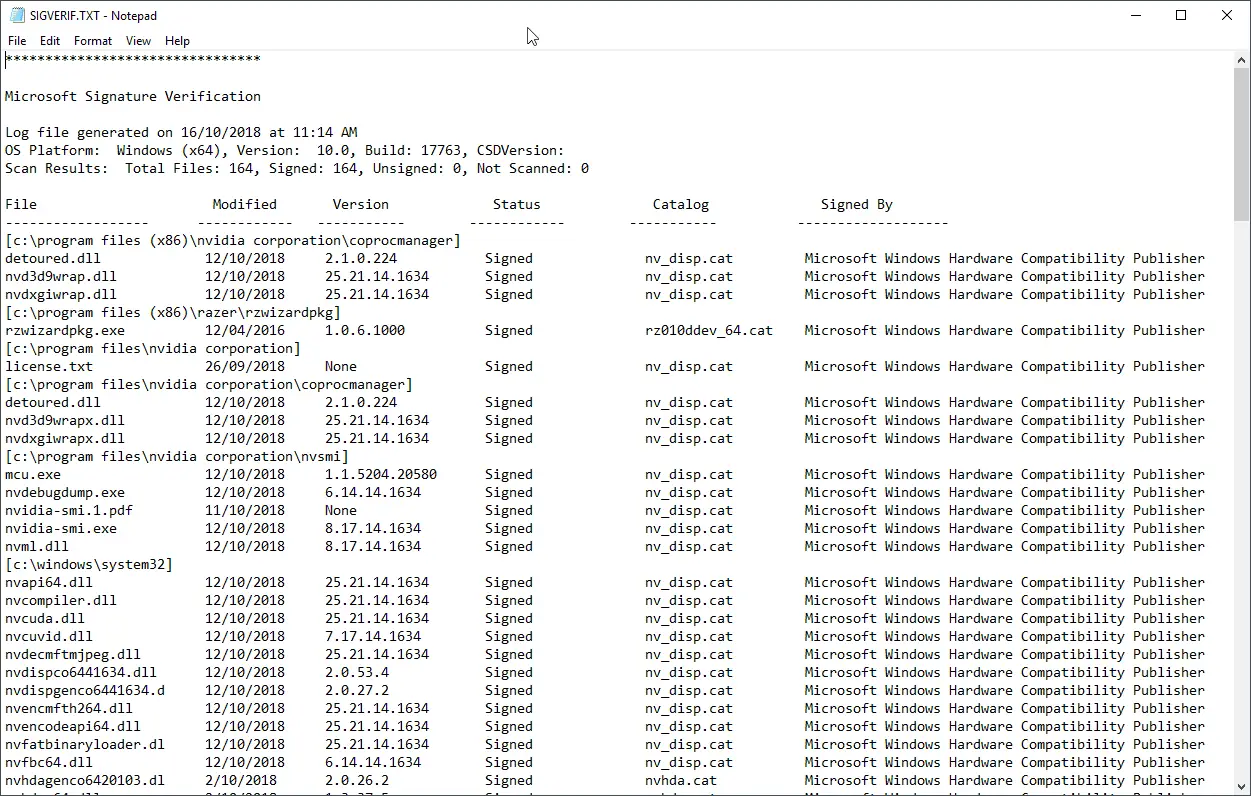
- The log file will contain the list of all the drivers installed on your Windows 10 along with signed status. You can go through the list and find any unsigned drivers.
2.Dxdiag.exe DirectX Diagnostic Tool
DirectX Diagnostic tool aka dxdiag.exe is just like sigverif, comes pre-bundled with Windows 10. DirectX Diagnostic tool is designed to help you to find detailed information of all the components of your system including driver signature status. This method is bit manual method and takes time to go through all the components to check driver status.
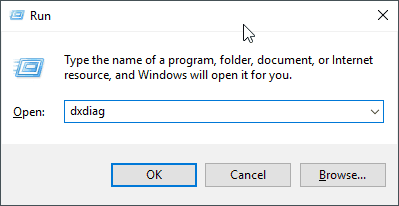
- Press win+r keyboard shortcut to open run command.
- Now type dxdiag at run command and hit enter key
- You will see DirectX Diagnostic Tool window with loading bar at the bottom left corner. Let the tool gather all the information.
- Once you see the tool has loaded all the info, make sure the “Check for WHQL digital signatures” box is checked.
- Now you can click on each tab beside system info and under Drivers to check WHQL Logo’d status. It should say yes for verified and signed drivers, and No for the unsigned
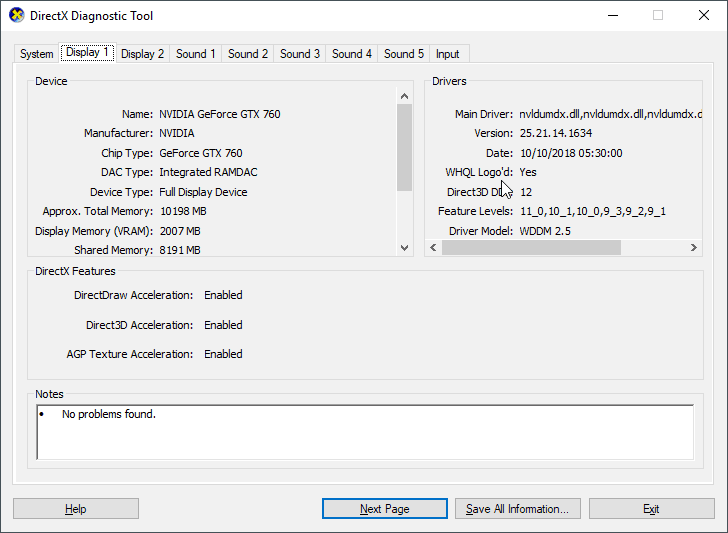
By using this method you can only see driver status for Display, Sound output and input devices.
3.Driver Verifier Manager
The Driver Verifier Manager is third and last tool from our list that can help in identifying unsigned drivers from your Windows 10. Although, Driver Verifier Manager is ancient utility mainly developed for Windows 2000 server but it still works best even on Windows 10 and best of all its inbuilt tool, no need to download anything.
- Hold windows key and press x button to launch Windows Quick Launch Menu.
- From the list, click and start Command Prompt (Admin)
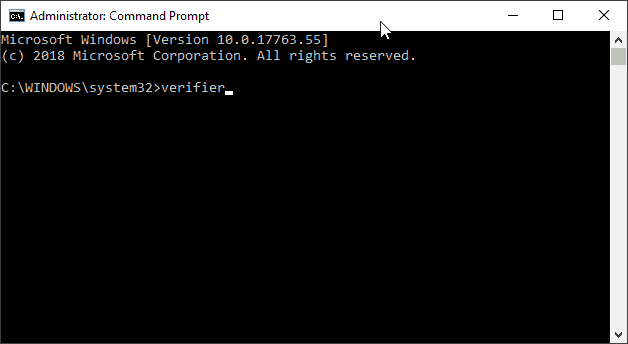
- Now type verifier at the command prompt and hit enter key
- This will launch Driver Verifier Manager
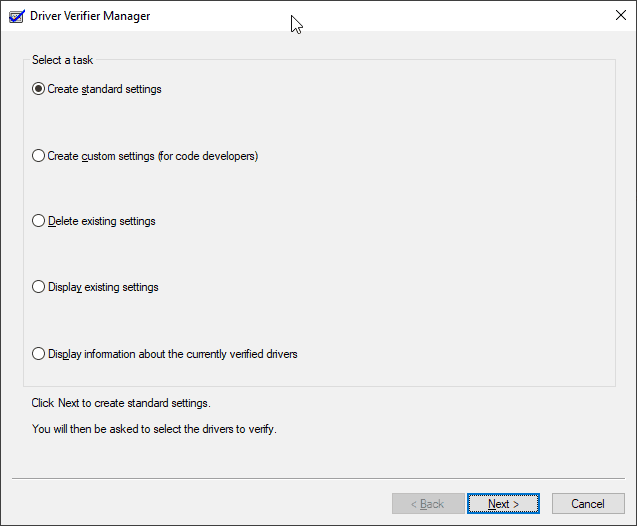
- Let the settings be as it is and hit next
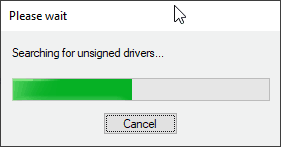
- On next screen, make sure “Automatically select unsigned drivers” radio option is selected and press next
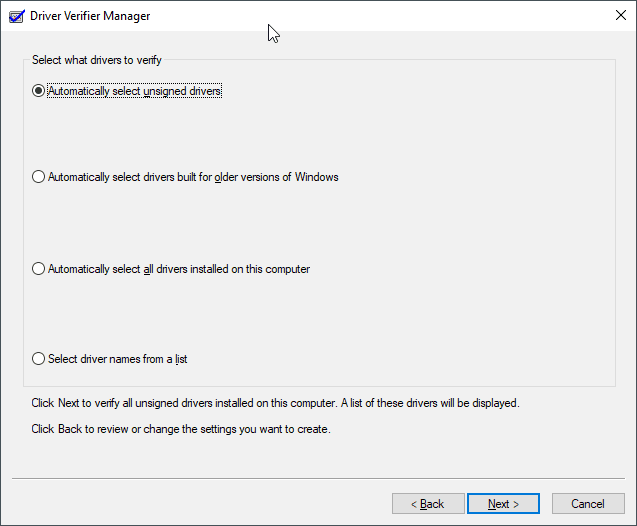
- Driver Verifier Manager will start scanning your Windows 10
- At this stage, Driver Verifier Manager will list the unsigned drivers if there are none, you will receive a message saying “ No unsigned Drivers have been found”.

Once you have the list of unsigned drivers, your next job will be to get the verified WHQL drivers from the hardware manufacturer’s website or you can use third party driver updating utility to get the latest verified and signed drivers for your Windows 10.

