
Every now and then, technology provides users with amazing benefits. Just like being able to boot up your PC that has a “hardwired connection,” from far away using a device (for example, a smartphone) connected to the same local area network even without needing to push the power button. This industry-standard computer networking protocol is widely called Wake-on-LAN (WoL). But it also goes by a few other acronyms such as Wake-on-Demand (WoD) on macOS, wake up on LAN, resume on LAN, remote wakeup, resume by LAN, wake on WAN, power on by LAN, and a lot more on different manufacturers different devices or software basis. Some high-end modern PCs that support Wi-Fi can also be turned on without having a wired ethernet connection. In that case, another supplementary standard is used named Wake on Wireless LAN (WoWLAN).
Wake-on-LAN works by sending a “magic packet” from a Wake-on-LAN client to the PC that you are trying to turn on. It does not matter whether the PC is sleeping, hibernating, or shut down. Wake-on-LAN should still be able to turn on your PC. WoL is highly useful for HTPCs (Home Theatre PCs), media servers for Plex, Kodi, and a lot more where you either need to keep your PC on all the time or have remote wakeup. WoL can be used with any PC that can receive a magic packet. But for that PC’s hardware needs to support WoL, especially the motherboard and the network card that you are using. And the motherboard should also feature a WoL compatible BIOS (UEFI in most modern PCs). But don’t worry, as pretty much all of the modern PCs and operating systems do support Wake-on-LAN. It’s quite rare to find one that doesn’t support WoL. So, you are covered on that part. Now, we will discuss how you can enable Wake-on-LAN on your PC as well.
Table of Contents
How To Enable Wake-on-LAN On Windows 10
Before we begin, this process is pretty similar amongst most PCs running Windows 10 operating system out there. But note that, unfortunately, it’s pretty much impossible to show you the exact steps (especially in the BIOS) unless you have the same PC setup as us. So you may have to take additional steps depending on your motherboard or prebuilt PC’s manufacturer.
- First, we have to go into the BIOS. To do that, click on Start.

Start - After that, click on the Power button.

- Now, click on ‘Restart.’

- Your PC should now restart. Keep spamming either the Delete key or the F2 key on your keyboard to get into your PC’s BIOS.
- From now on, steps would be different depending on your motherboard model and BIOS version. For your reference, we are using an ASUS Z270 chipset motherboard with it’s current latest BIOS version updated. Once you get in the BIOS, you should see an “EZ Mode” user interface or equivalent in front of you. Press F7 on your keyboard or click on the same to go to the “Advanced Mode.” Also note, some really old BIOS don’t have mouse support. So you might have to use your keyboard exclusively to get around your BIOS.
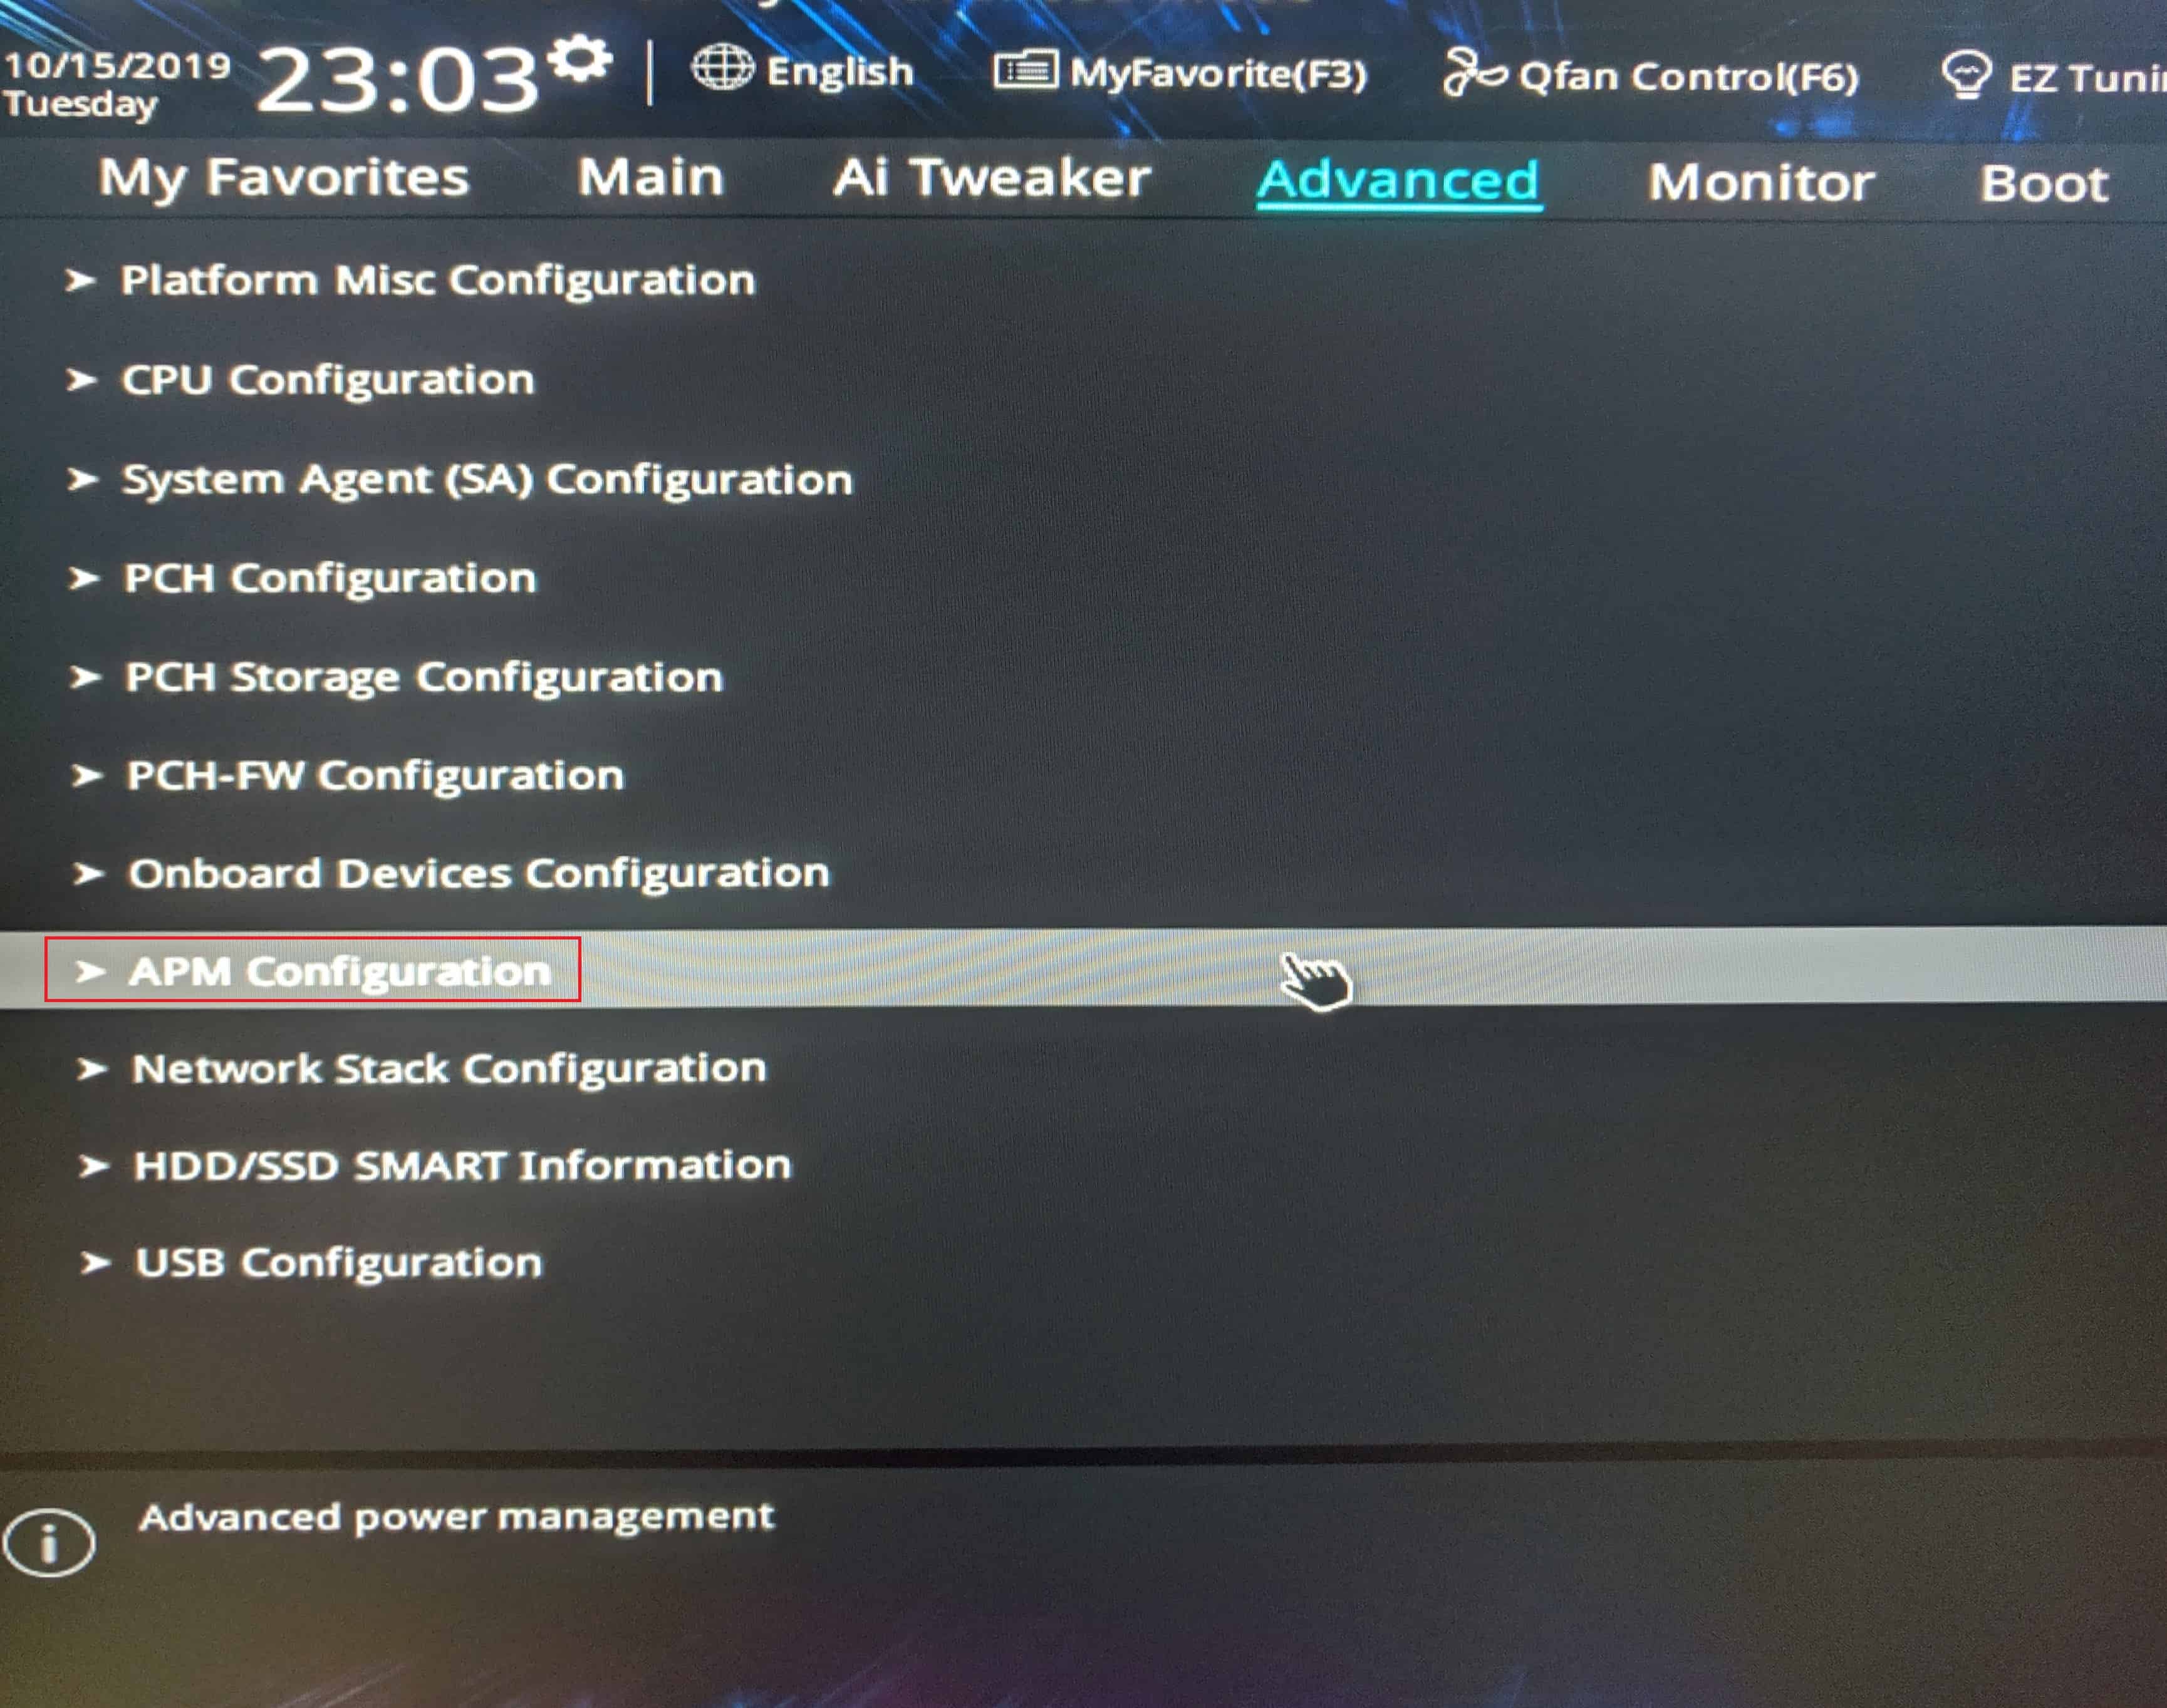
- In “Advanced Mode,” click on the Advanced tab.
- Now we have to ensure to enable power to the network adapter. To do that, click on the APM (Advanced Power Management) configuration.
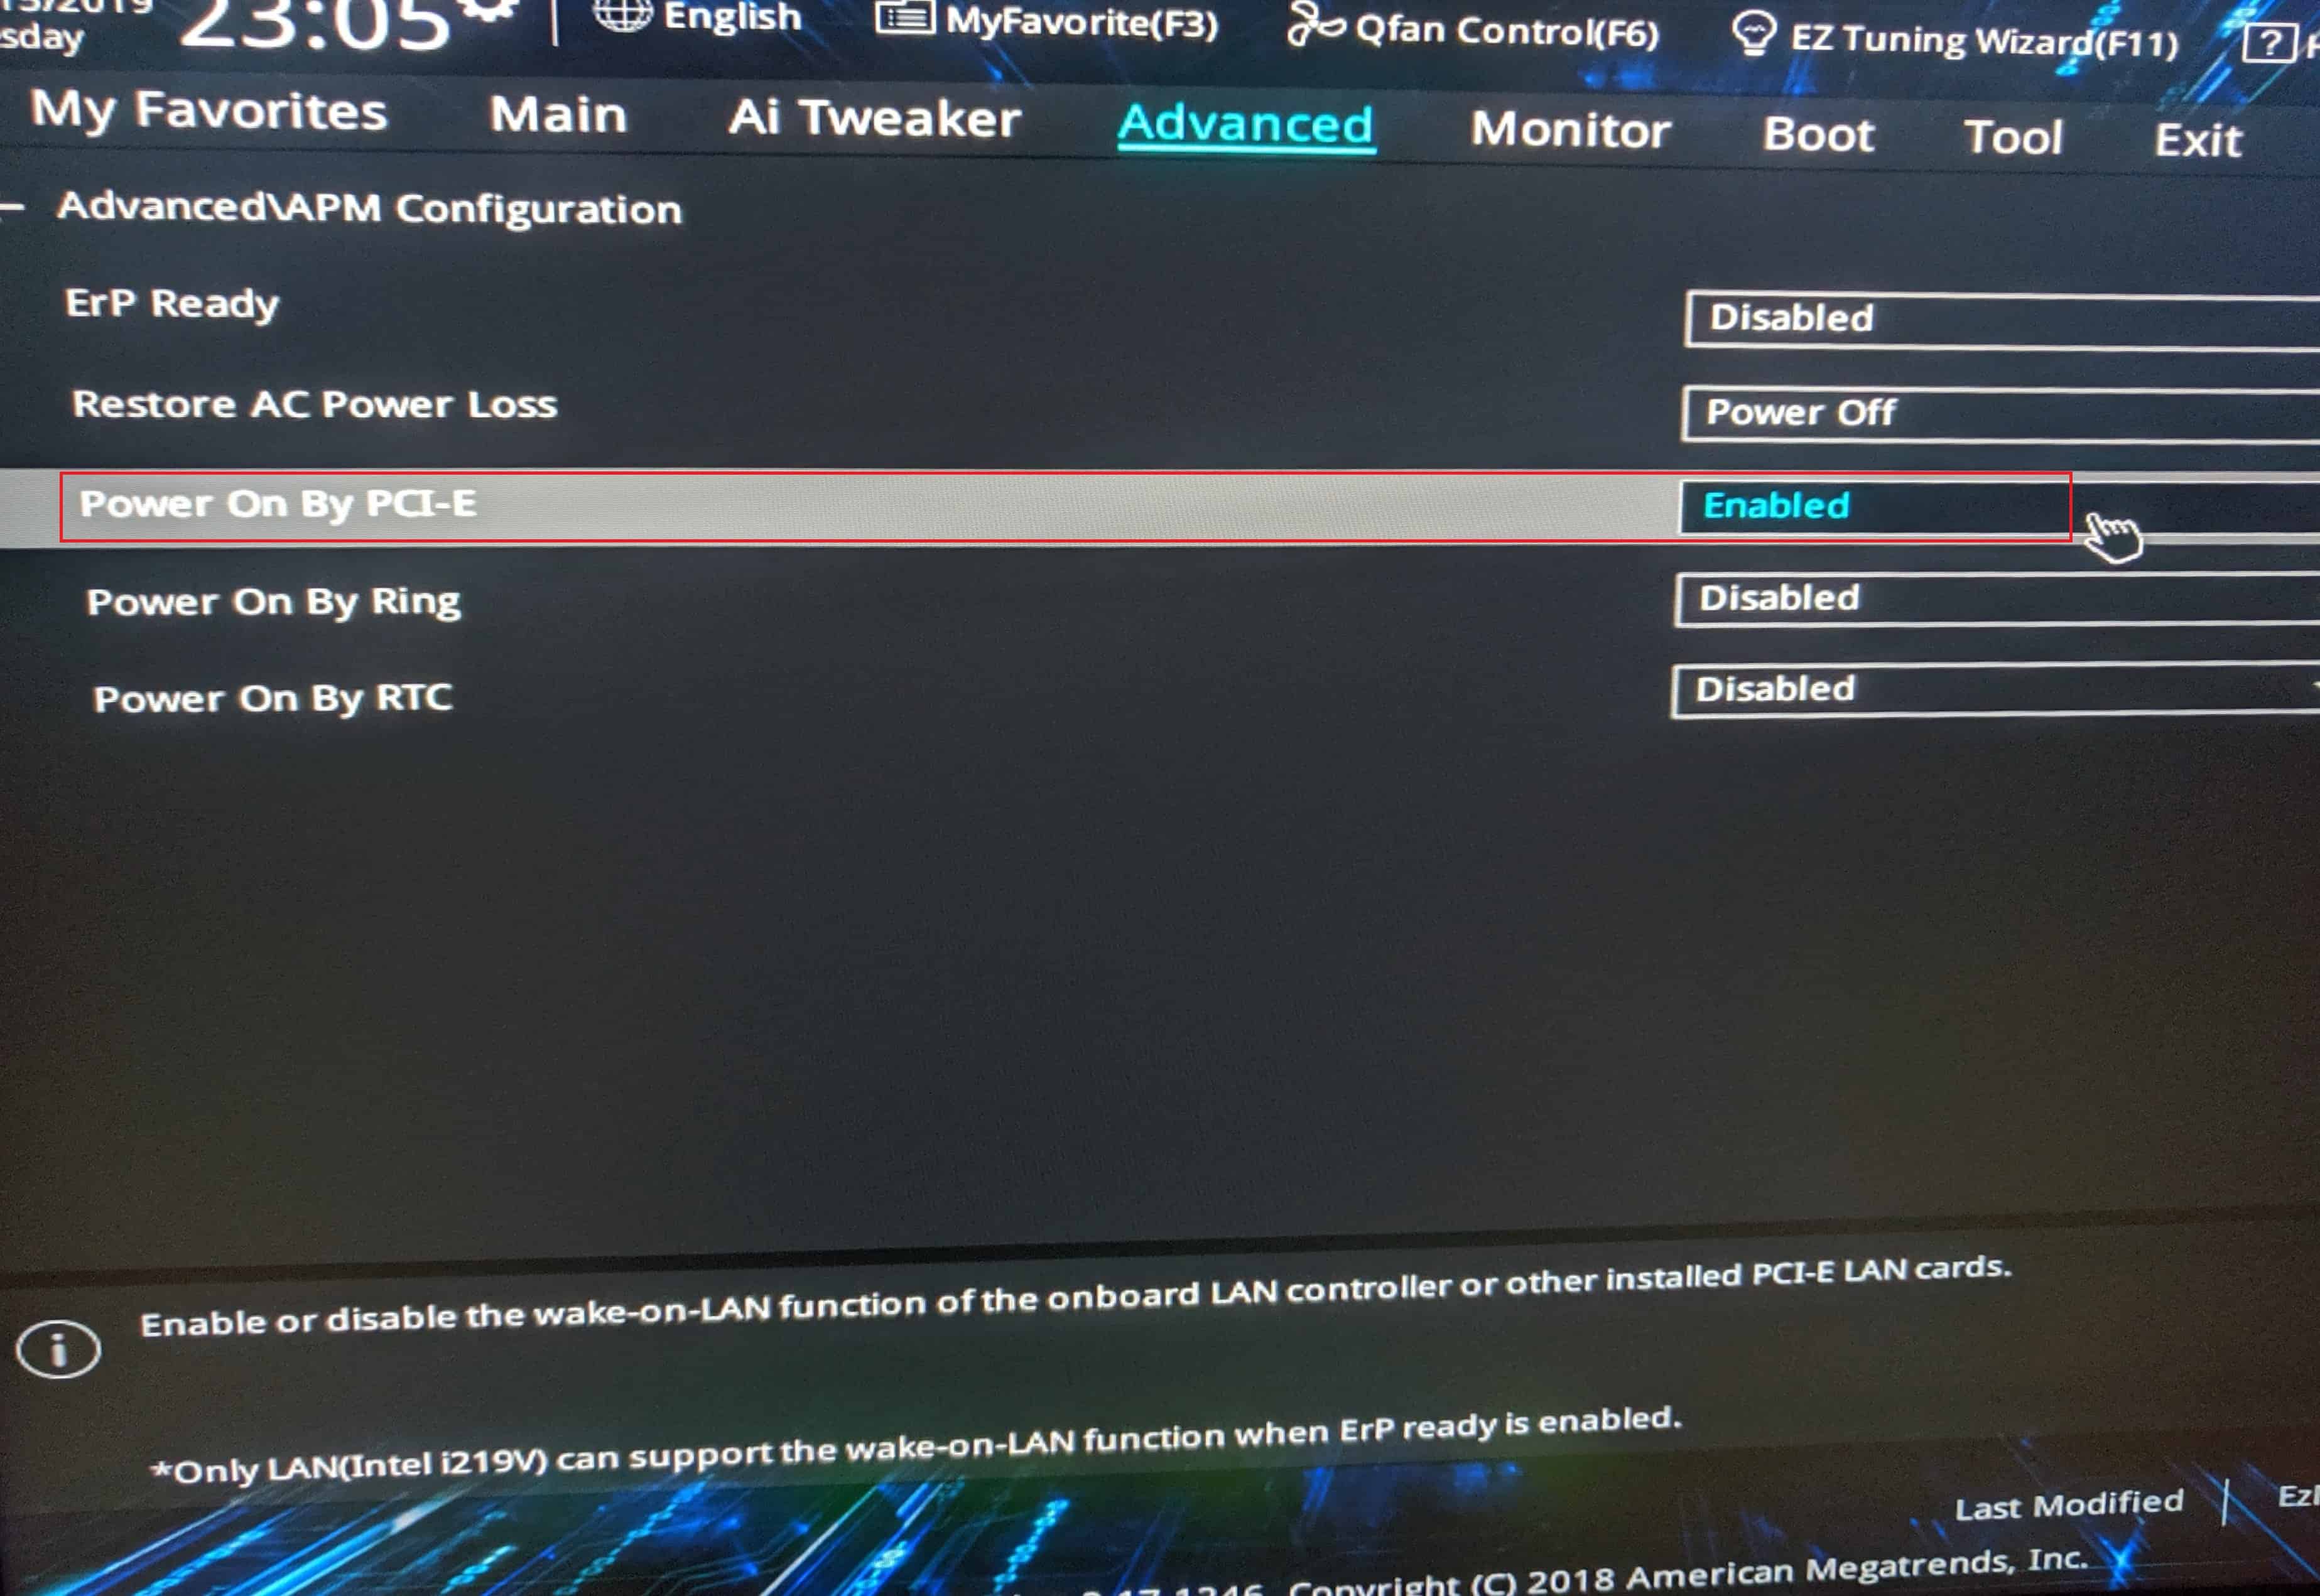
- Then, select “Power On By PCI-E” and make it Enabled. Certain BIOS have a specific setting for wake-on-LAN, so you may have to turn that on as well. If you can not find that option, consult your PC or motherboard manual for help. Note, pretty much all motherboard manufacturers have a PDF version of the manual for their motherboards on their official websites.
- After that, go to the Exit tab and click on “Save Changes & Reset.” Then click, Yes. That saves your changed settings and restarts your PC into Windows.

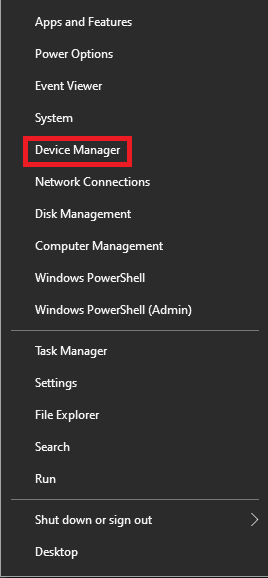
- Once you boot inside Windows, right-click on the Start.
Start - After that, click on “Device Manager.”
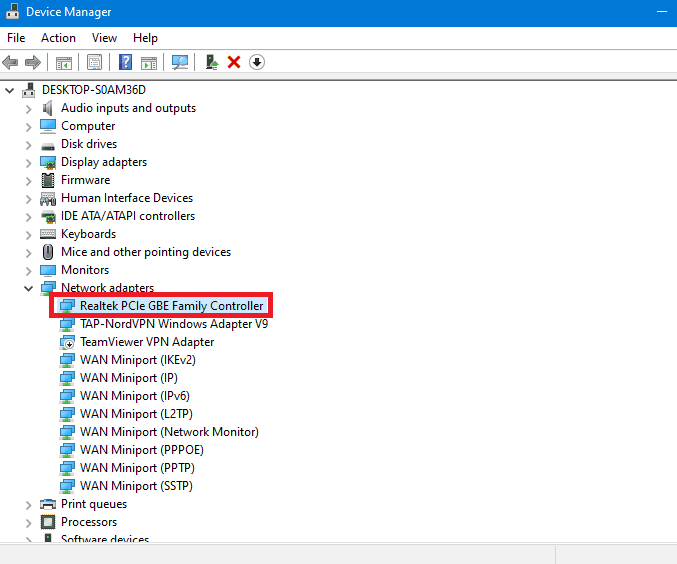
- Now, find and expand the Network adapters section.
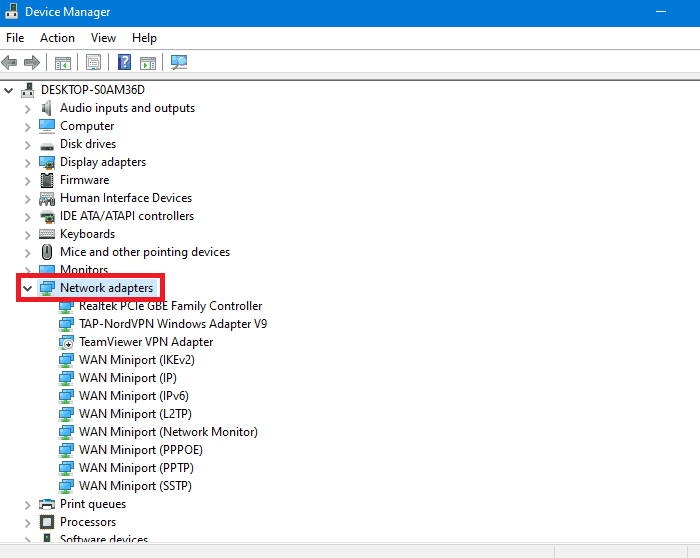
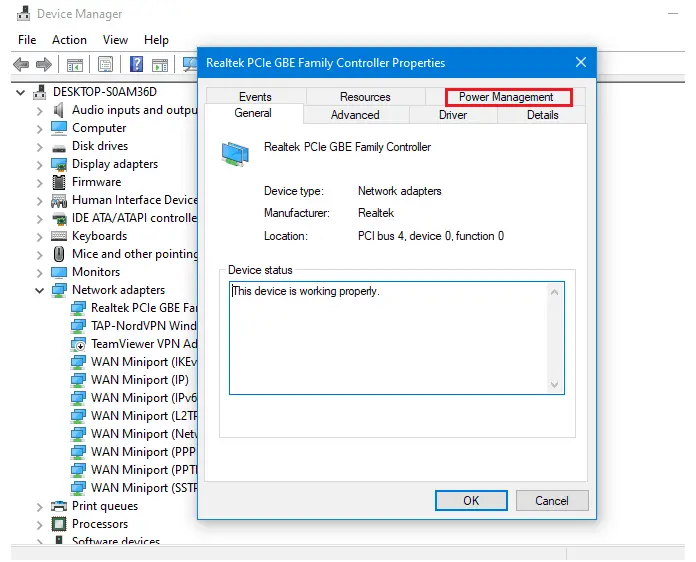
- Ignore all the virtual and Bluetooth adapters. Find and right-click on your correct network card that has the active network connection. It varies depending on your PC, but it will most probably be “Intel Network Connection” or “Realtek PCIe GBE Family Controller.”
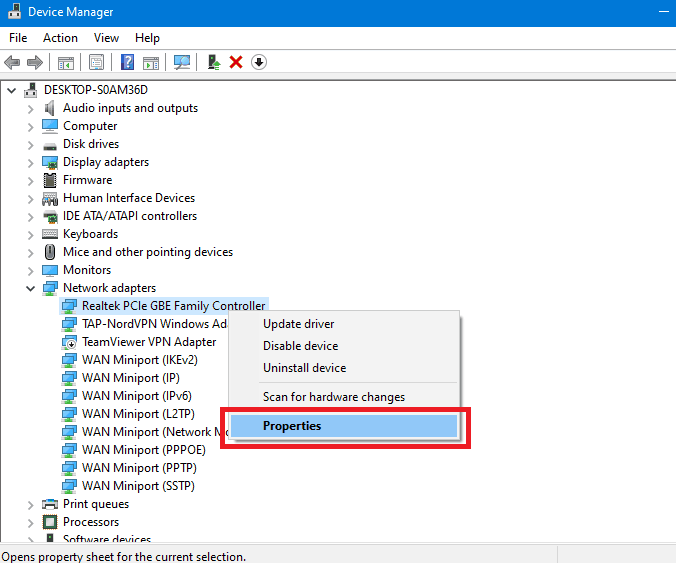
- Click on “Properties” from the list of options.
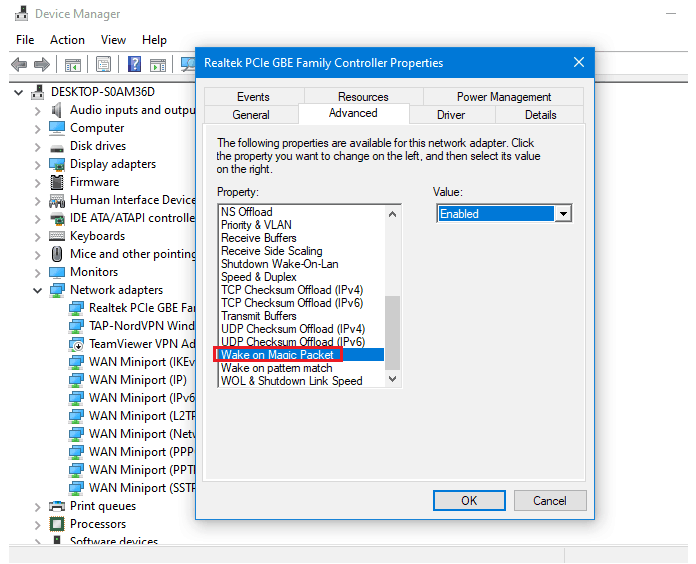
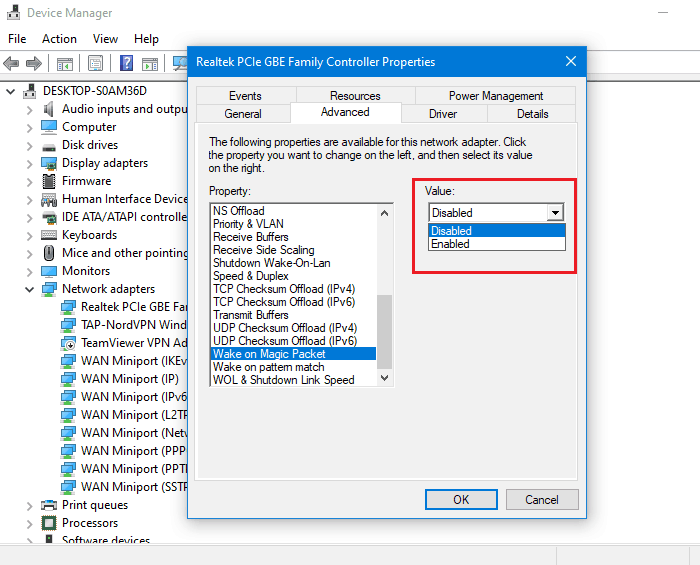
- Then, go to the “Advanced” tab.

- Now, select “Wake on Magic Packet” from the list of options. Remember, if you don’t have this option, don’t worry as it should work anyway, and you should skip to step18.
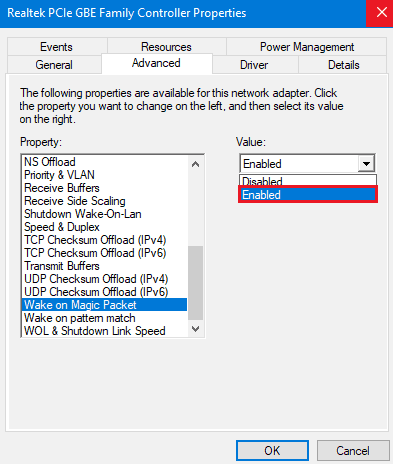
- Make sure the value is on ‘Enabled.’
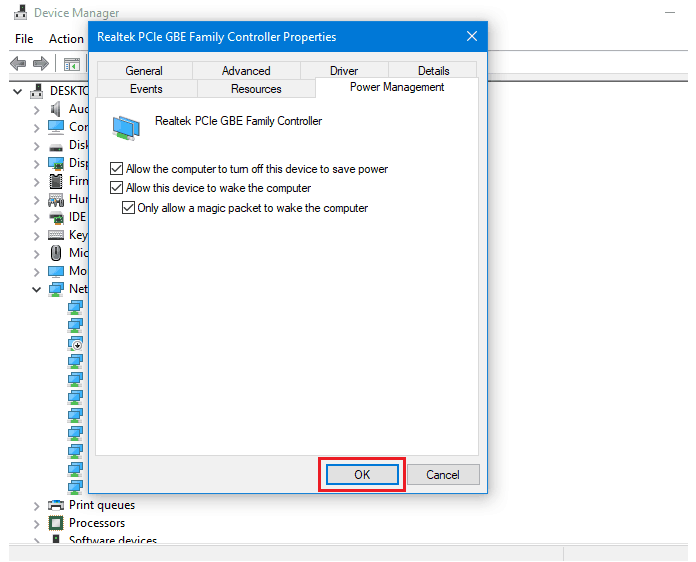
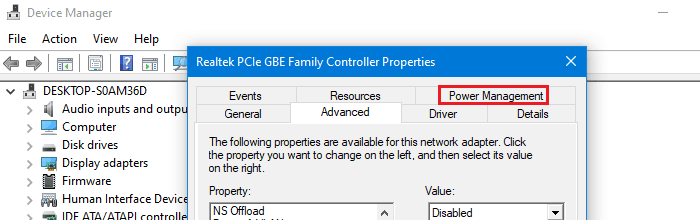
- After that, go to the “Power Management” tab.
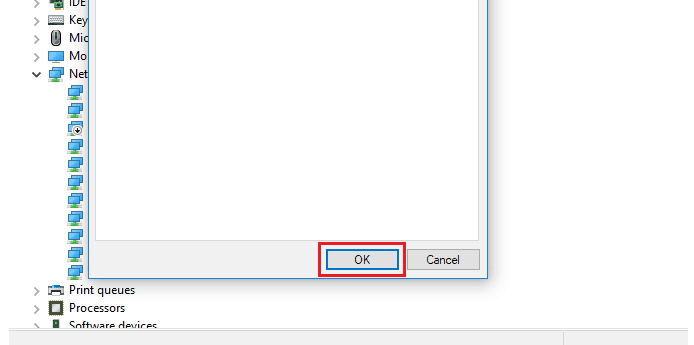
- Make sure everything is checked on that tab.

- At last, click on, OK.
This method should help you turn your PC on from your home only using your PC’s internal IP. If you want to turn on your PC from anywhere in the world with an internet connection, you have to have a public (static) IP address to forward ports on your router. You can probably get one by asking your ISP, but do remember; it generally comes with an extra monthly or yearly charge depending on your ISP.
Now, to turn on your PC from your Android phone remotely, here are the steps.
How to Turn on Windows Using Android Phone
- On your Android phone, download a trusted Wake-on-LAN app like this one.
- Now, click on the Start on your Windows PC.
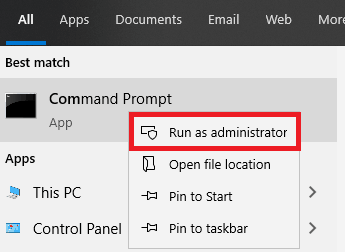
Start - Then type cmd and right-click on Command Prompt from the list.

Command Prompt - After that, select “Run as administrator.”
Run Command Prompt as administrator - In the newly opened window, type “ipconfig /all” and hit Enter.
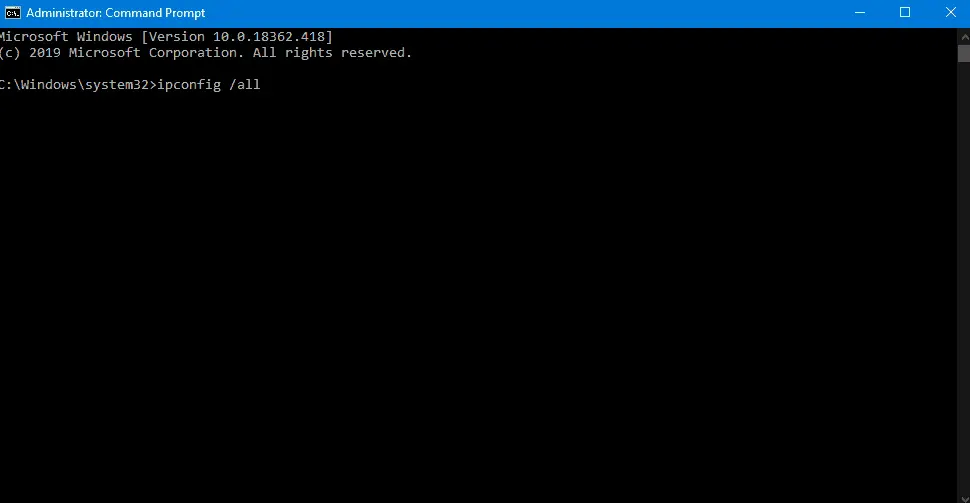
Command Prompt window - Scroll to the top, and you should find a section named “Physical Address.” That is your MAC address, so note that number down.
- Towards the bottom, you should see a section named IPv4 address. Note that number down as well.
- When finished, close the window by clicking the close button.

- Now open up the app that you downloaded and click on the Add or + button.
- In Computer name/Hostname. Type in the name you want for the app to save your PC.
- On IPv4 Address, type in the IPv4 address that you wrote down earlier.
- In the MAC Address section, type in the MAC address that you wrote down earlier.
- Set the port to 7, which is used to receive magic packets.
- Once done, click on Try or Save.
- If you did everything correctly, your PC’s information should be stored on that app. And, whenever you want, you can go ahead and turn on your PC. You don’t have to remember your MAC and IPv4 address every time you turn on your PC as it just saves there as one of your host computers. And of course, you can enable more than one PC if you want to.
- Now, if you are an advanced user or have an IFTTT, Google Assistant, or Amazon Alexa enabled router, you can turn on your PC using Tasker and Autovoice as well to turn on your PC with voice commands without having to push a button.
If you want to enable Wake-on-LAN from your router, you need to configure your router correctly. Note that the UI of each model of routers may vary, and yours may be different. For reference, we are using a TP-Link Archer C9.
Check which are best Wake on Lan Android app.
How to Enable Wake on Lan on Router
- Go to your router’s login page and log in.
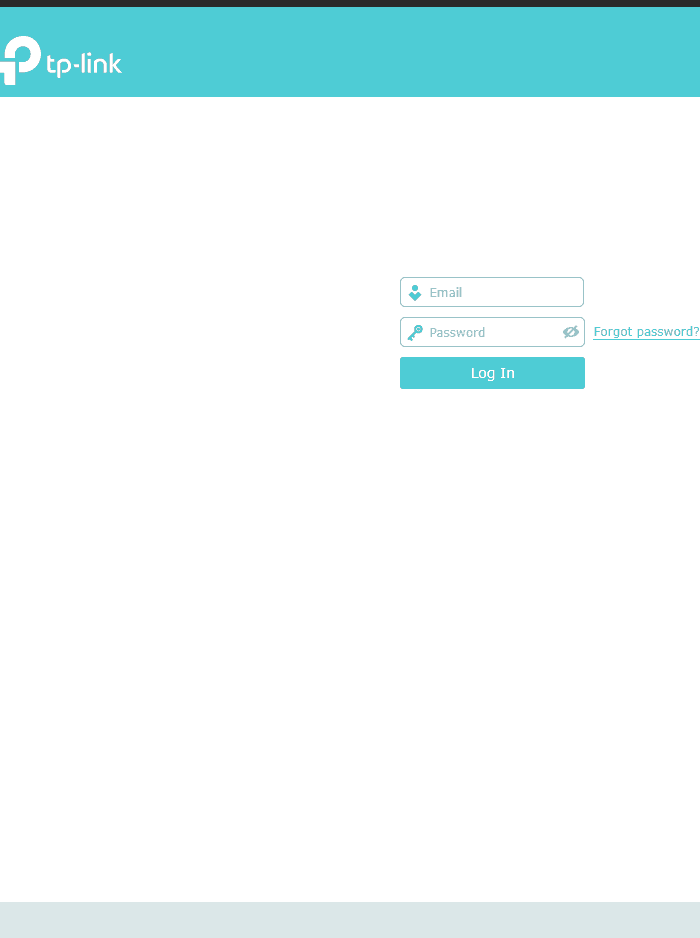
Router’s login page - Then, click on ‘Advanced.’
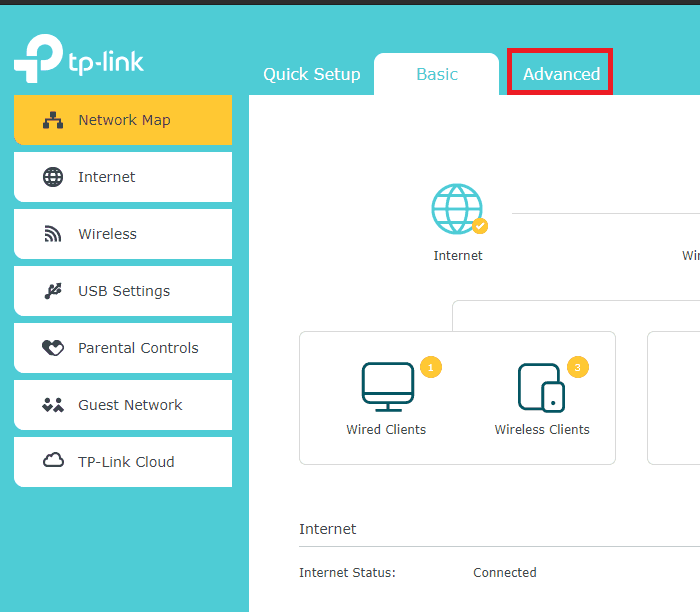
- After that, click on ‘Security‘ from the list of options.
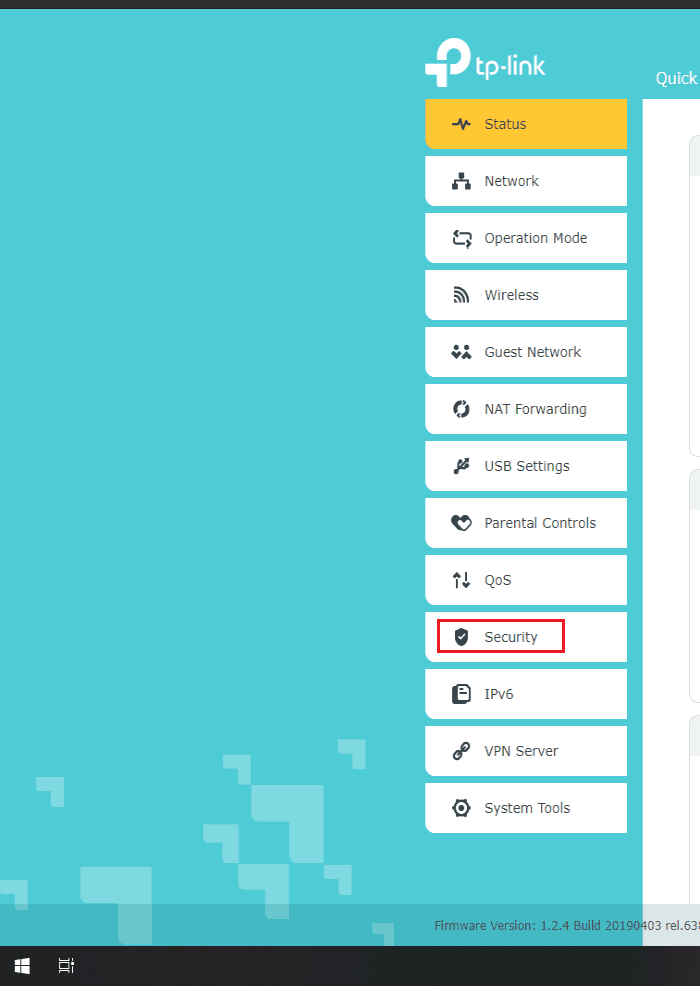
- Click on “IP & MAC Binding.”
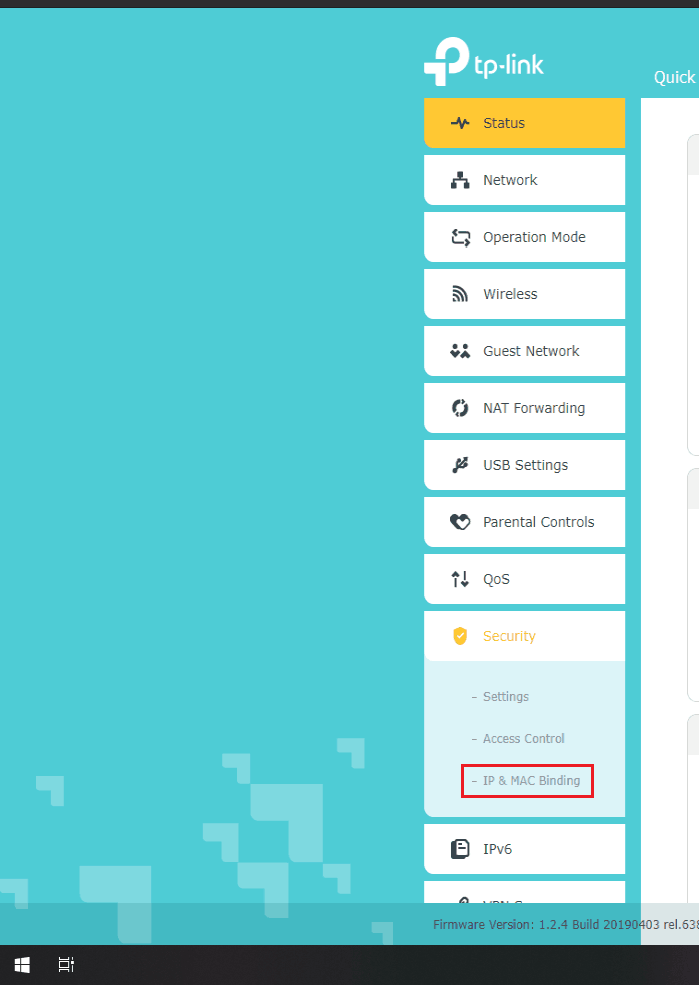
IP & MAC Binding - From here, toggle on “ARP Binding.”
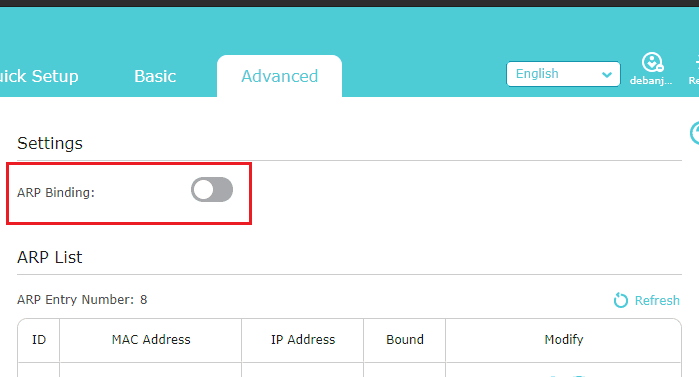
ARP Binding - Find the IP and the MAC address of your PC from the list of entries and bind it. Or you can manually bind it by entering the IP and MAC address that you wrote down earlier in case you don’t see your PC on the list of entries. Enable Export to DHCP Address Reservation and Status and click OK.
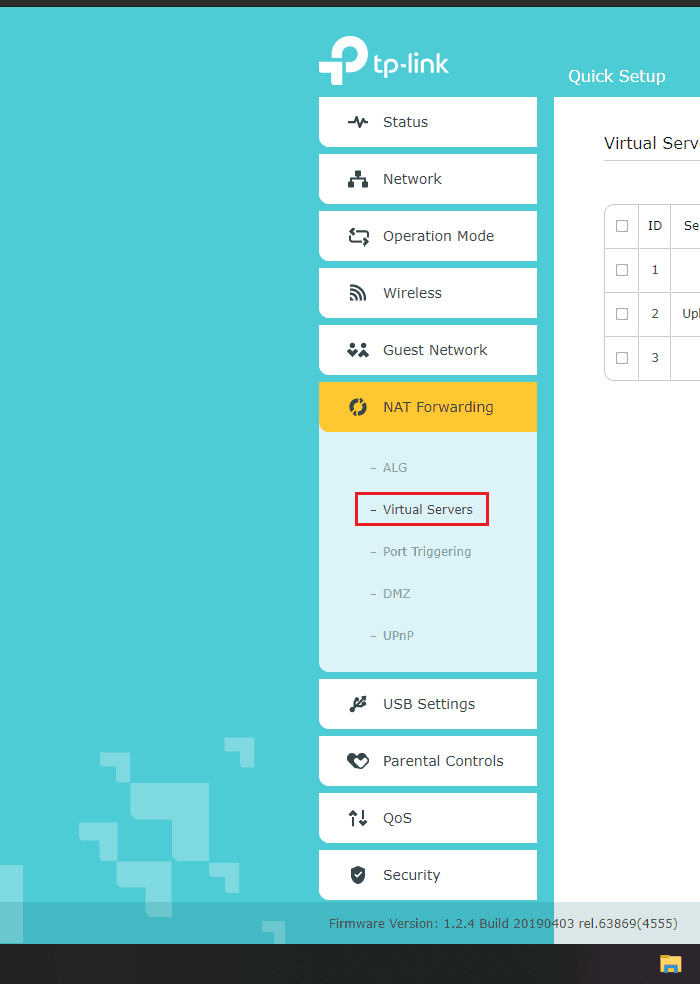
- Now, go to “NAT Forwarding.”
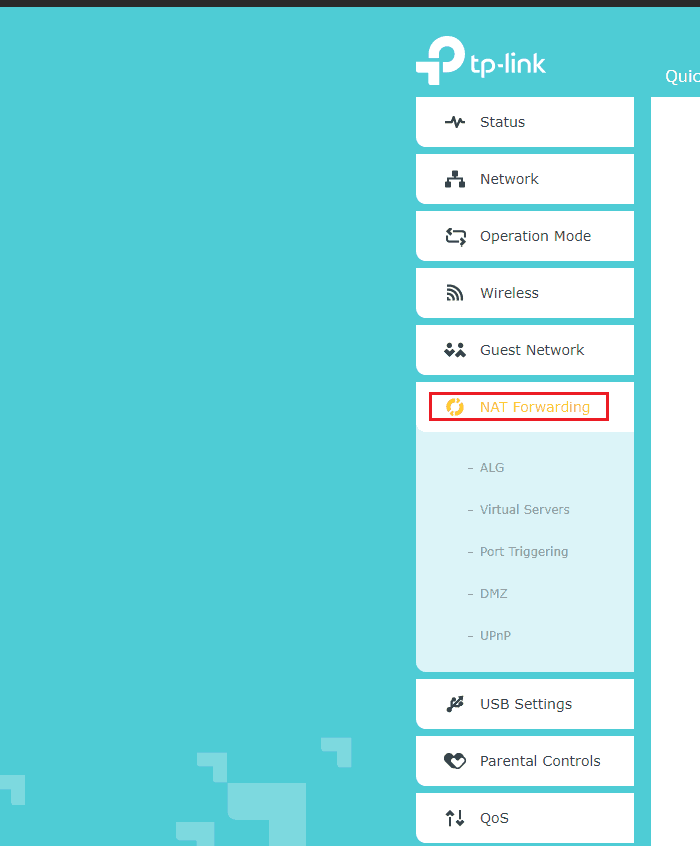
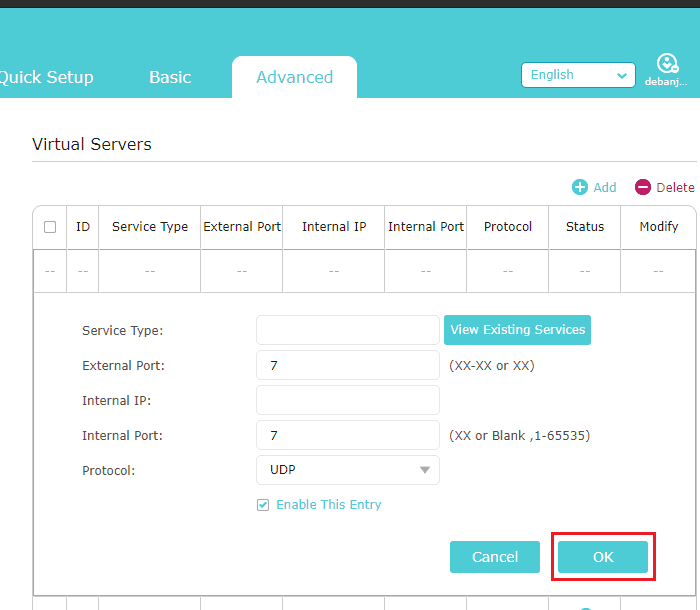
- Click on “Virtual Servers.”
- Click on + Add. Enter your desired name for the entry in Service Type.
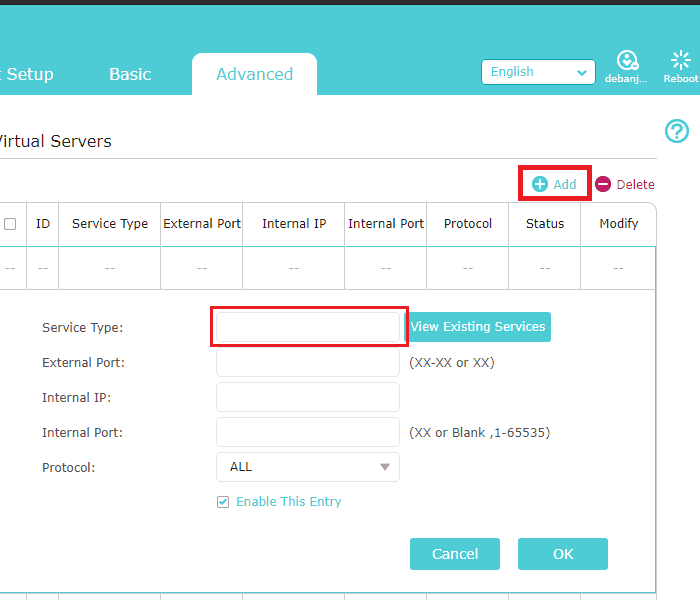
- Then, type the IPv4 address that you wrote earlier in Internal IP.
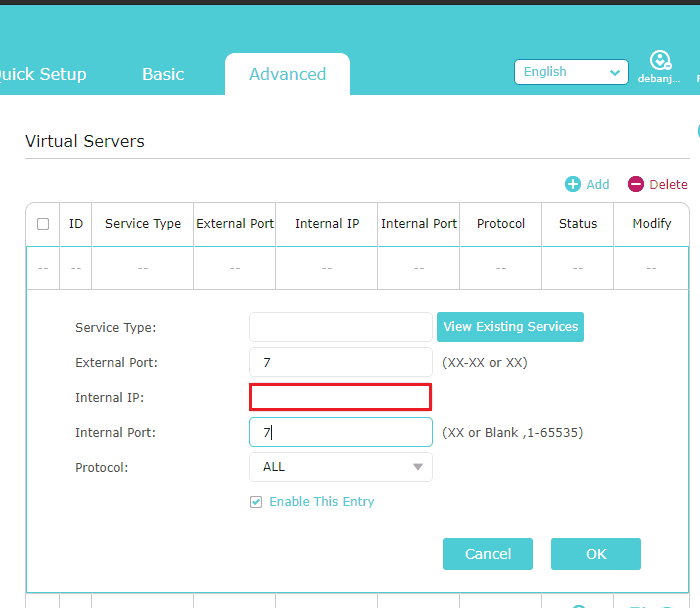
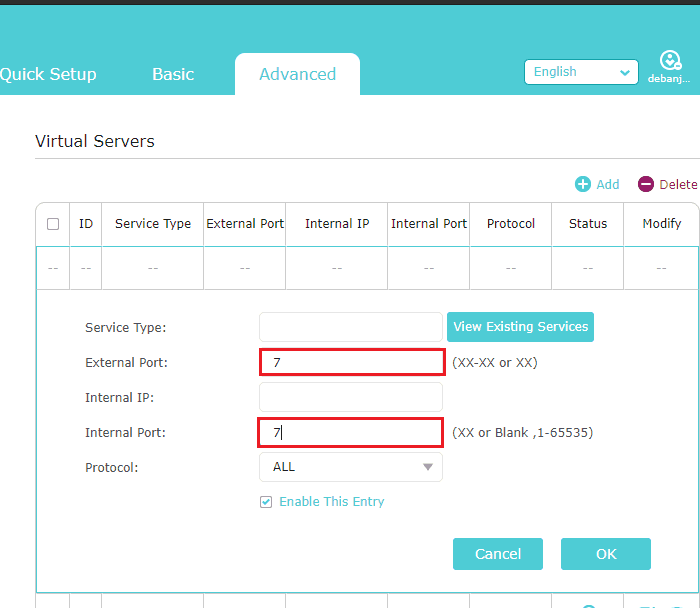
- After that, type 7 in Internal Port and External Port.
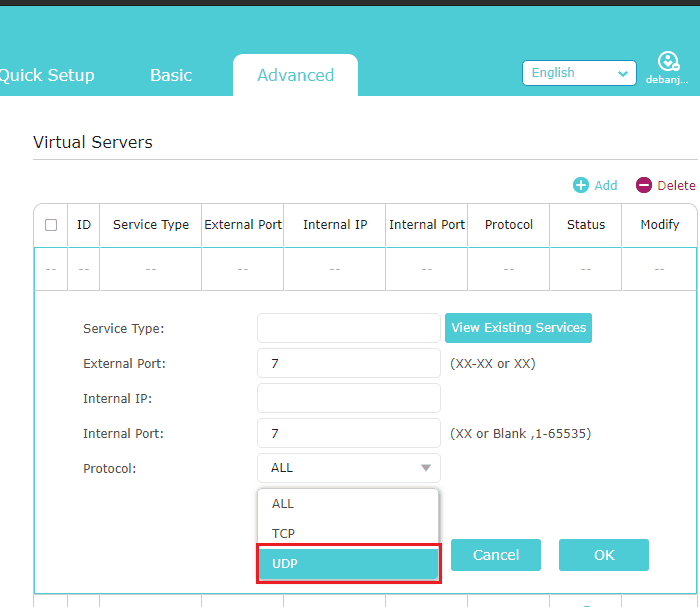
- Select UDP as the Protocol.
- Check Enable This Entry.
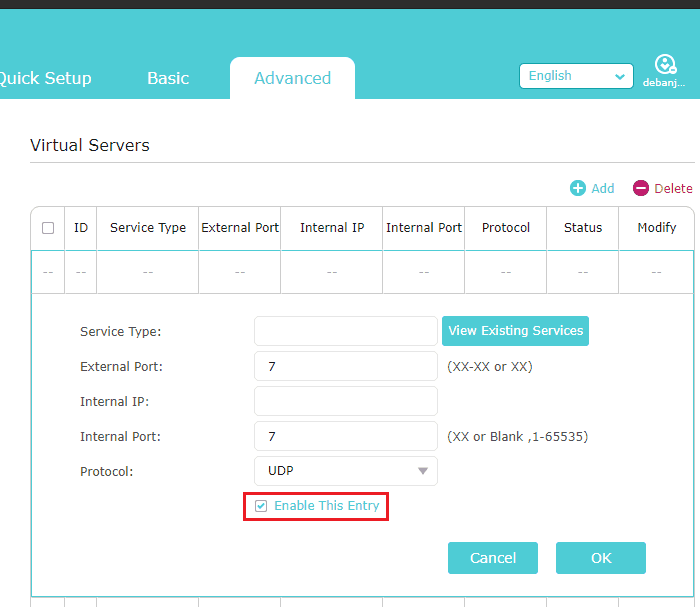
- Click on OK.
- At last, restart your router to make sure your changes get applied correctly.

Now you can launch a third party Wake-on-LAN software on another PC or on your Android or iOS device and send a magic packet to boot up your PC. If you don’t have any of these options available on your router, you can download DD-WRT custom firmware for your router. Just search for your router’s model name here. We are not responsible for any damages that may occur to your router while trying to install DD-WRT on it.
How To Enable Wake-on-Demand On Mac
On Mac OS X Snow Leopard (10.6) or later, wake-on-demand is enabled by default. If you have somehow disabled it, here’s how to enable it back again.
- First of all, open “System Preferences.”
- Now, click on ‘View.’
- Select “Energy Saver” from the list of options.
- Check “Wake for network access.”

How To Enable Wake-on-LAN in Ubuntu
Ubuntu has a fantastic tool named ‘ethtool‘ to enable WoL on your system. Here is how you can install it.
- At first, find and open a ‘Terminal.’
- Now, use “sudo apt-get install ethtool” command. That installs ‘ethtool‘ into your PC.
- At last, use “sudo ethtool -s eth0 wol g” command to enable WoL on your PC running Ubuntu operating system.
How To Disable WoL On Windows 10
If you do not want to have Wake-on-LAN enabled on your PC, here is how you can disable it.
- First, we have to go into the BIOS. To do that, click on the Start.
Start - After that, click on the Power button.
- Now, click on ‘Restart.’
- Your PC should now restart. Keep spamming either the Delete key or the F2 key on your keyboard to get into your PC’s BIOS.
- From now on, steps would be different depending on your motherboard model and BIOS version. For your reference, we are using an ASUS Z270 chipset motherboard with it’s current latest BIOS version updated. Once you get in the BIOS, if you see an “EZ Mode” user interface or equivalent in front of you, then press F7 on your keyboard or click on the same to go to the “Advanced Mode.” Also note, some really old BIOS don’t have mouse support. So you might have to use your keyboard exclusively to get around your BIOS.
- In “Advanced Mode,” click on the Advanced tab.
- Now, click on the APM (Advanced Power Management) configuration option.
- Then, select “Power On By PCI-E” and make it Disabled. Certain BIOS have a specific setting for wake-on-LAN, so you may have to turn that off as well. If you can’t find that option, consult your PC or motherboard manual for help. Note, pretty much all motherboard manufacturers have a PDF version of the manual for their motherboards on their official websites.
- After that, go to the Exit tab and click on “Save Changes & Reset.” Then click, Yes. That saves your changed settings and restarts your PC into Windows.
- Once you boot inside Windows, right-click on the Start button.
- After that, click on “Device Manager.”
- Now, find and expand the Network adapters section.
- Ignore all the virtual and Bluetooth adapters. Find and right-click on your correct network card that has the active network connection.
- Click on “Properties” from the list of options.
- Then, go to the “Advanced” tab.
- Now, select “Wake on Magic Packet” from the list of options.
- Make sure the value is on ‘Disabled.’
- After that, go to the “Power Management” tab.
- Make sure “Allow this device to wake the computer” and “Only allow a magic packet to wake the computer” are unchecked on that tab.
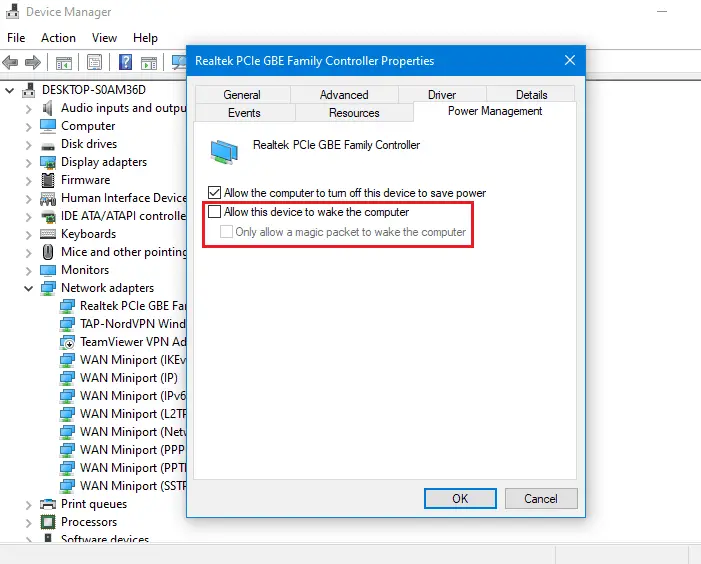
- At last, click on, OK.
How To Disable Wake-on-Demand On Mac
In current macOS Catalina, Wake-on-Demand is enabled by default. Here is how to disable it.
- First of all, open “System Preferences.”
- Now, click on ‘View.’
- Select “Energy Saver” from the list of options.
- Uncheck Wake for network access.


1 thought on “How To Enable WoL on Windows, Router, Mac & Ubuntu”
OMG thank you soo much! I’ve been trying for months to get wake on lan to work with my computer and my archer c4000. Didn’t know had to make a virtual server as well after arp binding. Thanks for this detailed guide especially the router part.