When it comes to optimizing computer performance especially for gaming, a lot of people build a PC by adding more memory and the best graphics card drive. Occasionally, a hardware error shows up after building a gaming PC. Moreover, certain Windows users are continually experiencing freezing and crashes when undergoing tasks that demand exhaustive resources. When this issue is analyzed through the Event Viewer, a recurring 141 LiveKernelEvent error was found which was directed towards a hardware issue. On all recent Windows versions, this issue is reported to take place.
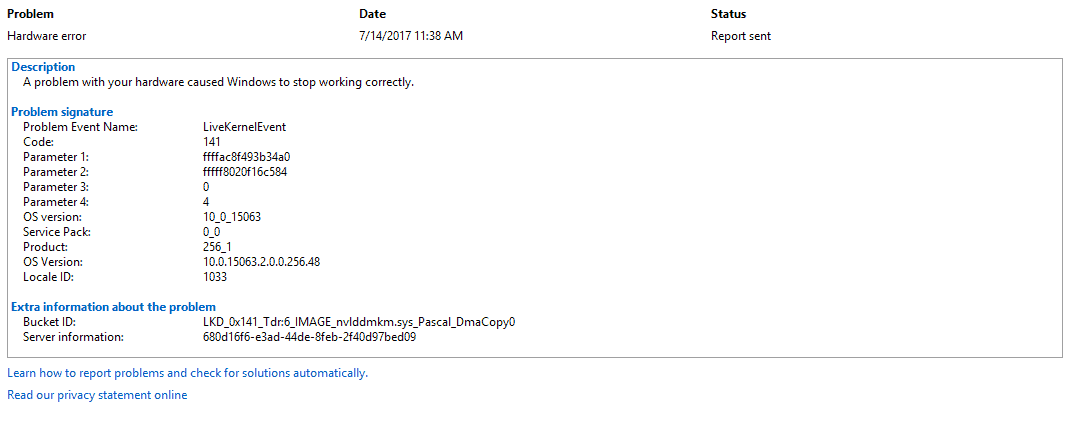
The LiveKernelEvent Code. 141 error can be very problematic if you are unaware of which piece of hardware is creating the issue. The key reason for this error is linked with hardware components including memory, hard disk, and GPU. Other causes can be overheating, corrupted device drivers, and software conflicts. Let’s first go through the causes of this error and the later section discusses different solutions.
Table of Contents
Causes of LiveKernelEvent 141 Error
1. Incompatible or Corrupted GPU Drivers
One of the prominent causes is an inconsistency aroused by a partially corrupted or incompatible graphics card driver. If this is the case then you need to fix it by uninstalling the dependencies and current drives. Also, you need to clear the remnant files prior to installing the latest version through specialized software.
2. Failing Graphics Card
A failing graphics card can cause the crash if the maximum temperature is surpassed or if an artifact responsible for the system crash is triggered. If the hardware issue is verified, you need to carefully diagnose the issue and send the GPU to the warranty issuer or order a replacement.
3. Overclocked PC Components
Overclocking can influence your system stability when the custom voltages and frequencies lead to system crashes. These crashes are detected by the Event Viewer that ultimately leads you to logging as 141 Live Kernel Events. You can temporarily revert your custom frequencies and voltages to default to make sure the LiveKernelEvent Code. 141 error is not due to overclocked PC components.
Methods Fix LiveKernelEvent 141 error on Windows
Before implementing any of these solutions, it is recommended to disconnect all external devices including the printer, USB flash drive, external keyboard, etc. The reason is it can give rise to inconsistency between certain drivers.
1. Execute Hardware and Devices Troubleshooter.
The simplest solution is to execute Hardware and Devices troubleshooter. With this tool, any hardware issues existing on your computer are detected and the corresponding solution can fix the LiveKernelEvent code 141 error.
Follow these steps.
1. Click on the Windows Search bar from the taskbar.
2. Type cmd and click on the ‘Command Prompt’ app to open it.
3. Now you need to copy and paste the ‘msdt.exe -id DeviceDiagnostic’ command into the command line into the Command Prompt hit Enter.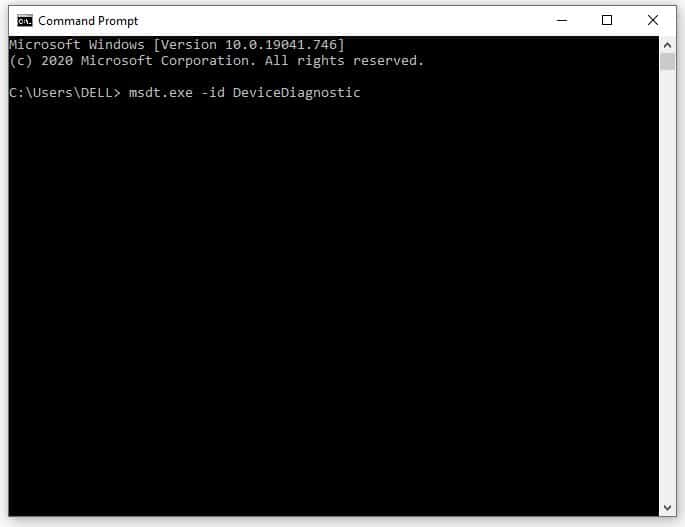
4. Now the Windows 10 ‘Hardware and Devices’ Troubleshooter opens up. Click on ‘Next’ to begin the troubleshooting and scanning process.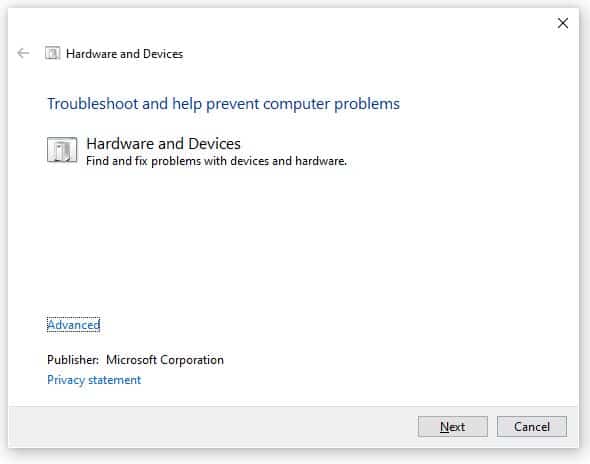
2. Test your hard disk.
One of the most vital computer components is a hard disk. If the hard drive becomes faulty or corrupted, you can come across different issues and one of them is the LiveKernelEvent code 141 error. Hence, you should first check and resolve hard drive errors.
1. Click on the Windows Search bar from the taskbar.
2. Type cmd in the search box and right-click on the ‘Command Prompt’ app. Now select the ‘Run as administrator’.
3. Now in the command prompt window, you need to type ‘chkdsk C. /f /r /x’ (substitute C with the drive letter which you want to check) and press ‘Enter’.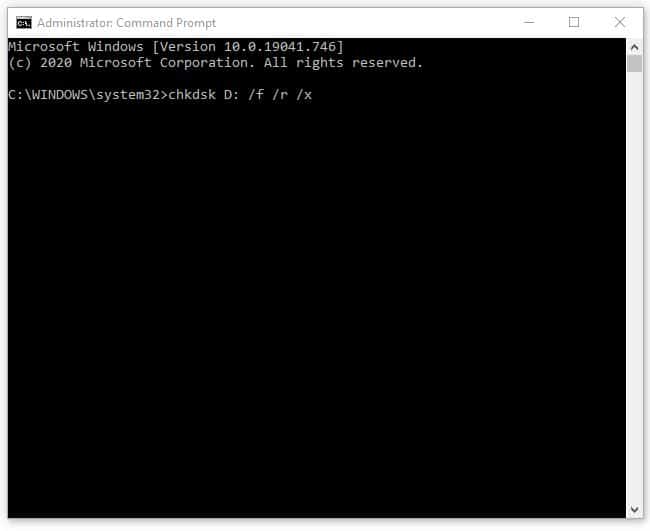
This tool automatically scans the disk drive automatically and attempt to repair detected errors. Once the scan completes, check whether the error is resolved or not.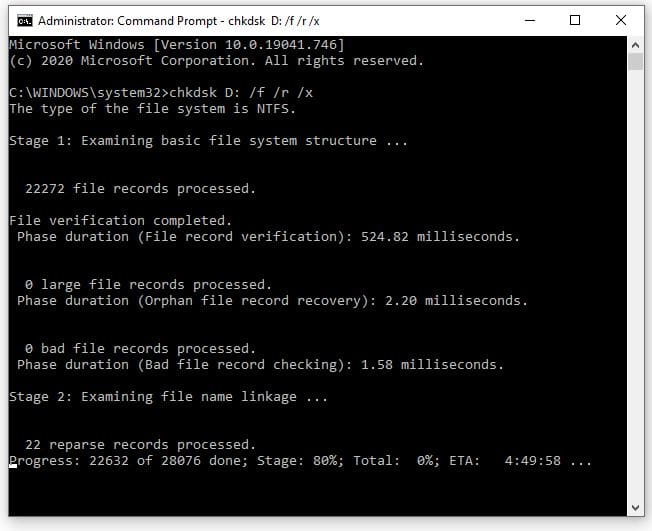
3. Test your RAM.
When it comes to performance, RAM is one of the contributing factors. Faulty memory can give rise to several issues like BSOD, slow computer, LiveKernelEvent, etc. Hence, you have to check if your RAM is corrupted or not. This can be done by the Windows Memory Diagnostic Tool and the steps are as below.
1. Press Windows + R to open the Run dialog box.
2. Type ‘mdsched.exe’ in the Run dialog box and click on OK.
3. In this step, you need to select any one of the two options i.e. ‘Choose between Restart now and check for problems (recommended)’ or ‘Check for problems the next time I start my computer’. You need to click on the first option.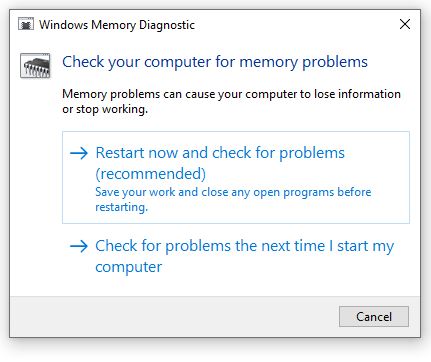
Now your computer restarts and boots in the Windows Memory Diagnostics environment. The scan process will check for any issues with your RAM, so just wait for it to complete. If RAM is not the culprit, move on to the next solution.
4. Set the CPU fan speed to the maximum.
Overheating is one of the causes of the LiveKernelEvent code 141 error. Hence, it is recommended to set the CPU fan speed to the maximum so that it offers efficient ventilation. CPU fan speed can be adjusted from the BIOS settings. Follow the below steps.
1. Open the Windows Settings app by pressing Win + I keys.
2. Click on ‘Updates & Security’.
3. Now move on to the ‘Recovery tab’ and click on ‘Restart now’ within the ‘Advanced startup’ section.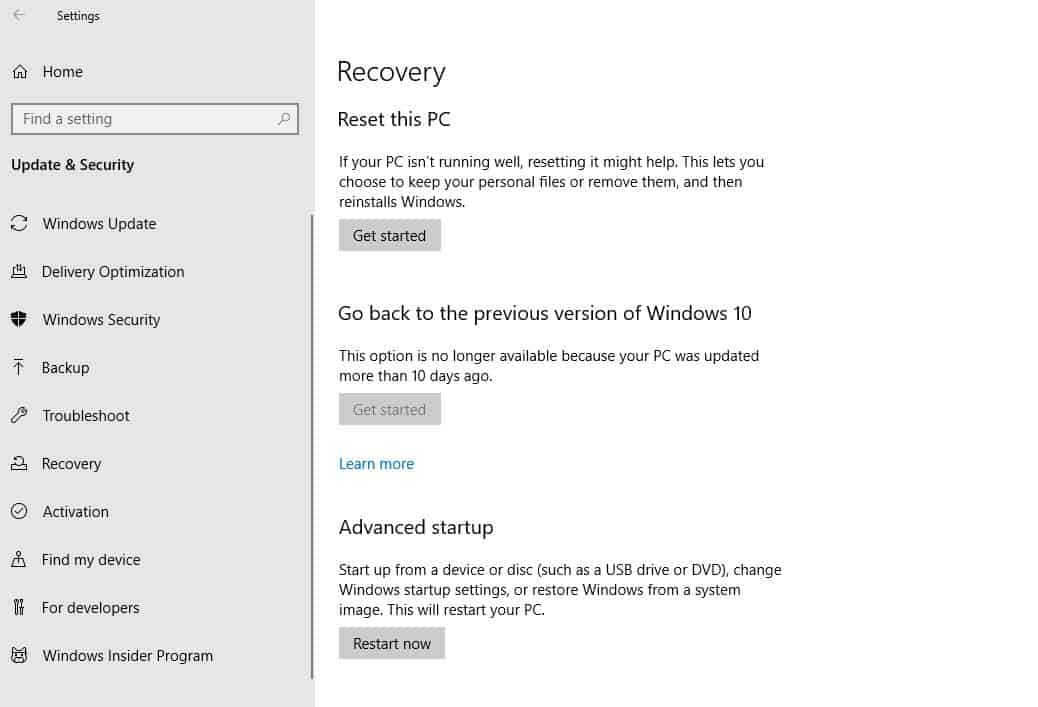
4. Click on ‘Troubleshoot’ and then click on ‘Advanced options’ from the pop-up window.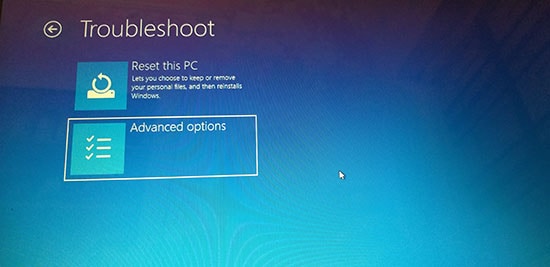
5. In this step, you need to choose ‘UEFI Firmware Settings’ and then click on ‘Restart’.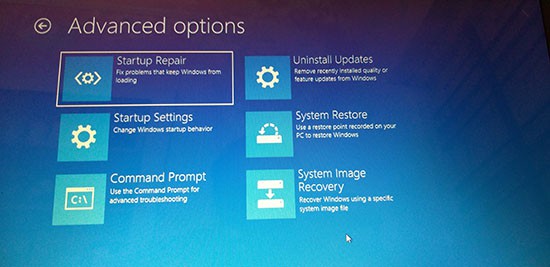
After these steps, your computer boots into the BIOS/UEFI settings. Now you can adapt the CPU fan speed.
5. Uninstall and reinstall Graphics Card Driver.
Graphic card driver is the common culprit for the LiveKernelEvent 141 error. There may be a clash between any of the device drivers. Hence, it is recommended to disconnect your external peripherals and reconnect them to find out whether any of them is the cause of this error. Subsequently, you can try reinstalling or updating any linked device drivers.
Follow these steps to uninstall the graphics card driver.
1. Press Win + R keys and it opens the Run dialog box.
2. In the dialog box, you need to type ‘devmgmt.msc’ and press Enter to open it.
3. From the ‘Device Manager’ window, you need to expand the ‘Display adapters’ categories.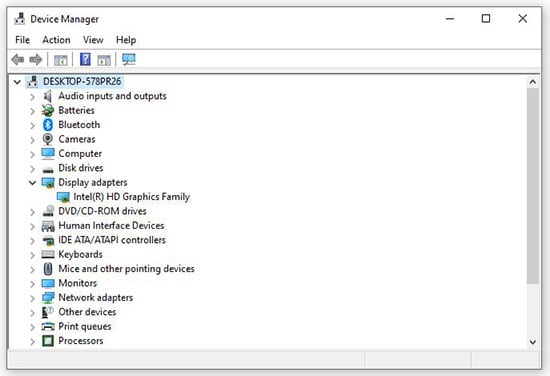
4. Now right-click on the graphics card driver and click on ‘Uninstall device’.
5. Follow the on-screen prompt to finish the uninstallation process.
6. In this last step, you need to restart your computer. After that, Windows automatically installs a default graphics card driver. Instead, you can go to the manufacturer’s website and manually install the latest driver.
6. Test the GPU card.
Occasionally, your computer may be occupied in rendering a task that is graphics intensive. The excess load on GPU can lead to the LiveKernelEvent 141 error. You may have reinstalled the drivers but it is useless. So, what you need to do is troubleshoot for discovering hardware issues influencing your graphics card.
For testing your failed GPU card, the Furmark tool is a recommended option. This tool lets you analyze the stability and performance of your GPU. Moreover, it lets you identify heat issues, inadequate power to the card, imperfectly positioned power cables, and a few other potential causes that may lead to inefficient performance of your GPU card.
If you want to test the GPU card for detecting any hardware issue, you need to first install, configure, and run the FurMark on the device that shows the LiveKernelEvent 141 Error. Here are the steps.
1. Download the latest version of FurMark.
2. Once the download completes, you need to double-click on the installer and click on ‘Yes’ if the User Account Control window prompts you.
3. From the installation screen, you need to select the ‘I accept the agreement’ and hit ‘Next’ to accept the EULA.
4. Now choose an appropriate location where you want to install Furmak and click on ‘Next’.
5. Continue accepting the installation prompts by clicking on ‘Next’ in each prompted window.
6. In the last installation window, click on ‘Install’ to begin the installation for Furmark.
7. Let the installation complete and launch the FurMark.
8. You may need to click ‘Yes’ at the ‘User Account Control (UAC)’ if you are asked to provide admin access.
9. After being installed, open the Furmark tool.
10. Now click on the ‘Resolution’ drop-down menu and set the maximum resolution being supported by your monitor.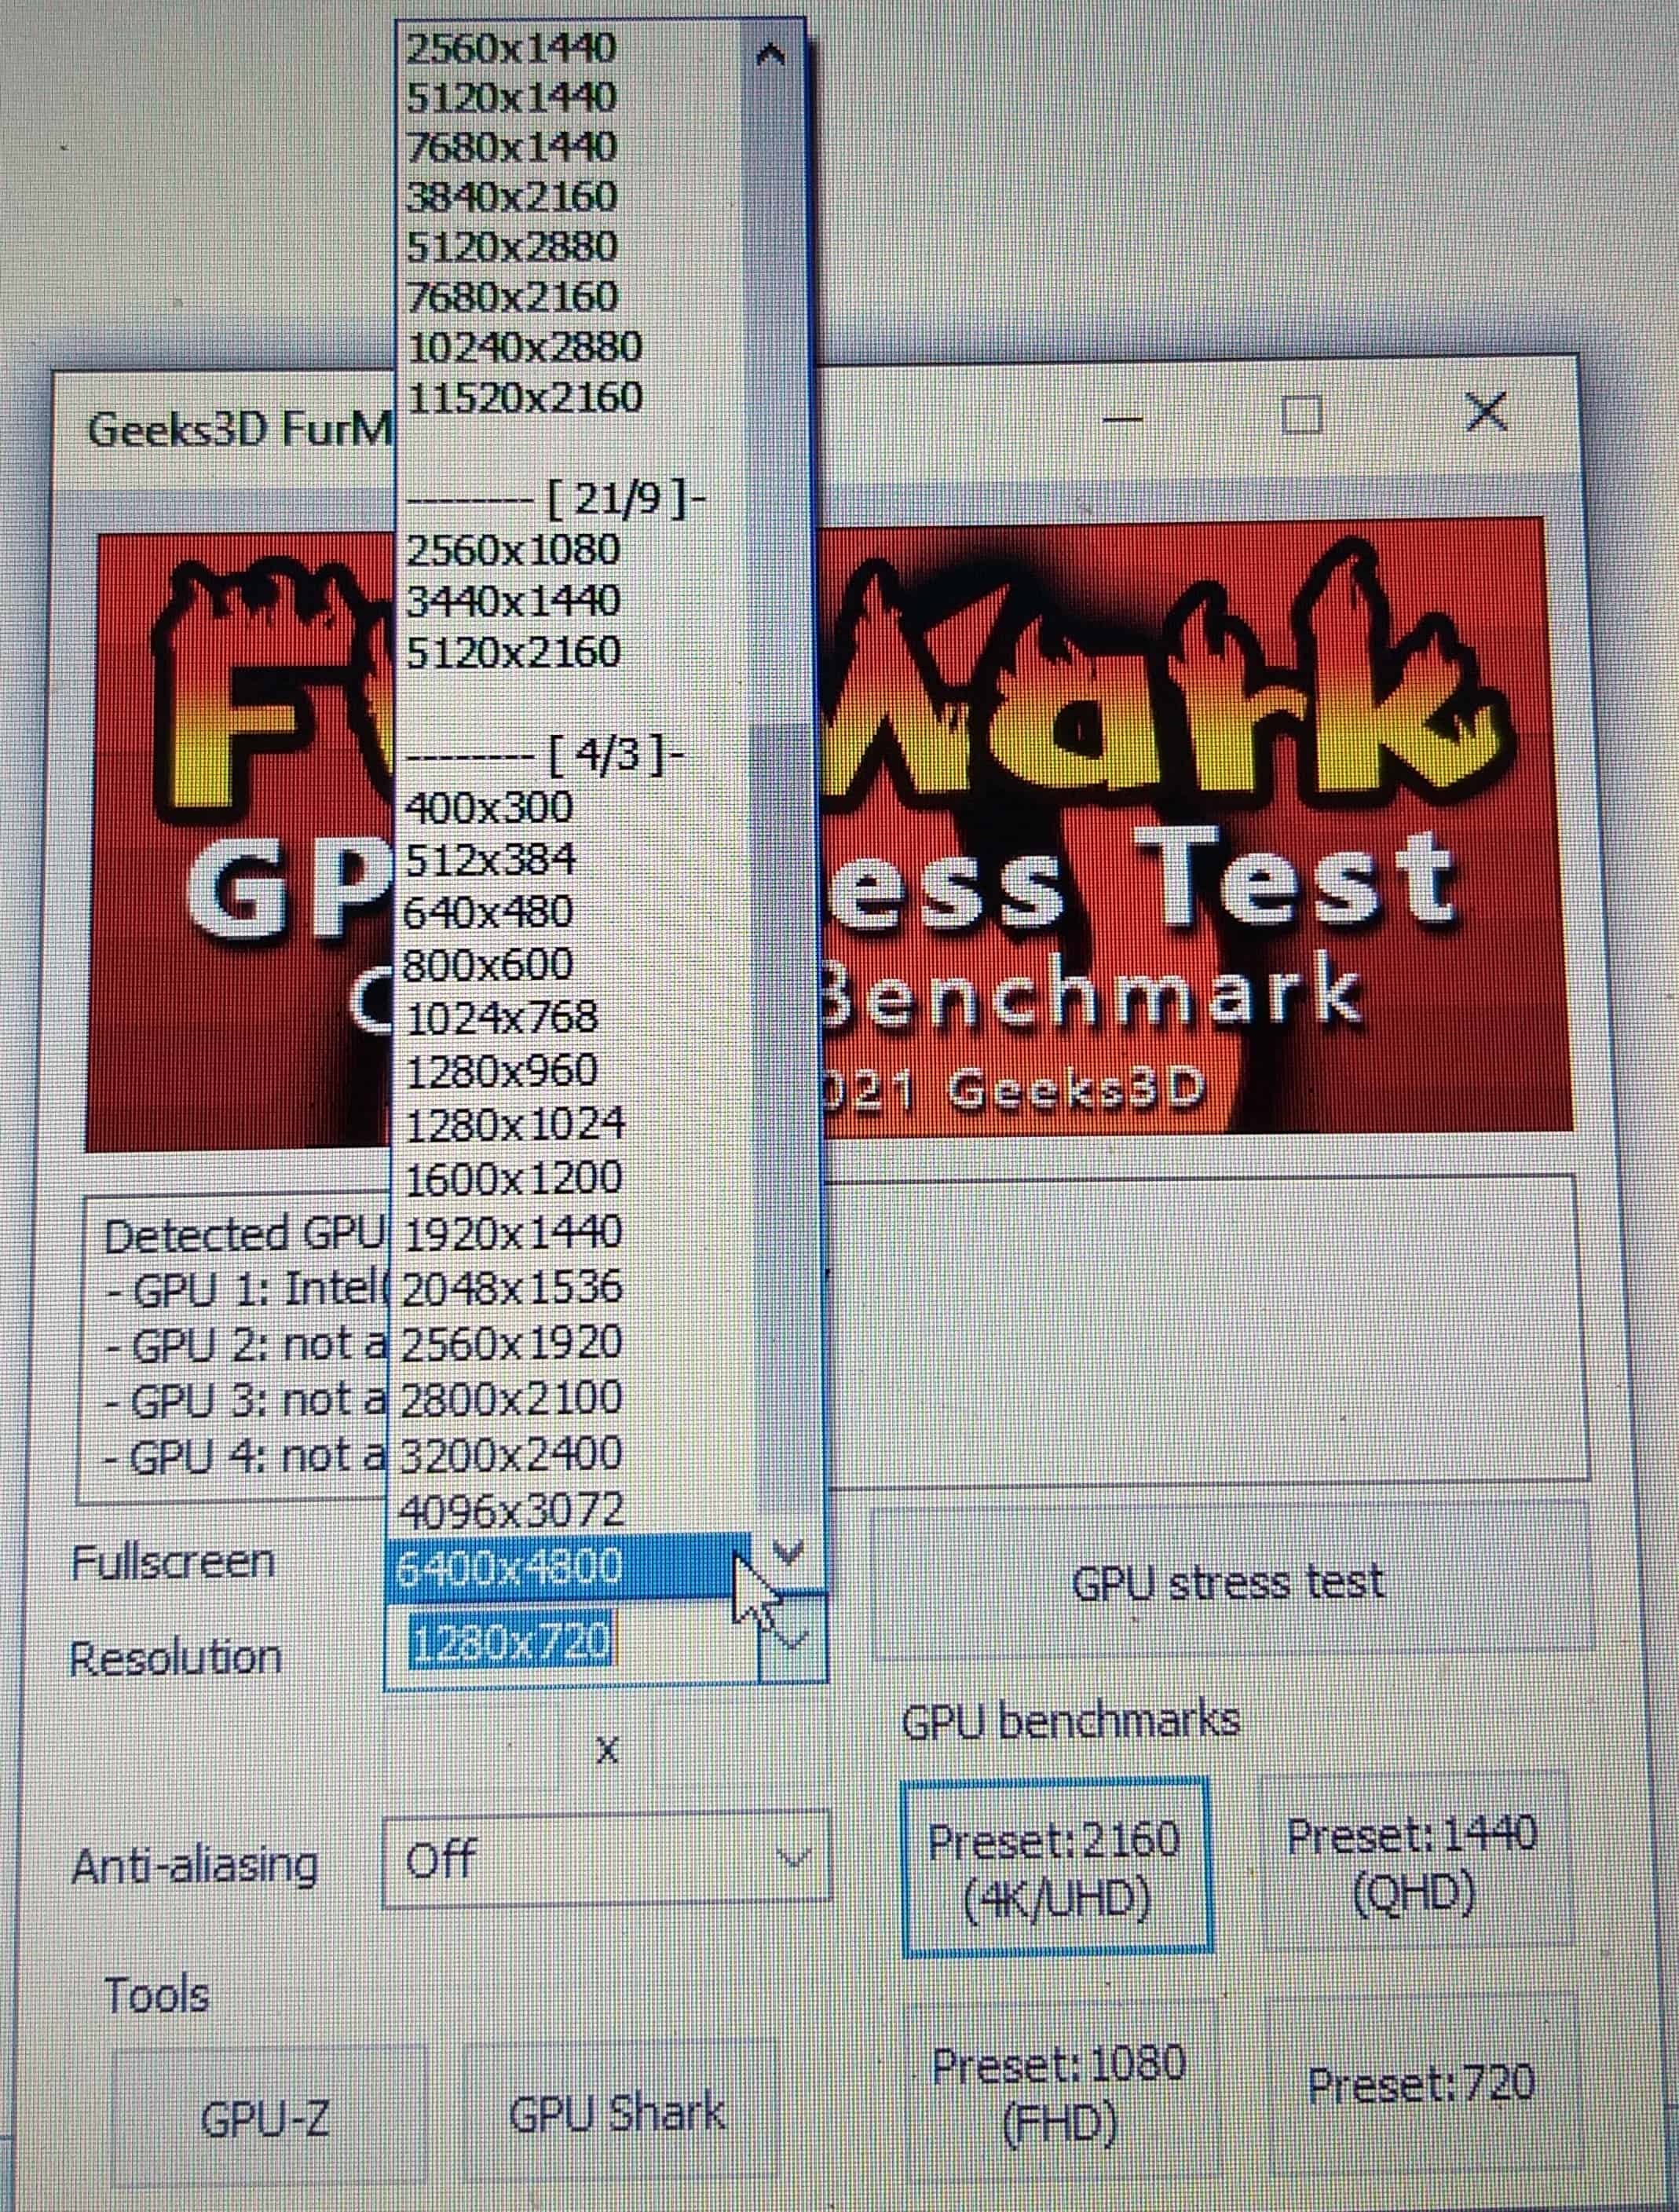
11. In this step, you need to click on the ‘Settings’ button and make sure the below checkboxes are ticked.
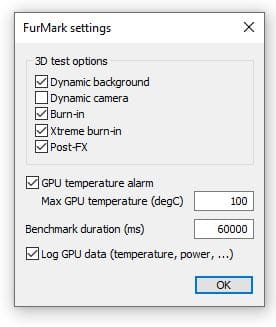
- Burn-in
- Xtreme burn-in
- Post-FX
- GPU temperature alarm
- Log GPU data
12. After all the mentioned checkboxes are enabled, click on ‘OK’ to save changes. Close the Setting window.
13. Now the FurMark utility is configured. Click on the ‘GPU stress test button’ and confirm by clicking on ‘GO’.
Once the Furmark tool is running, you need to supervise the output display and check if any artifacts are detected or not. If any artifacts or system crash is found, it is concluded that you were using a GPU card that is about to fail. So, approach the warranty issuer or order the replacement of the GPU card.
7. Perform a Clean Boot.
Software conflicts are one of the causes of the LiveKernelEvent 141 error. For that, you can perform a clean boot to know which processes are incompatible with your system. Subsequently, you can uninstall such conflicting programs to resolve the issue.
Follow these steps to perform a clean boot.
1. Press the Windows + R keys to open the Run dialog box.
2. Type ‘msconfig’ in the text field.
3. Open the ‘System Configuration’ section and then open the ‘General tab’.
4. In this tab, find out the ‘Selective Startup’ section and then disable the ‘Load Startup Items’ option.
5. Now open the ‘Services’ tab.
6. Now you need to tick on ‘Hide All Microsoft Service’s option and click on ‘Disable All’ button.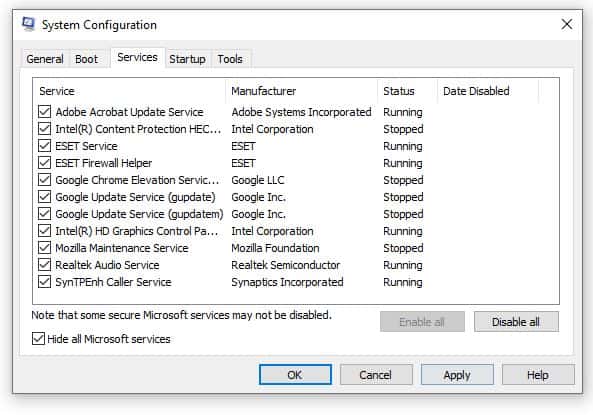
7. Open the ‘Startup; tab and click on ‘Open Task Manager’ link.
8. From the window that opened, you need to disable all startup programs.
9. Now save all changes and shut down the windows.
10. Finally, restart your device.

