The drivers work effectively to establish a connection between the operating system and the hardware components of your PC. All the hardware components, including the peripherals we use, run through the specific software driver. If you couldn’t update the driver after installing the latest Windows 11 OS, your PC may run into some problems. Thus, installing the driver update at the right time is essential. Here we have prepared a complete guide on how to update drivers on Windows 11. Check out now!
Table of Contents
Why should you update drivers?
No matter what software you run on your PC, it won’t work if you don’t have the correct driver for the hardware components that complete the task for you. Putting in simply, the drivers are one of the most crucial software components in your PC. It resolves the compatibility issues between other software and the hardware components.
Also, updated drivers offer the latest firmware protection and make the overall performance of your system better. Thus, not updating your PC driver is not really an option.
How to update drivers on Windows 11?
The drivers receive automatic updates on your Windows 11 computer. But if you have turned off the auto-update option, then you must get the job done manually.
There are multiple methods through which you can update your driver. Here we are going to mention all of them. You can either use the Windows Update feature or update your driver using the Windows Device Manager. Have a look now and try any of the ways.
Method 1: Use Windows Update
Windows update automatically checks for update and install them on your PC. But since you are using the preview build of the operating system like many other users, you may pause the automatic update to avoid frequent interruptions. In that case, you need to check for updates and install them manually. Here is how to automatically install driver updates on Windows 11.
- Click on the search icon on your taskbar.

- Now, type Windows Update and hit the Enter button on your keyboard.
- Then, click on Check for updates button so that Windows can automatically check for updates.
- Finally, wait until the process completes and upon getting the notification on the available update, install them.
Method 2: Use Windows Settings to update drivers on Windows 11
You can update all the required driver software using Windows Settings. Follow the simple steps below to get the job done quickly.
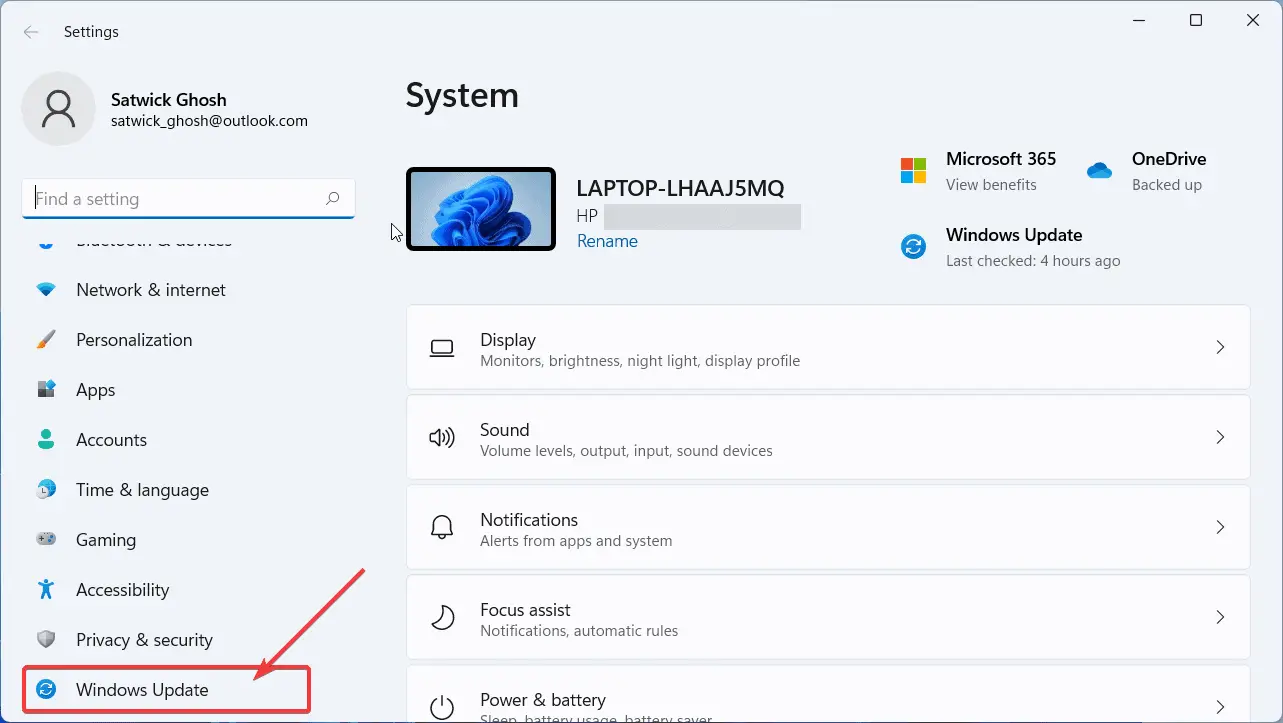
- Firstly, press the Windows logo key + I to open the Windows Settings.
- Then, from the left pane window, click on the Windows Update tab.
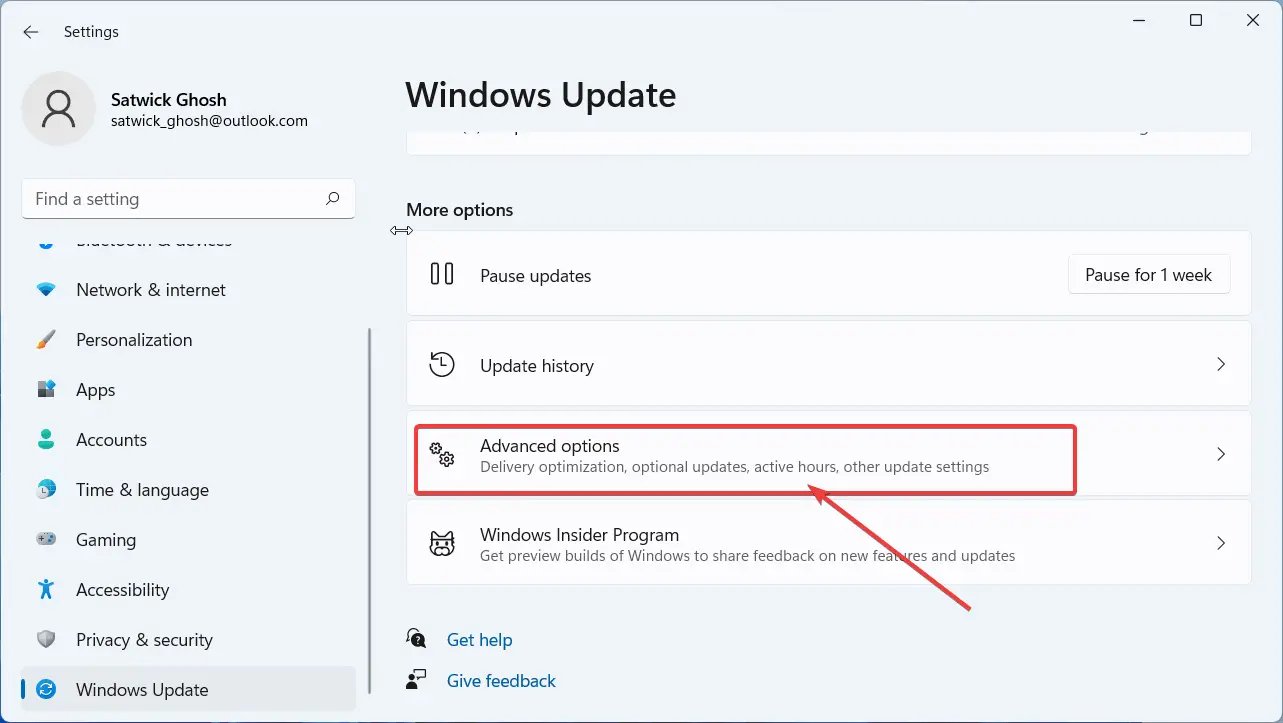
- Now, click on the Advanced options tab under the Windows Update Settings window.
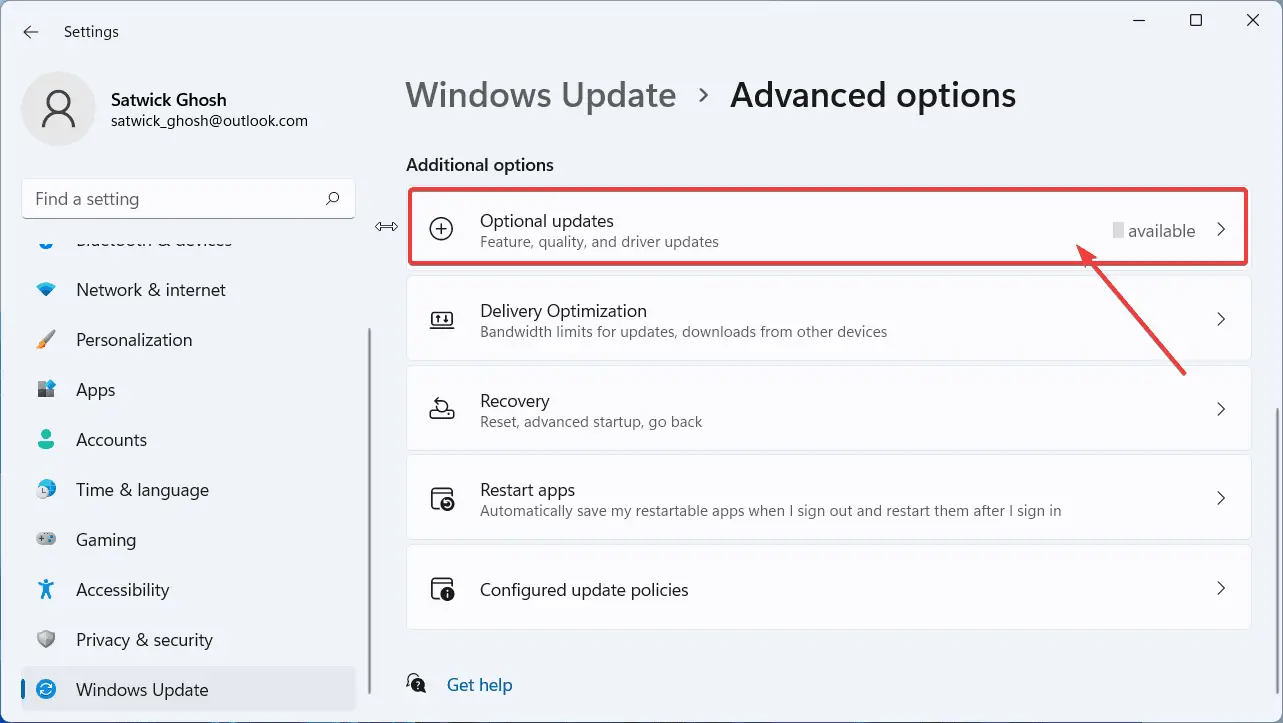
- After that, select Optional updates under Additional options as the new window opens.
- Now, click on the drop-down beside the option Driver updates.
- Then, check the box beside the components you want to update the driver for.
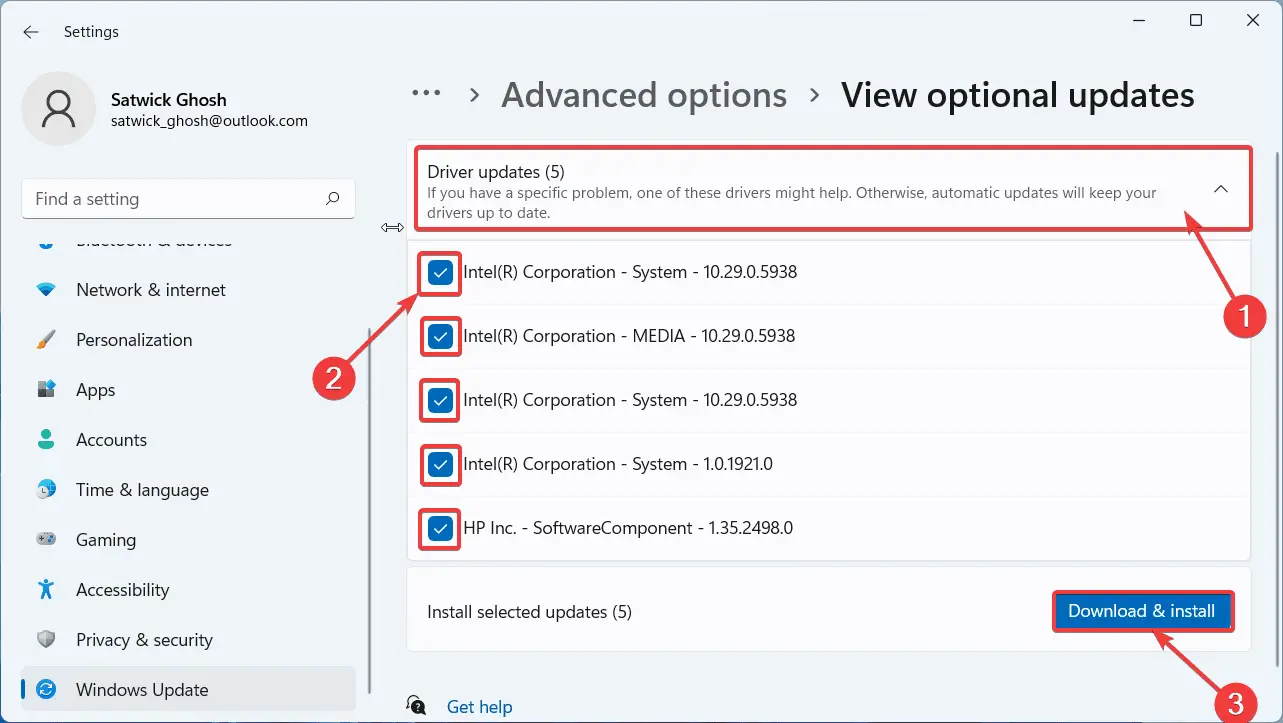
- Finally, select the Download & install option there and wait until the process finishes.
Method 3: Update Windows 11 drivers through Device Manager
Updating the Windows 11 driver through the Device Manager app gives you much more control over the whole process. While updating through the dev manager, you can verify and download the updated drivers’ files from the OEM (Official Equipment Manufacturer) websites. Later, you can install them from your hard drive.
Also, the same process allows you to search and download the files automatically as well. Follow the steps to update Windows 11 drivers using Device Manager.
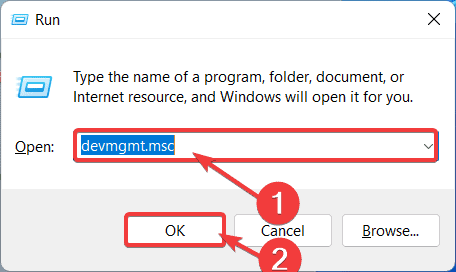
- Press the Windows key + R to open the Run dialogue box.
- Next, in the search field, type devmgmt.msc and click Ok or hit Enter on the keyboard.
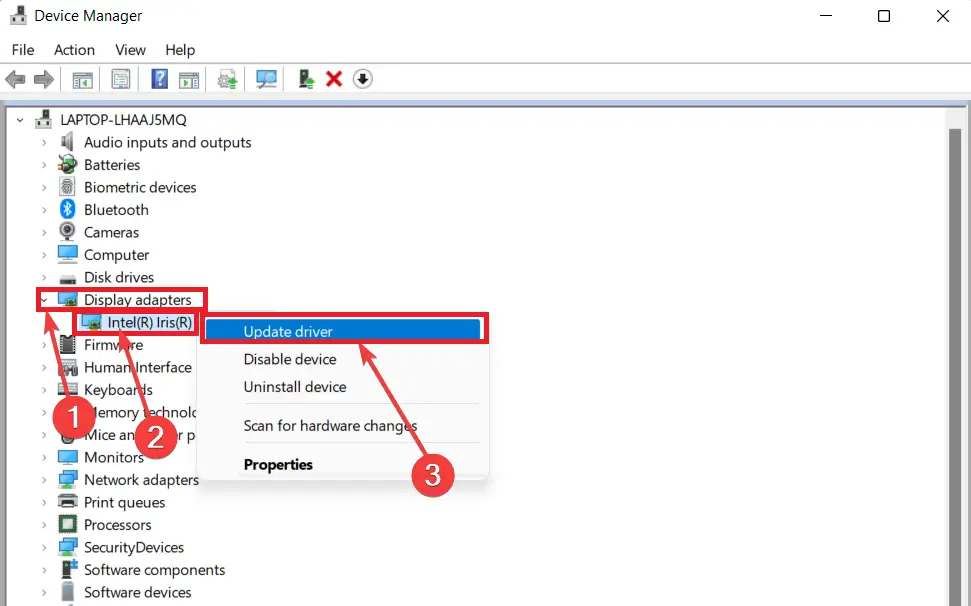
- As you enter the Windows Device Manager window, click on the particular component name to expand its menu.
- Then, right-click on the driver component name and from the list of options, select Update driver.
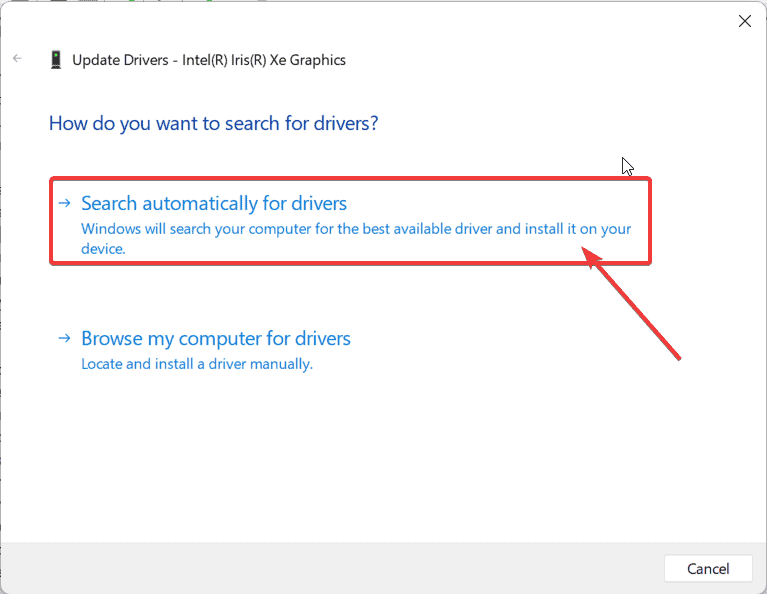
- As the Update Drivers window open, select the option Search automatically for drivers. This way, your operating system will automatically find the updated version of the driver software.
Note: However, if you have already downloaded the updated driver files from OEM websites, then you need to select the other option, which is Browse my computer for drivers.
- After getting the updated driver files, simply follow the on-screen instructions to install the driver on your PC.
- Finally, after completing the installation, Restart your computer.
Are you trying to update the drivers on your Windows 11 computer just after facing a compatibility error on your computer? Then, the best way to get an updated version of your drivers is to re-install them.
Even if there are no system errors or anything like that, you can follow this method to update the drivers on Windows 11 easily.
Method 4: Re-install Drivers
To get the latest driver version for a particular component of your PC, you can simply delete the particular program. After that, your OS will automatically find and install the latest version of the deleted driver. Here is how to do it,
- Click on the Search icon on your taskbar and type Device Manager.
- Now, from the search result, open the Windows Device Manager application.
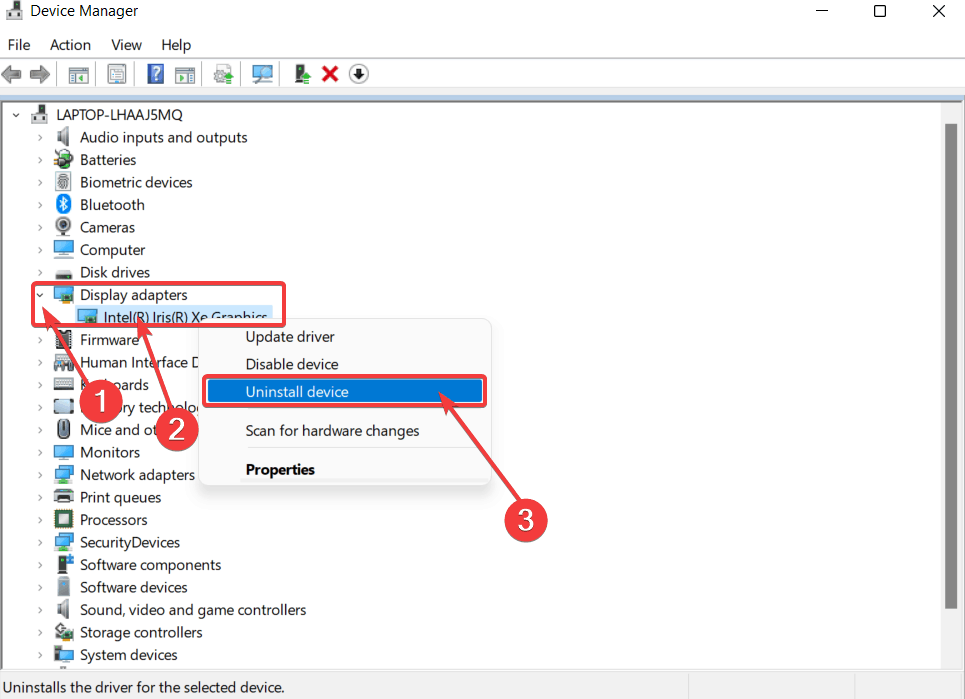
- Then, locate the driver component from the list, and click the arrow button at the left to expand the menu.
- After that, right-click on the driver name and select Uninstall device from the list.
- Finally, as you are done with the uninstallation process, Restart your PC. You will get the latest version of the driver automatically installed on your system.
When should I update my driver?
Well, there is a pretty straightforward answer to that question. The thing is that you should always keep your device driver updated. Whenever an update is available for a particular component driver, you must install them as soon as possible. You may follow any of the methods as mentioned earlier.
However, if you want to get the latest version of driver software automatically, you need to follow the steps below,
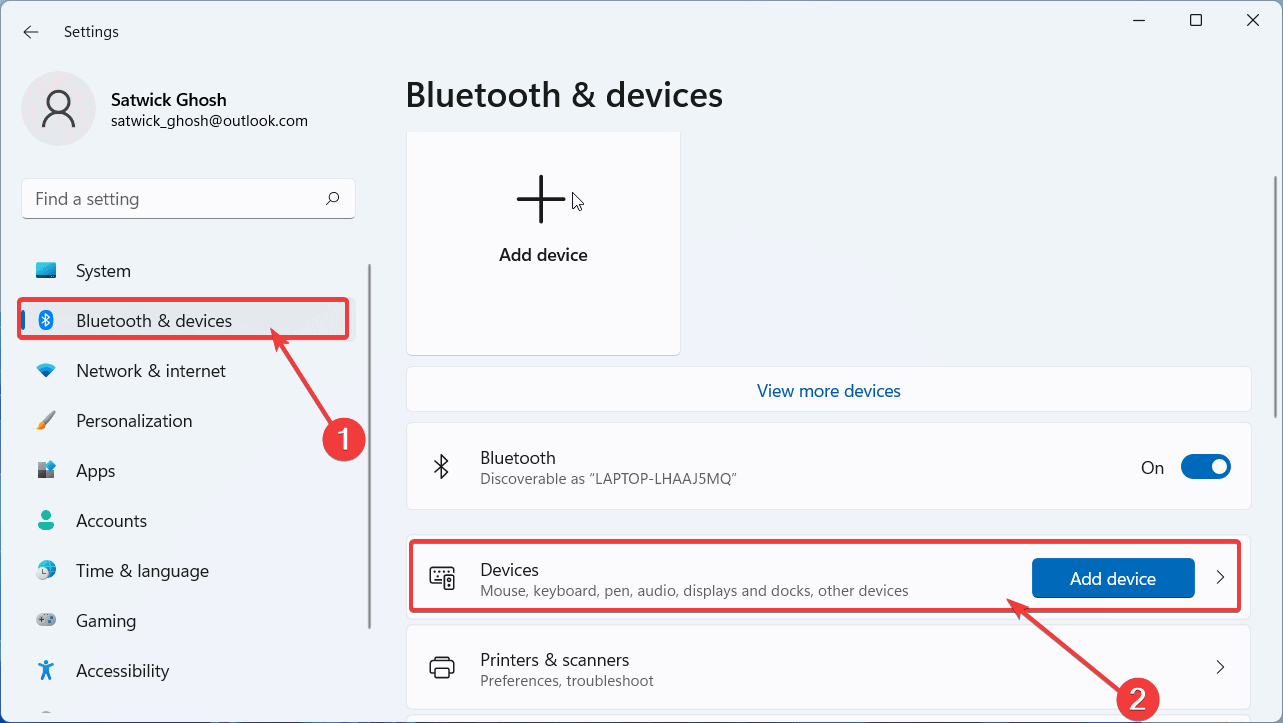
- Press the Windows key + I to open the Windows Settings
- Then, from the left pane window, select Bluetooth & devices and click on Devices.
- Now, scroll down and locate Device and Printers under related settings.
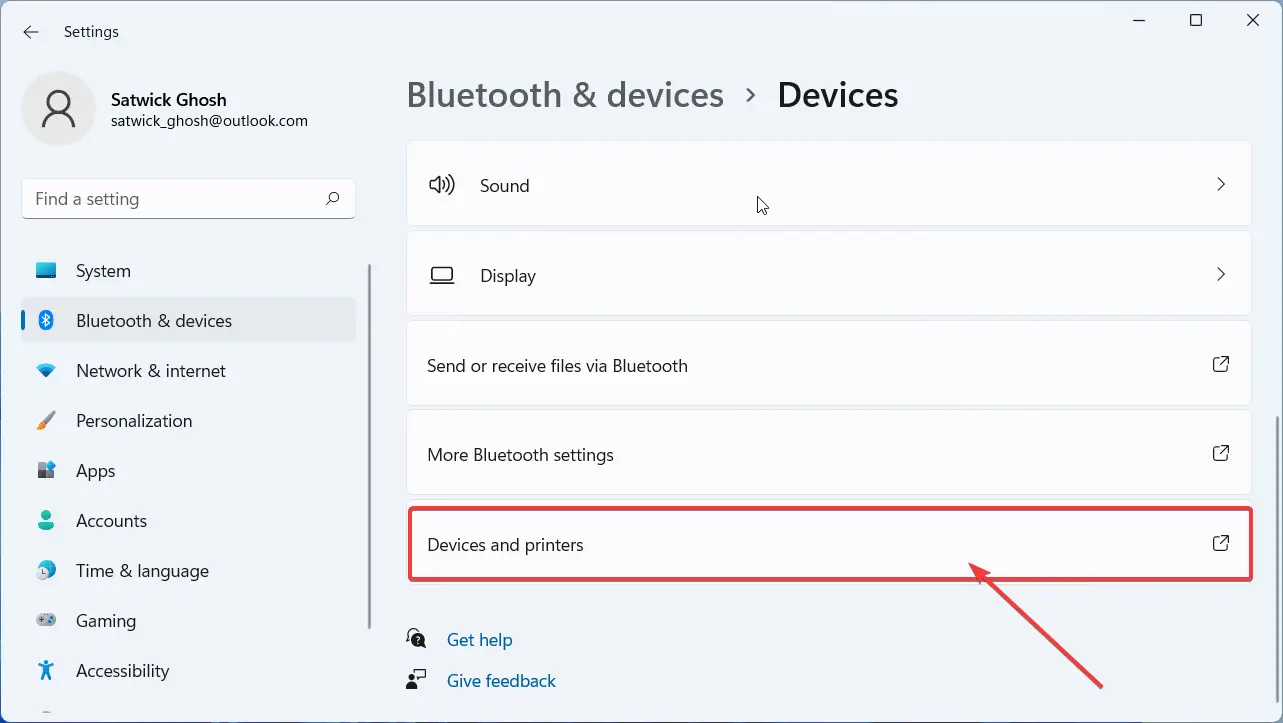
- As the Device and Printers window opens, locate and right-click on your computer name.
- Then, from the list of options, select Device Installation Settings.

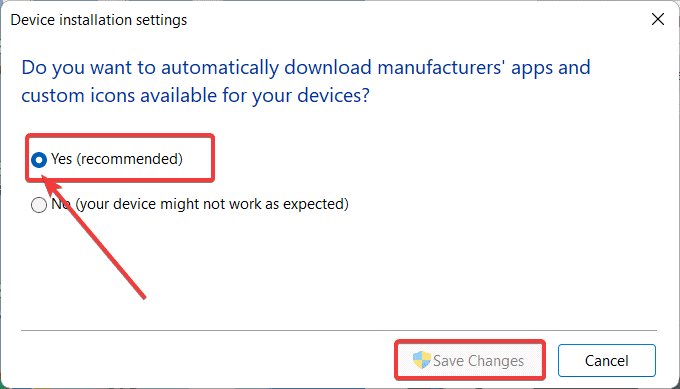
- Finally, on the pop-up windows, select Yes and click on the Save changes button.
That’s all. Hope you find the article helpful. As you already know how to update drivers on Windows 11, you must not face any issue related to the outdated driver. For more Windows 11 troubleshooting guides, keep following us.

