If you work in front of a computer for prolonged hours, you should definitely know how to change brightness on your PC to prevent ailments like eye strain, headache, and dizziness. Depending on how well your surroundings are lit, you should consider adjusting your display’s brightness and enjoy a comfortable user experience.
Fortunately, Windows 11 allows you to change the brightness of your computer in a variety of ways as it is an operating system designed for simplicity. However, if you’ve recently shifted from Windows 10 to Windows 11, you may likely want to know how to adjust the brightness in this operating system.
If that’s the deal, this article has got you covered. In addition to adjusting brightness, Windows 11 also features some handy features like “Night Light” that allow you to reduce the emission of blue light from your display and enjoy working for prolonged hours on your computer. So, without any further delay, let’s jump straight onto the topic.
Table of Contents
How to Change Brightness on Windows 11
1. Using Settings App to Change Brightness on Windows 11
To adjust the brightness of your display using the settings app in Windows 11, follow the steps given below:
- Access the Settings app by pressing the Win + I key on your keyboard together. You can also click on the start menu and choose the gear icon located under the “All Apps” tab
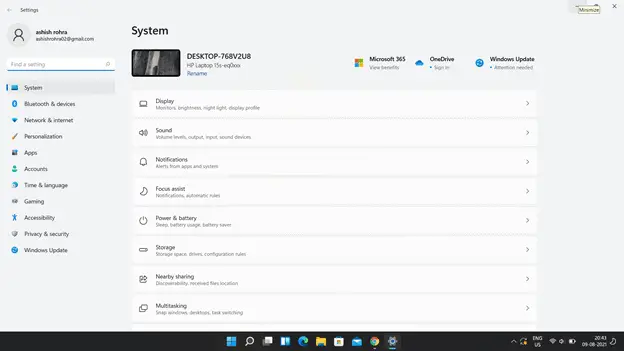
- After accessing the settings interface, navigate to the “System” option, followed by choosing the “Display” option on the left-hand navigation menu
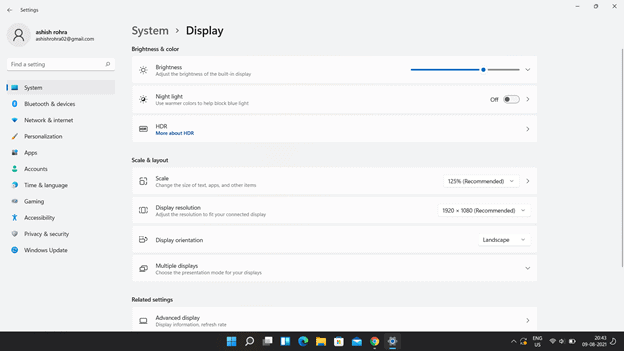
- Then, you’ll see a slider on the right side under the “Brightness and color” section
- Simply adjust the slider as per your preferred brightness level and close the settings app once you’ve made the necessary changes
That’s how you can adjust the brightness of your display using the Settings app in Windows 11.
2. Using Windows 11 Quick Settings
The Quick Settings panel provides you access to a variety of settings that would usually require several steps to access normally. Here is how can you adjust the brightness level in your Windows 11 operating system through the Quick Settings panel:
- Access the Quick Settings Panel by pressing the Win + A key together on your keyboard. You can also choose to click on the volume icon to access the panel
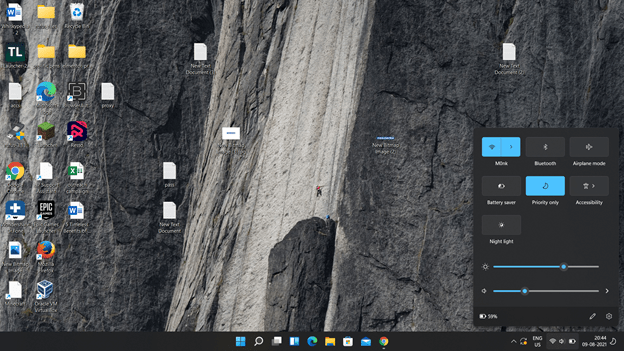
- On the Quick Settings panel, you’ll see a slider to adjust the brightness
- You just need to adjust it as per your preferences and close the panel
It’s one of the most convenient and simple methods to adjust brightness in Windows 11. Let’s discuss some other ways to do so.
3. Hotkeys to Change brightness
A majority of laptops provide you functional keys for varying operations on their keyboard layout. There are control schemes for adjusting brightness levels as well. While the placement of these keys may differ based on the model of your laptop, they are typically available with F2 and F3 keys for reducing and increasing brightness respectively. In case you’ve already located the hotkeys but are unable to adjust the brightness, consider checking whether your display and keyboard drivers are properly installed or not.
4. Using PowerShell to Change Windows 11 Brightness
If your device includes a built-in display, you can also change the brightness using the PowerShell tool available in Windows 11. Follow the steps given below to proceed with the tutorial:
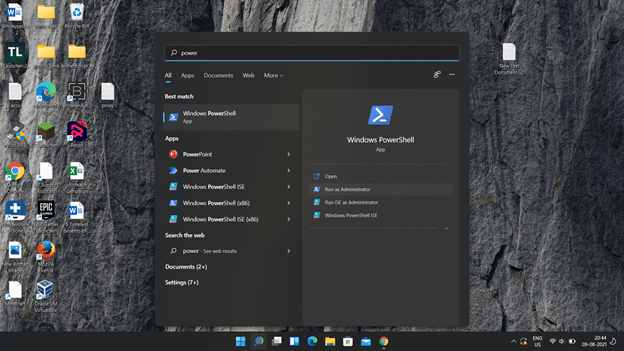
- Access PowerShell by clicking on the “Search” icon and type PowerShell in the input field. Then, choose the relevant result and launch the application
- After successfully accessing the PowerShell, type the command Get-WmiObject -Namespace root/WMI -Class WmiMonitorBrightnessMethods).WmiSetBrightness(1,<Brightness Level> and hit the enter key on your keyboard
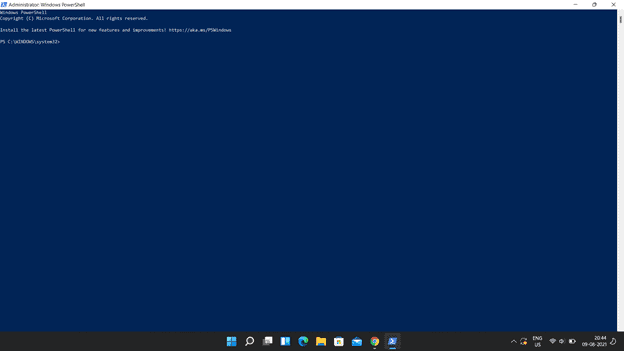
Keep in mind that you can adjust the brightness of your display on a scale of 1 to 100. Close the PowerShell terminal and you’re pretty much done.
5. Using Command Prompt
Similar to PowerShell, you can also use Command Prompt on Windows 11 to adjust its brightness. Here are the required steps that you need to follow:
- Open a new Command Prompt instance by pressing the Win + R key together on your keyboard to reveal the Run tool and type “cmd.exe” in the input field, followed by hitting the enter key on your keyboard
- Once the Command Prompt window is loaded, type the command Issue the command PowerShell (Get-WmiObject -Namespace root/WMI -Class WmiMonitorBrightnessMethods).WmiSetBrightness(1,100) and replace 100 with your preferred brightness level
After adjusting the brightness, you can close the Command Prompt window.
How to Adjust Brightness Automatically Through Battery Saver Mode?
If you are running Windows 11 on a battery-powered device like a laptop, you can use the battery saver mode to automatically adjust the brightness level and reduce the power consumption of your device for prolonged usage.
It can be easily enabled with minimal steps required. Here’s what you need to do to adjust the brightness of your device through the battery saver mode on Windows 11:
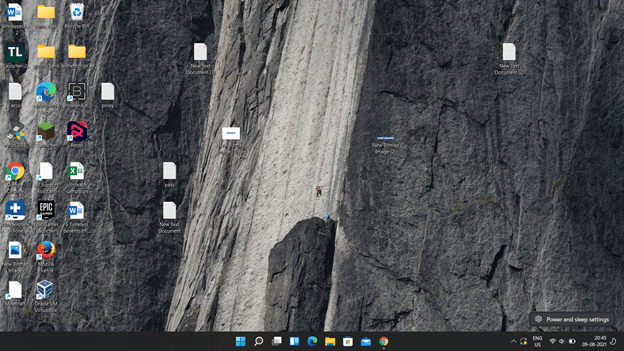
- First of all, right-click on the battery icon located at the bottom-right corner of your screen and choose the “Power and Sleep settings” option to proceed
- Under the battery section on the new interface, click on the “Battery Saver” option
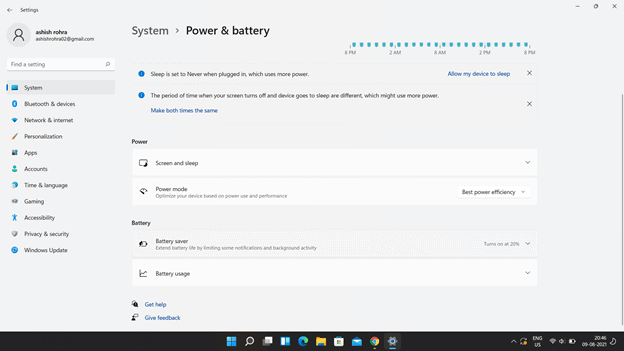
- Next, click on the “Lower Screen Brightness When Using Battery Saver” toggle to enable automatic adjustment of your brightness
From now on, whenever you turn on battery saver mode on your laptop with Windows 11 installed, the intensity of your brightness will be automatically reduced so as to preserve the useful life of your device. That’s pretty much all you need to do for the process to work.
Final Words
If you use your system in a dim area with inadequate brightness, you can harm your eyes as they’ll start straining after a while. That’s why it is important to know how to adjust the brightness levels of your device to be able to use it optimally as per your preferences. Therefore, make sure you try the methods stated above and use your device at your convenience.

