
Windows 10 is currently the most used operating system for computers. It offers various useful features and options to its user which makes this operating system highly flexible. But this is all possible with the help of several processes which keep running in the background in a Windows 10 PC at all times. All of these processes have a different use and benefit to the user. And one of these processes is the dismhost.exe which is quite important for proper functioning of Windows 10.
But sometimes you might face issues with these background processes in Windows 10. Today, we will be taking a look at such an issue where the user faces dismhost.exe dism Host Servicing Process High CPU Usage. In this article you will learn how to fix high CPU usage due to the dismhost.exe process. Apart from that you will also learn more about the importance of this process in Windows 10. Not only that but you will also find the possible reasons for high CPU usage caused due to this process.
Table of Contents
What is dismhost.exe DISM Host Servicing Process in Windows 10?
DISM Host Servicing Process is one of the most important processes found in Windows 10 that are running in your background. DISM Host stands for Deployment Image Servicing Management Host and it handles the process of mounting as well as unmounting the Windows Image File when your computer is installing updates. Due to this reason, the DISM Host process is always running in the background as without it Windows 10 might get corrupted while installing an update. This process handles the mounting and unmounting of Windows 10 on its own without needing user’s assistance.
Also DISM is life savior utility in Windows 10/8 & 7, when you have any problem with Windows 10 features or apps that stops working, and by using DISM you can restore corrupted or deleted system files easily and restore broken functionality. Lots of Windows 10 issues can be fixed by using DISM where SFC (System File Checker) fails to fix.
is dismhost.exe Malware or Virus?
dismhost.exe is found in temporary files and folder of Windows or the subfolders of user document’s folder. The usual location for dismhost.exe is C:\Users\USERNAME\AppData\Local\Temp\2E9B2DBD-13AA-4635-8A7F-2DF6476FCAEC\ or C:\Users\USERNAME\AppData\Local\Temp\69868891-5D94-42C8-BD85-3458784BB3DB\
The other locations where you may also find dismhost.exe are Windows/System32/DISM/ or C:/Users/Admin/local settings/temp
Although, the location of this executable file does make one suspicious as this file is related to Windows or not. But its 100% safe Windows executable process and not the virus or malware. Antivirus often ends up flagging dismhost.exe due to its behavior but its more like false positive and you can safely ignore it.
Learn how to fix Modern Setup Host high CPU Usage.
What Causes High CPU & Disk Usage by dismhost.exe
While this process works without any issues for the most part, sometimes the user might face issues in Windows 10 due to it. After Windows has installed an update, the dismhost.exe process might cause high CPU usage on your computer. This can be quite frustrating as it affect the performance of all other programs installed on your computer. Such an issue can be caused due to malware and other viruses present in your copmuter. Malware can use the dismhost.exe to carry out there operations which results in high CPU usage. Apart from that corrupted Windows updates or issues with the dismhost.exe process itself can also result in high CPU usage on Windows 10.
How to Fix dismhost.exe High CPU & Disk Usage
Now that you know that this issue can cause high CPU usage, fixing it becomes quite important. Because if you do not fix the dismhost.exe process right away, you will face a poor computing experience due to high CPU usage. But as this problem can be caused due to a number of reasons, there is no specific way to fix it. Instead, you have to try out different things to successfully fix the dismhoste.exe DISM Host Servicing Process High CPU Usage issue in Windows 10. You can do so on your Windows 10 PC by following the given steps one by one:
1. Disable Superfetch Service in Windows 10 via Services Utility
Superfetch is a very useful feature of Windows 10 as it pre-loads data into your memory. It simply instructs other processes on your computer to do so using CPU and memory of your computer. This means that if Superfetch instructs the DISM Host Servicing Process to do the same, it might result in high CPU usage. In such a case, the easiest fix for you is to simply disable the Superfetch process in Windows 10. And once it is disabled, DISM Host will stop using the CPU on your computer. So, if you are also facing the same issue on your computer, then you can disable Superfetch by following the given steps one by one:
- Press Windows Key + R on your keyboard at the same time to open Windows Run.
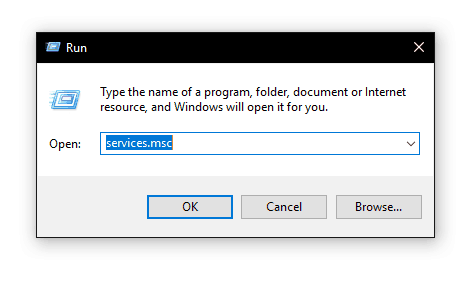
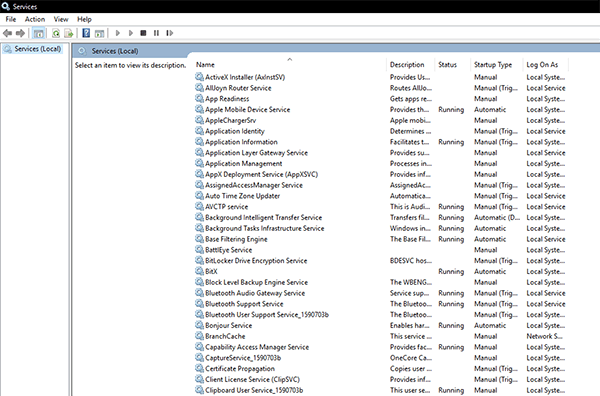
- In here, type msc and press enter on your keyboard which will open the Services Utility in Windows 10.
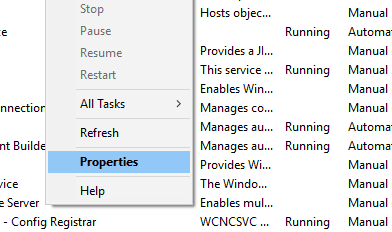
- After that, search for Superfetch and right-click on it to open its Properties.
- Inside the Properties window, click on Stop to stop the Superfetch process. After that, select Disabled from the drop-down menu next to the Startup type
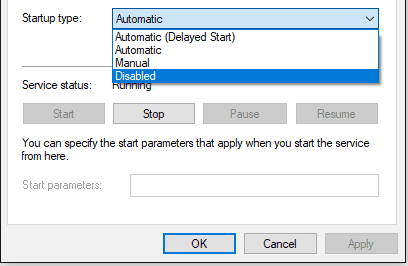
- Once that is done, simply click on OK and restart your computer which will fix the DISM Host Servicing Process High CPU Usage issue in Windows 10.
2. Disable BITS in Windows 10 via Services Utility
As told earlier, the dismhost.exe is a process quite useful for Windows Updates. But there is another service in Windows 10 which is required for Windows Updates called BITS. BITS stands for Background Intelligent Transfer Service which essentially transfers the Windows Update files in the background. And this process also transfers the Windows Image which is mounted by the DISM Host Servicing Process. Therefore, any issue with the BITS service can cause high CPU Usage in dismhost.exe. So, if you are also facing the same issue on your computer, you can disable the Background Intelligent Transfer Service as shown in the given instructions:
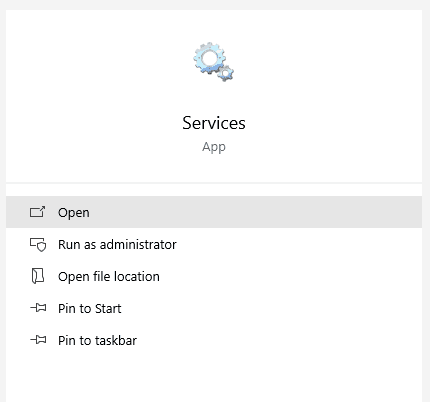
- Use the Windows Search option to open the Services utility on your computer.
- In here, look for Background Intelligent Transfer Service.
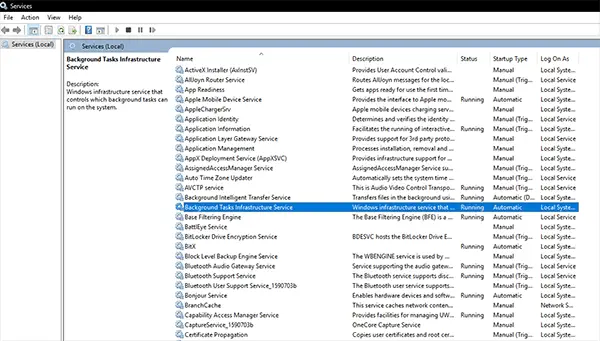
- Now, right-click on it to open its Properties.
- In here, click on Stop and select Disabled from the drop-down menu next to the Startup type
- At last, click on OK to save your settings and reboot your computer after which the high CPU usage issue of dismhost.exe will be fixed.

