If you have ever made slideshows before, you have probably heard of free pre-installed programs like Windows Movie Maker. Windows 10 launched a new version of the movie maker called Microsoft Photos. You can use the software to automatically upload images to the app, tag people on the photos to have a better system of preserving the images and apply some filters. Although the program is quite simple and easy to learn, it does lack a number of modern tools to make your presentation stand out. The variety of animation and transition effects is very limited, designing options are not extensive, and you cannot make a voiceover slideshow.
Table of Contents
What is the alternative?
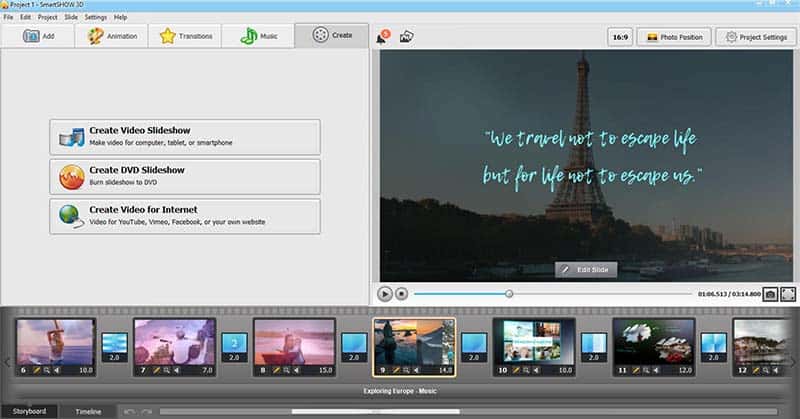
Something free/inexpensive and easy to use yet full of professional options to make an outstanding slideshow. SmartSHOW3D is a program to make a slideshow on Windows 10. It offers a wide range of tools specifically designed for slideshow and presentation making.

What are the main features?
- SmartSHOW3D allows you to make a great slideshow in under 5 minutes. Having more than 100 predesigned templates for any occasion, it will help you make a little movie in no time.
- The slideshow software for Windows 10 has 350+ effects for animation and transition to make your work dynamic and exciting. For a work or university presentation, you can also find plain and classic effects.
- To spice up your video, you can choose from more than 200 music tracks of every genre, duration, and mood.
- Make your slideshow more fun to watch by adding 3D animation to your images and text.
How Do I Make the Slideshow?
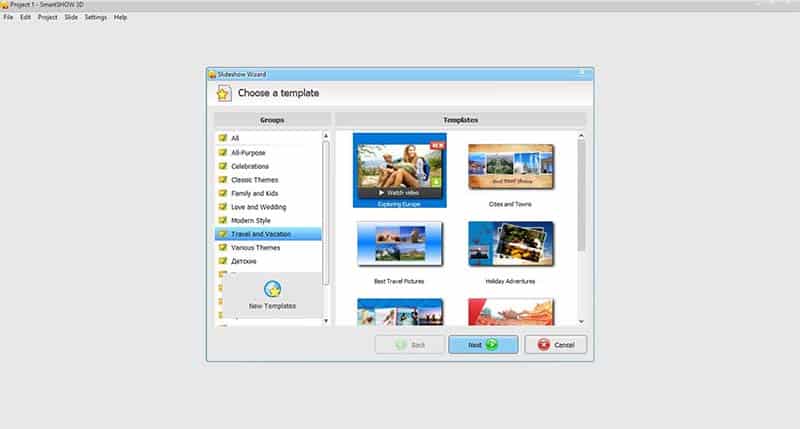
1. Decide on the Theme and Template
Before you begin working on your slideshow, think of a theme. Maybe your friend’s birthday is coming up or the wedding anniversary of your parents is next month. Regardless of the subject, you will most definitely find a template that fits the atmosphere. Now go a bit deeper and envision your future movie in more detail. For a birthday slideshow, you can collect the proudest moments of the birthday person’s life or create a slideshow on Windows 10 with photos of his or her family members and closest friends. For a wedding anniversary, you can show the journey of the couple’s happy life chronologically or limit yourself to only milestones.
2. Choose Photos and Short Clips
After you have decided on the theme and imagined how the slideshow is going to look like when done, collect photos and videos. If you lack some important moments, ask friends and family members, you can always involve other people in your project to make it more interesting. The integrated basic photo editor will help you with retouching small imperfections, adjusting contrast and exposure as well as cropping the image to fit the frame.
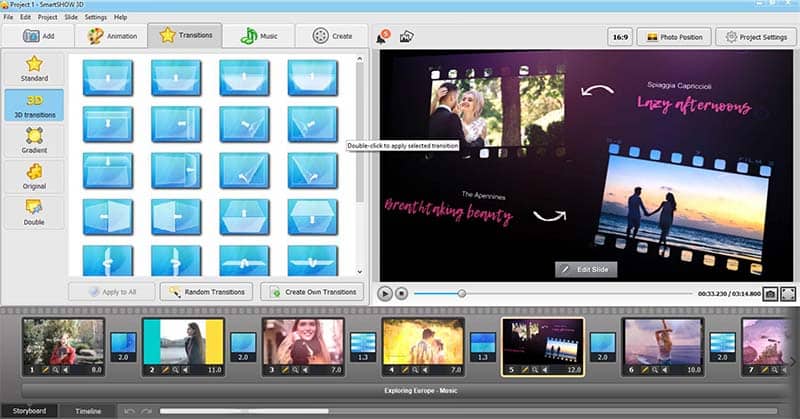
3. Design Away
Browse through animation and transition effects to try them out and see whether they will fit your work. You can choose a motion effect, a 3D effect, or an animation with falling leaves or snow. Once you found something that works for you, double click to apply the effect. Transitions between the slides can also be altered: choose a simple one for a professional presentation or an original one with bright colors and different shapes for a movie for a friend.
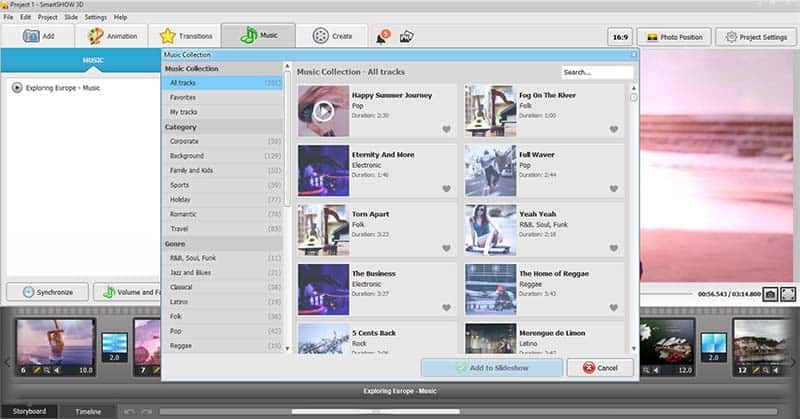
4. Add a Cool Tune
Go to the Music tab and scroll through a large collection of over 200 royalty-free tracks. You can save your favorite tunes for later, so you don’t lose it the next time you make a slideshow with music on Windows 10. You can filter out songs by duration to make sure it corresponds with the length of the slideshow, by genre to fit the purpose of your work, and by mood to create the right atmosphere. Tunes are also divided by category – corporate for a business presentation, romantic for a wedding anniversary video, or travel for an adventurous slideshow about an exotic country. Finally, you can upload your own song and add it to your little movie. If the chosen tune is too long, you can trim and cut it right in the program.
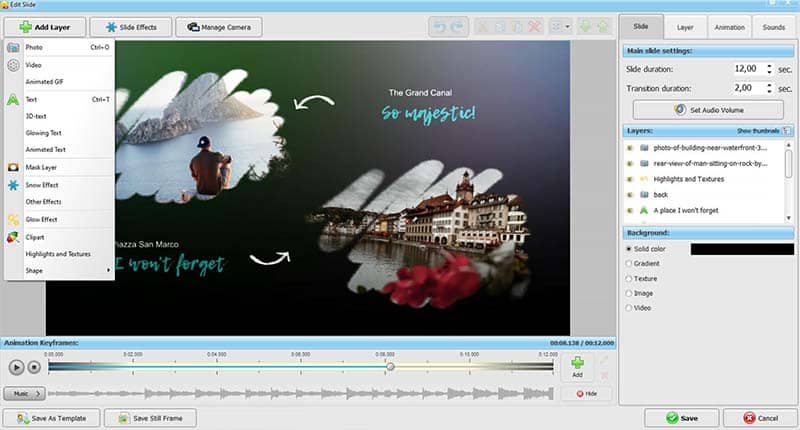
5. Express Your Thoughts
Whatever the occasion, you probably want to express your gratitude and appreciation for the close ones. Slideshow maker for Windows 10 has a variety of captions: go to the slide editor and add text. Click 3D, glowing, animated, or plain text depending on your preference and the purpose of the video. You can play around with various fonts, sizes, and colors. Not sure what to say? Look for heartwarming quotes on the internet that fit your theme and add a couple. Moreover, you can ask friends and family members to share some of their thoughts and wishes on this occasion and include them in the video. Alternatively, if you don’t want to overload the images and videos with captions, make a voice recording. Hearing a person’s sincere and heartfelt wishes is much more intimate and touching than simply reading them from the slide. Write down a short script of what you are going to say and click Record Voice. If the first take was not perfect, you can record your message again or cut out the bad parts.
How Do I Share My Work?
Watch your video one last time before saving and converting it into one of 30 available formats. Afterwards, you can choose between saving the work on your PC and maybe transferring it to a USB stick later to bring to a celebration, burning it to a DVD to give it as a present, or directly uploading to one of the popular social media platforms.
Hopefully, this article helped you to learn how to make a slideshow on Windows 10. The process is fun and simple, so get your creative juices flowing and start creating. Involve other family members, including children – everyone will enjoy this fun evening of making a video together. Working together on one project always brings you closer, so use this opportunity to create a wonderful new memory for your family.

