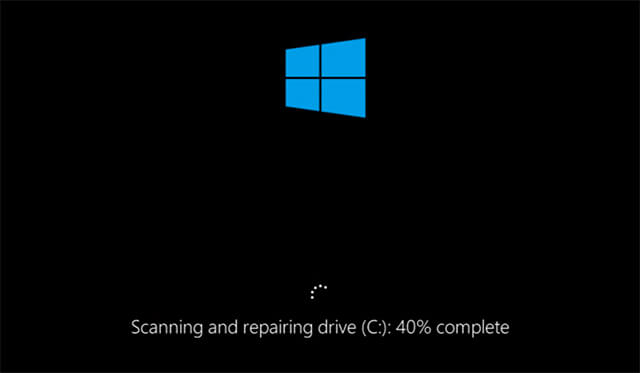
Is your Windows 10 stuck at 100% while scanning and repairing drive? Or is it still at 10% after HOURS?
Be it Lenovo, Dell or any other laptop running Windows 10, users have been facing drive being stuck at scanning and repairing. The issue of Drive Scan and Repair being stuck at a random percentage (0, 10, 12, 100%) for hours, even overnight in some cases. But, fortunately, there are some fixes that you can try. But first, let’s find out why this issue is even occurring.
Table of Contents
What Causes Scanning and Repairing Drive Stuck at 100%?
Scanning and repairing a drive is the process in Windows, that scans a drive for potential issues and then tries to fix them. It is a subprocess under the whole Windows Automatic Repair. The automatic repair process starts whenever Windows 10 reboots from unexpected shutdown due to an error like blue screen of death or power failure.
However, it is not as trouble-free as it sounds. Many users have reported the drive scan and repair getting stuck. The reasons for that happening are:
- Presence of bad sectors in your drive that causes difficulty in reading and scanning the drive
- A forced shutdown, meaning you did not turn off your PC the correct way
- Power failure
- Improper or lose drive connection
- Windows 10 is infected with virus or malware
- Incorrect configuration of system drive
12 Fixes – Scanning & Repairing Drive Stuck at 100
The first thing you should try before getting all technical is restarting your PC. If the issue remains, apply the following fixes.
Fix 1: Let Drive Scanning & Repairing Process to Finish
Maybe, your PC does not need any fix. It just needs more time to scan and repair all the files. It might take minutes but if your drive is in a bad condition, it can take hours.
Fix 2: Stop the Scan and Repair process
Another way to get past the issue is to stop the scan altogether.
- Press the power button to shut off your PC.
- Fire it back up.
- Once it restarts, it will show the “Preparing Automatic Repair” screen and then the “Diagnosing Your PC”
- Before the drive scanning starts, you get a chance to press any key and stop the disk checking. For instance, the enter key, press it continuously to stop the scanning process.
Fix 3: Check Drive Status
The first fix you need to try is checking the drive status. If the problem is in the drive, Windows will find it and repair it. Here is how to do that:
- Search “control panel” and open it up.
- It will display all the items of the control panel. Tap on Security and Maintenance.
- Tap on maintenance. And under the Drive Status, you will find the issues, if there are any, with a link to solve them.
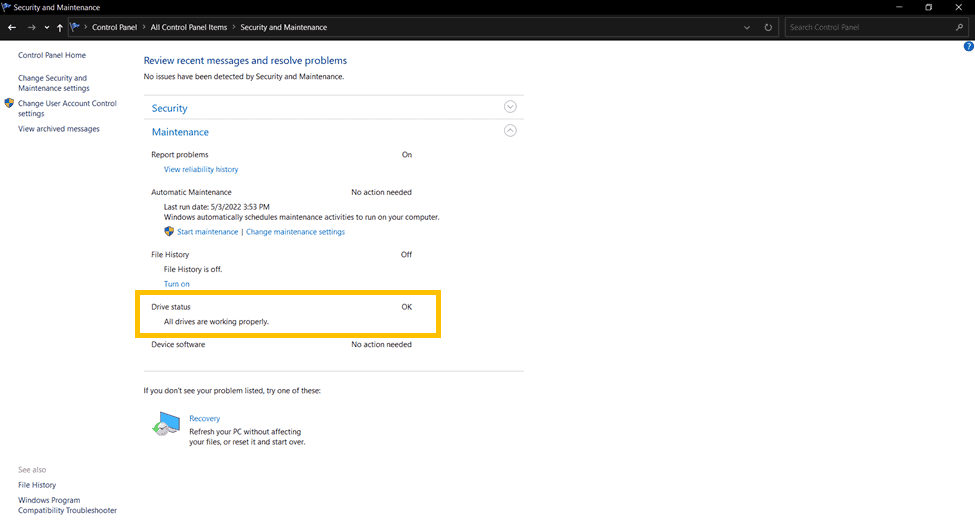
But if it says that the drives are working properly, you will need to use another fix.
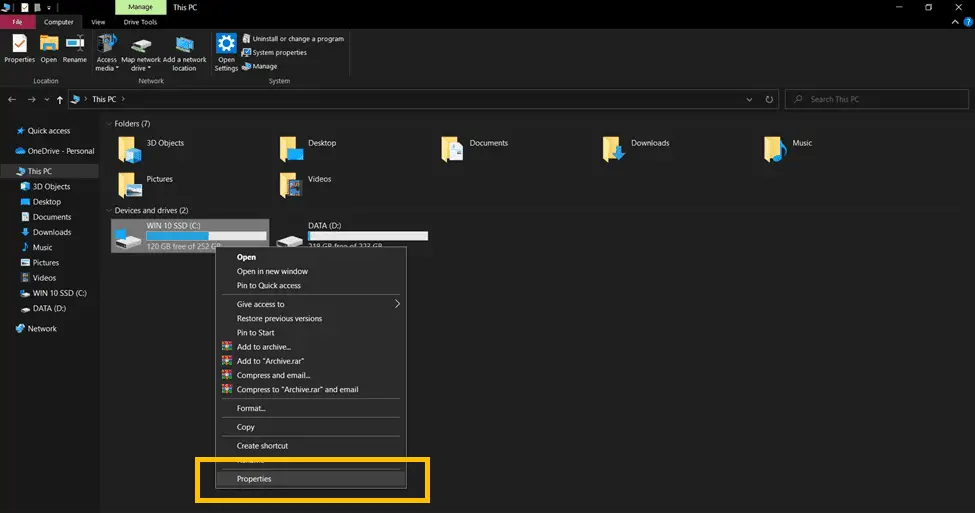
Fix 4: Error Checking
- Open File Explorer.
- Under the “Devices and drives”, right-click on the drive that is under scan and repair. Select Properties.
- Open the Tools tab in the properties bar.
- Under “error checking”, click on “Check”.
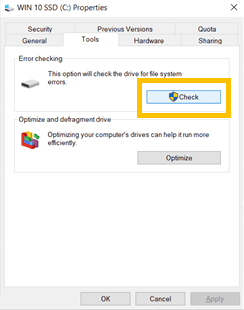
- The errors will be found and then tap the “repair drive” to cure them.
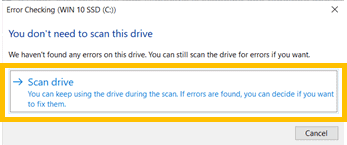
- If no issues are found this tab will pop up.
- Click on “scan drive” to find issues.
- After the scan, reboot your PC to see if the scan and repair process is working right.
Fix 5: Disable Automatic Repair
- Restart your PC while pressing the Shift key.
- When it restarts, your PC will be in the Windows Recovery Environment [WinRE]
- Click on Troubleshoot > Advanced Options. It will look like this.

- Choose “Command Prompt” and check the values of “identifier” and “recoveryenabled”. The values will generally be “{current}” and “yes” respectively.
- Type or paste the following command as it is in the command prompt screen.
bcdedit /set {current} recoveryenabled no
- Restart your PC.
Fix 6: Disable Fast Startup Feature
- Open the Control Panel and choose “Power Options”.
- Tap on “Choose what the power button does”.
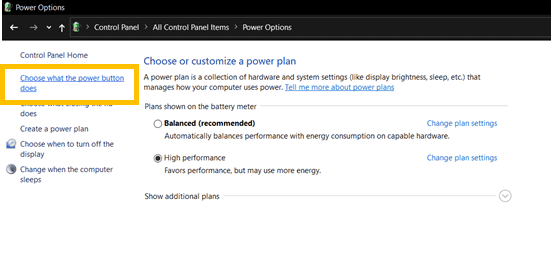
- Tap on the “Change settings that are currently unavailable” and turn off the “Turn on fast startup (recommended)”. Save the changes.
Fix 7: Run CHKDSK in Safe Mode.
- Open up WinRE by restarting your PC while holding the Shift key as we explained in fix 5.
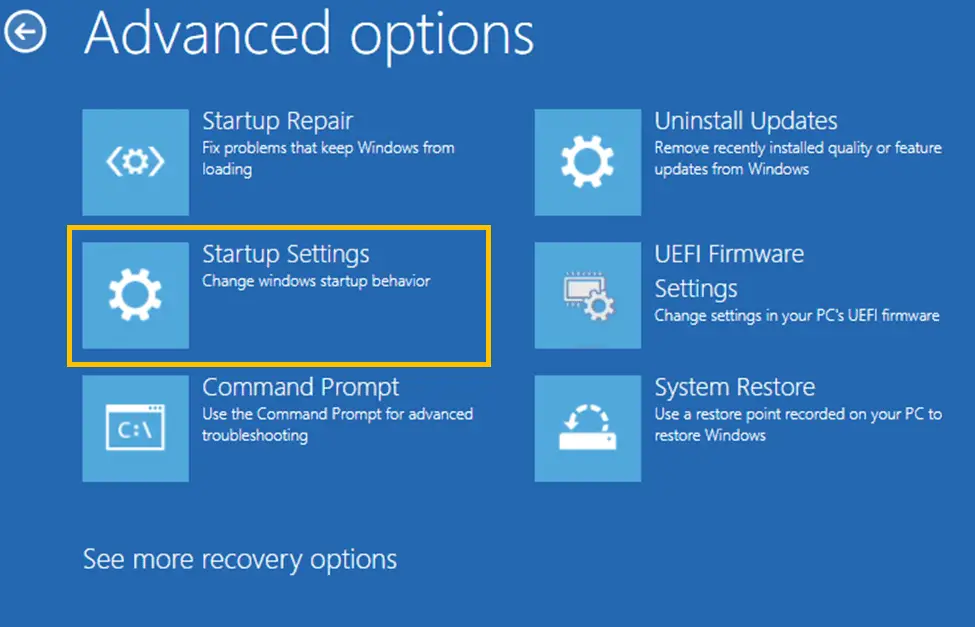
- Click on Troubleshoot and then tap on Advance Options.
- From the window below, click on Startup Settings.
- Tap on Restart and press “5” or “F5” to turn on the Safe Mode.
- Open File Explorer, and go to This PC.
- Right-click on the drive that is being scanned and repaired, and select Properties as we did in fix 4.
- Open tools in the properties bar.
- Click on “Check” under Error Checking.
- If any issues are found, fix them.
Fix 8: Disable Disk Checking
- Turn on the Safe Mode as we did in fix 7.
- Press Windows + R key to get the Run dialog box.
- Type “regedit” into the box as shown below.

- Go to the sessions manager and double click on “BootExecute”.
- Change the value to autocheckautochk/k:C * and click on OK.
- Reboot your computer to see if the issue has been tackled.
Fix 9: Run “repair-volume- driveletter”
- Open Windows Powershell and click on “Run as administrator”.
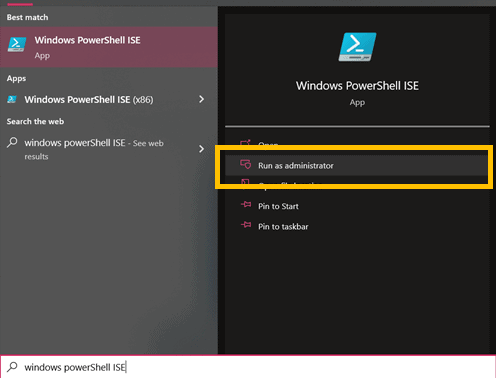
- Type or copy the following command as it is into the administrator window.
repair-volume -driveletter c
- Press Enter and it will run the process. Wait for a few seconds for the process to be done.
- Reboot your computer and check if this fix worked.
Fix 10: Run “sfc scan”
- Open the Command Prompt and run it as administrator.
- Type the following commands into the administrator window.
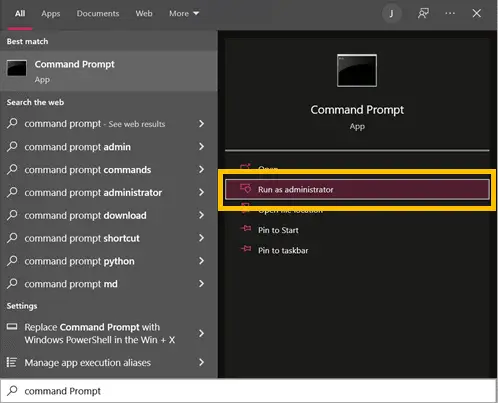
sfc/scannow
- Press Enter ad it will run for a few seconds to locate any corrupt system files and restore them from the “%WinDir%\System32\dllcache” folder
Fix 11: Run System Restore
System Restore process restores your Windows to last known working condition. System restore is best way to get your system back up and running from any issues. In order for System restore to work, you will need to have manually or set automatic system restore point creation. Follow below steps to restore your Windows 10
- Force Windows reboot by pressing power button multiple times and enter into Windows Recover mode
- Proceed to troubleshoot -> Advanced Options
- Now click on System Restore and tap on Next button to select System restore point,
- Click on Finish button to proceed.
Fix 12: Reinstall Windows
- Open Settings App and access Update and Security, click on Recovery option
- Click on Yes for Whether switch applications to Windows security message
- The Fresh start option will be displayed
- Click on Get Started button and then click next button.
- This will deleted all the applications not related to Windows 10 system
- Click Next to let you download most recent version of Windows 10. Complete the Windows 10 installation and this will forever fix scanning and repairing drive stuck at 10 percent issue.
FAQs
How long does scanning and repairing the drive take?
The process of scanning and repairing the drive takes around two hours. The time taken depends on the size of your drive and the number of errors in it.
Can I stop Windows scanning and repairing C drive?
Yes. As explained in fix 2, restart your computer. You get six seconds to press any key to stop the scanning and repairing process before the disc checking starts.
How to disable automatic repair on Windows 10?
Restart your PC while holding Shift. Your PC will be in WinRE. Go to Troubleshoot > Advanced Options > Command Prompt. Type bcdedit /set {current} recoveryenabled no before pressing Enter. Restart.
Conclusion
If the process of scanning and repairing the drive is stuck at a particular percentage, it means that there are issues with your disk. To solve this problem, we advise that the first fix before all should be rebooting your PC. If you are lucky, you will not need another remedy.
While rebooting is quite simple, it may not work. In that case, you will have to go through the other fixes we have explained.
You can also disable automatic repair to stay away from these issues once and for all. We hope our guide to fixing the scanning and repairing drive stuck at 100 helped you.

