Is your AirPod Case not charging? We understand how frustrating this feels because many of us have been through this situation at least once. So, it’s not rare at all when you may find the light on your AirPod case is not glowing even after plugging in the charger. The acrimony becomes two times greater than the good feeling that your favorite track gave, just a few moments ago. So, how to get rid of this situation and fix the ‘AirPod case not charging issue’?
Well, before we tell you all 7 secrets to keep your AirPod playable, you must check out the reasons, which trigger this problem. Once you are aware of all the potential grounds, you can easily fix it on your own. So without any further second’s delay, have a look at our know-how guide. Here you go!
Table of Contents
Why Your AirPod Case isn’t Charging?
AirPods are one of the well-built wireless earbuds currently available in the market. However, just like any other electronic device, AirPods too have a certain life span. They are bound to have some issues after extended periods of usage. And, one of the most common problems is the AirPod case not charging issue.
Today we will explore the probable reasons behind this trouble, and then we will give you a bunch of effective solutions to eliminate this issue altogether. So, scroll down!
1. Charger Cable isn’t Properly Connected
Most of the time, when you face difficulty in charging your AirPod case, it is due to loosely connected USB cable. It can happen at either end of the cable. It occurs especially when you’re using a third-party charging cable as those cables aren’t well-built like a proprietary charging cord supplied in the box by Apple. If this is the reason, then you are in luck as it isn’t a real problem like the rest of the reasons and can be avoided by carefully inserting the power cord.
2. Faulty Power Outlet
Sometimes it can be the power outlet source that is causing the inconvenience instead of the charging cord or the charging case. Every power outlet has an expiry date, after which it can no longer provide a steady power supply and needs to be replaced with a new one. You can easily check whether your power outlet is running or not by plugging your AirPod case into other power outlets.
3. Third-Party Charging Cables
Non-Apple charging bricks aren’t as reliable as the one you get from Apple at the time of purchase. The cheap Chinese-made generic lightning cables can be found in any supermarket, and online stores and people tend to save a few bucks by buying one of these after the original cable gets broken. This is not a good idea if you want a long-term solution to your AirPod charging situation.
4. Defective Wireless Charging Pad
Unlike AirPod 1, AirPod 2 supports wireless charging, which makes its users’ life easy. Although wireless charging pads are a trusted source of steady power supply, sometimes these pads can malfunction. The copper coils inside of a wireless charger, which generates electromagnetic waves, can stop working after a certain time.
5. Rust Formation in Contact Points
Rust and dust can form within the contact points and the charging ports. It needs regular maintenance and cleaning up to keep it in working condition. If there is debris on the charging case’s lightning port, it can lead to slow or no charging, thus impairing the whole charging process for AirPods.
These are the most common errors that can make you face the AirPod case not charging issue. Even though you might think you need a new unit after facing such a problem, in reality, you can solve the issue by yourself. In the next couple of segments, we will guide you with the proper way out of this issue.
How to Fix AirPod Case not Charging?
Fixing the charging issue for AirPods doesn’t involve rocket science. There are a few troubleshooters, which we’re about to explain, that can solve your AirPod case, not charging issue in no time. So stick around till the end of this article to know the methods of fixing broken AirPod cases.
Fix 1: Check Your Cable Connection
The first thing you need to make sure while charging via USB cable is, attaching the cable firmly into the charging case as well as into the power adopter. If either end is loosely plugged, then it can result in a charging error.
Also, you have to make sure the power adopter is tightly plugged into the wall socket. If there is a loose connection in the power outlet, then it can not charge your AirPod. So whenever you are getting no power into your AirPod case, recheck the cable connection.
Fix 2: Test the Power Source
This method may seem very basic, but the simplest things are often overlooked. Checking the power source is a very easy process that can be done by inserting an electrical tester screwdriver. If the light inside the tester doesn’t light up, it signifies your power outlet has a fault that keeps electricity from passing through it.
If you have an erroneous power source, move on to another outlet or fix the broken one. If the AirPod charges on other outlets, then it doesn’t have any fault and can be used without any worry.
Fix 3: Brush the Charging Port and Contact Points
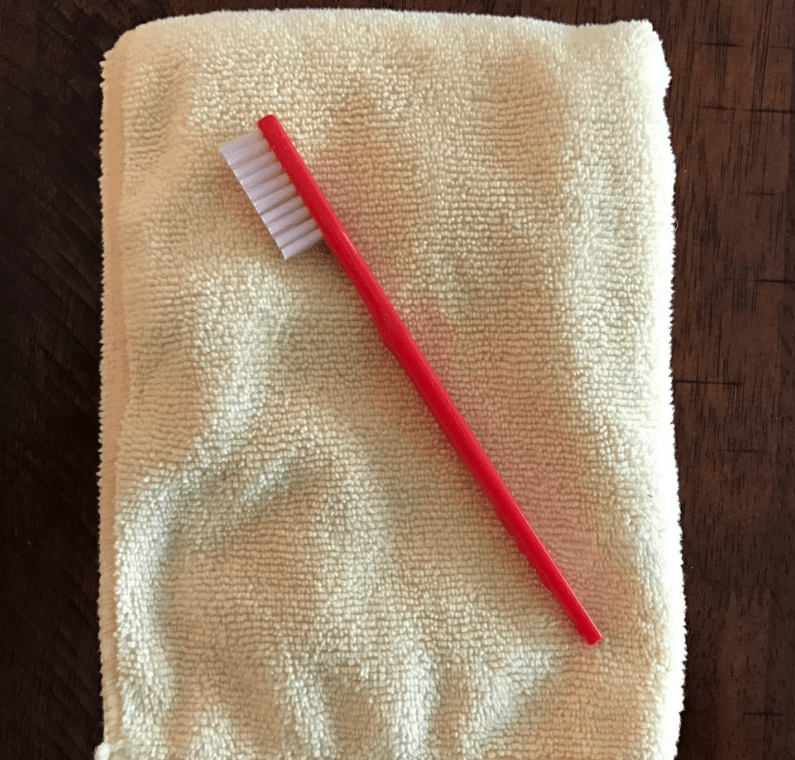
A layer of debris inside the charging port can be the cause of charging failure. So, twice or thrice in a year, you should clear out all the dirt that got into the charging port because of day to day use. Along with that, cleaning the contact points of AirPods is also necessary to enable them to get power smoothly from the charging case. Here’s a step by step guide to cleansing the AirPod.

- Take a toothpick
- Insert it into the lightning port of the charging case
- Softly pick out the visible dirt inside the port
- Take a toothbrush and brush the port as well as the contact points of the AirPods to remove the leftover debris
- To clean the contact points, you need to take a clean piece of cloth
- Pour 3-4 drops of isopropyl alcohol on it
- Gently rub the contact points on both the AirPod
Fix 4: Reset the AirPod Case
This is one of the most effective troubleshooting steps when you are trying to repair your AirPod. If the issue still exists even after clearing charging ports, then resetting is the path you should follow. Here’s what you need to do to reset your AirPod.
- Press the setup button on the backside of the charging case and hold it for 15 seconds
- The flashlight on the charging case will start blinking in amber and then in white
- When it flashes white light, let the button go
- Your reset process is completed, and your AirPod should charge now
If you’re having some sort of software issue with your AirPod, resetting it will eliminate the issue. If the issue is still there, try out our next fixes.
Fix 5: Use a Different Charging Cable
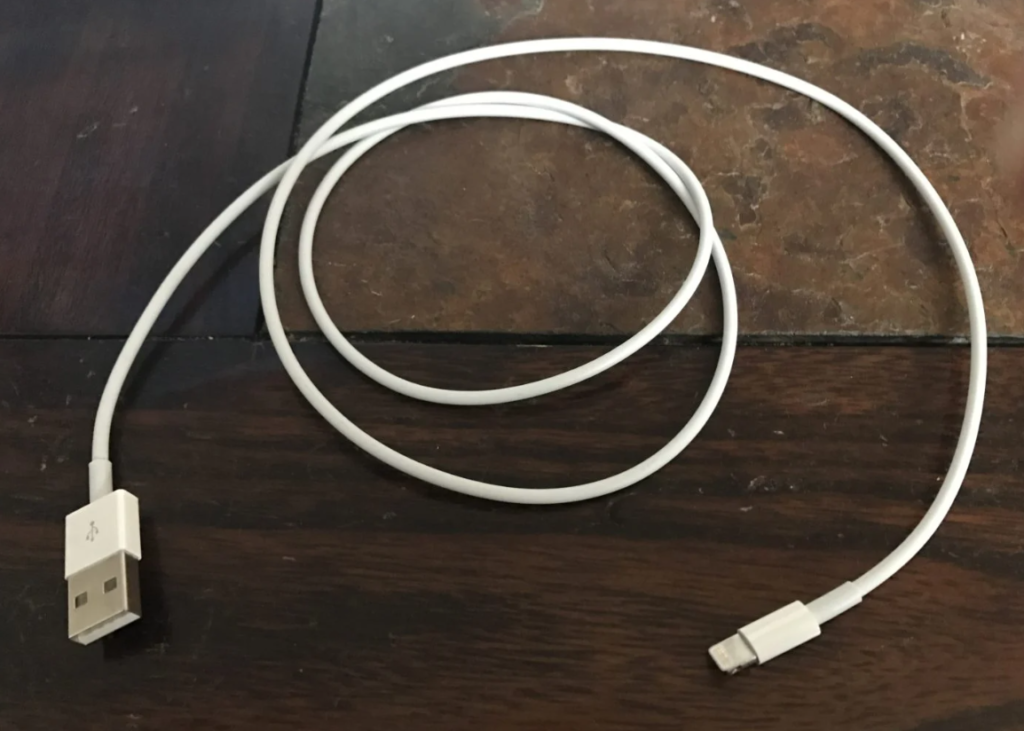
If resetting the charging case did not do the trick, then it is a real possibility that your lightning cable might be damaged. Look closely at the lightning cable to see if there are any visible tear marks, especially check both the cables’ ends. If there is any wear and tear present on the cable, you should immediately consider buying a new one.

Even if you do not find any sign of damage, you should still try a different cable to be sure about any possible damage inside of the outer layer. If your AirPod charging case is getting power with other cables, then it’s evident that your cable has a fault and needs to be replaced. Damaged cables not only sucks more power but can also be harmful to any electronic gadget.
If your AirPod is under warranty, then you can get a replacement cable from Apple Care once your existing cable is wrecked. A pro tip, never use any cable which doesn’t possess MFI Certification. You should also search for any faults with the charging brick by using another brick of the same nature.
Fix 6: Re-Pair Your AirPod
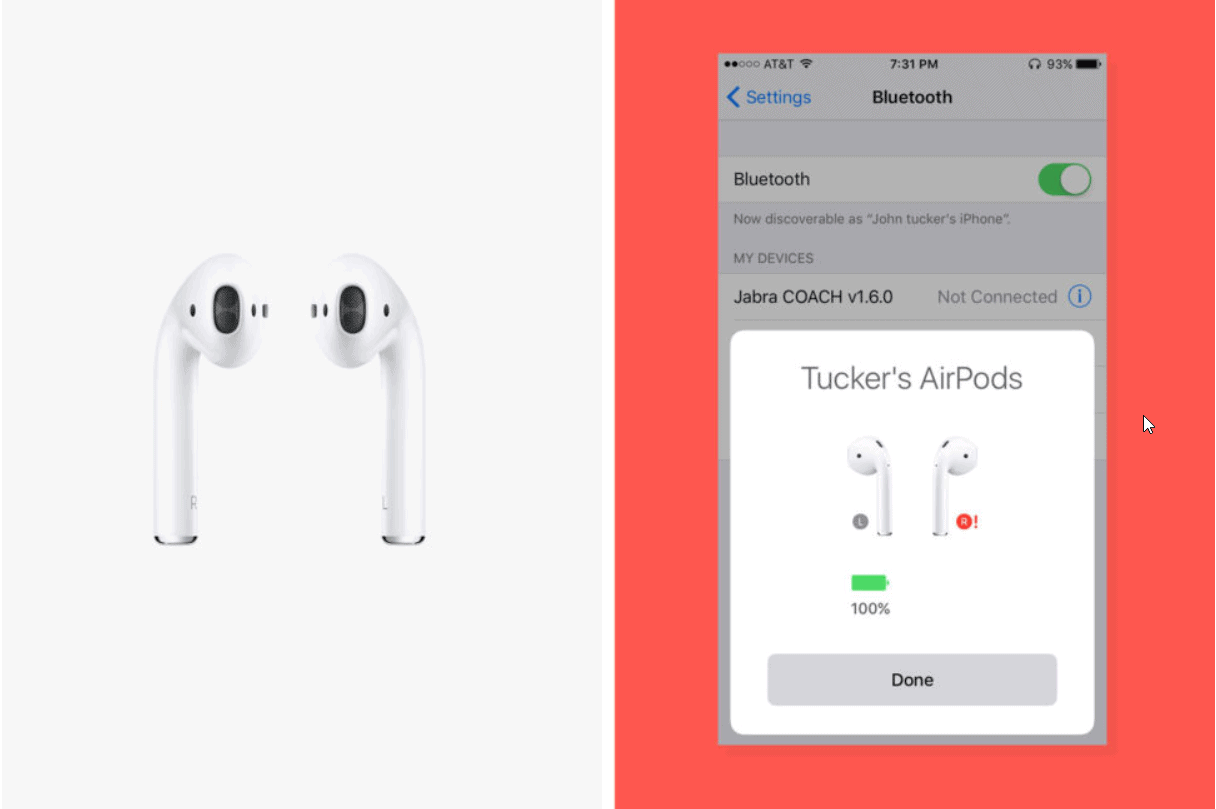
Sometimes setting up your AirPod with your iPhone can solve this issue if it is a software glitch. Follow the following steps to pair your AirPod again with your iPhone. But first, you need to remove the present connection by going into the settings and clicking forget on the AirPod logo.

- Turn on BlueTooth on your iPhone
- Put both the AirPods on the charging case & open the lid
- Press & hold the setup switch on the back of the charging case until it flashes a white light
- Now an animation of AirPod box lid opening will appear on your iPhone
- Click connect under the animation, and the AirPod will get connected once again
Fix 7: Visit Apple’s Genius Bar
If you are unable to fix the problem by yourself, you should take an expert’s help. And, who knows their product better than the experts at Apple’s genius bar. If your charging case has an internal defect, then none but those guys can fix your issue.
To make an appointment for yourself, go to Apple’s Genius Bar website and book a time slot for your servicing. Then you will be allotted a slot at your nearest Apple Store. Check-in there and explain your issue to the professionals. Do carry your charging brick and cable, which they will also check.
If you need any virtual assistance, you can get help by visiting Apple’s live support site, getting Apple Genius Bar’s help for an out of warranty AirPod can cost quite a few bucks just like their other services. However, they are the most suitable person for this repair job. Here is a rate chart of AirPod repair.
So, these are all the procedures you can follow when your AirPod case stops charging itself. We hope one of these troubleshooters did work for you, and you can now enjoy your music wirelessly without worrying about battery drainage. Now let us give a few extra pro tips that will help to increase the lifespan of your AirPod.
Additional Tips:-
- Try not to use an extension cord while charging any electronic gadget, including AirPods. The extension cord tends to display frequent issues that can leave an adverse effect on electronics. So it’s better to plug into a wall socket
- Do not charge your gadgets when the power output is less than 100 volts. AirPods can be charged within 100-240 volts. Below that, it can damage the battery by decreasing its backup time
- Do not try to save money by buying a cheap generic charger. Always check for MFI Certification before buying a charging cable
Summing Up
With this, we wrap up our article on how to fix AirPod case not charging issues. We hope this guide has provided you the necessary information for fixing your AirPods not charging situation. Now, as you know, the process of troubleshooting AirPods charging issues, you will not only be able to avert the same problem in the coming days but can also help your buddies when they face a similar problem too.

