Steam is one of the most gaming platforms available for Windows 10. It used by almost all the PC gamers out there due to its features. The Steam Client allows you to be a part of the Steam community apart from being able to download and install games. But since nothing is perfect, even the very well developed Steam Client can face issues on Windows 10. And one of the most prominent errors found in this gaming platform is related to Steam API. Many Steam users have reported an error related to this on Windows 10. Therefore, today we are here to show you How to Fix Unable to Initialize Steam API. You will learn more about this error as well as its possible causes in Windows 10. After that, you will also find multiple step by step guides which will allow you to fix this issue in Steam.
Table of Contents
What is Unable to Initialize Steam API Error?
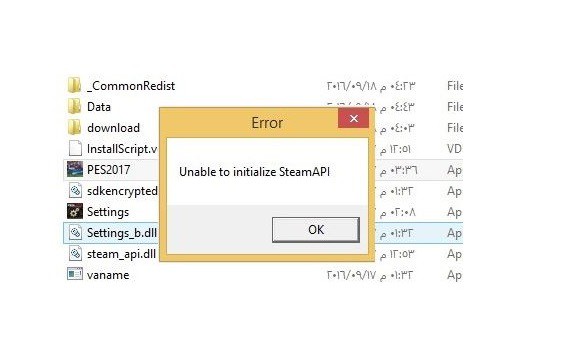
There are several errors and issues which you might experience while using the Steam Client. And “Unable to Initialize Steam API” error is one of them. This error simply means that whatever game you are playing is not able to access the Steam API. Steam API essentially connects your current game to Steam and all of its features. But since all games need Steam verification to successfully run, if you encounter this error on Windows 10, you will not be able to able to play your game if you are facing this error.
Such an error can be caused in the Steam Client on Windows 10 due to many possible reasons. If the Steam client itself is corrupted or running an older version, then the API might not be initialized. Apart from that, since Steam Client needs a working internet connection for proper working, improper Firewall settings can also cause this issue in your PC. Similarly, if some data files of the game that you are playing are missing from your storage, you might experience the “Unable to Initialize Steam API” error.
How to Fix Unable to Initialize Steam API in Windows 10?
If you are facing this error in Steam Client installed on your PC, then you will not be able to play many of your favorite games. Because of this, fixing this issue right away is quite important. Unfortunately, since there are many possible causes of this issue in Windows 10, fixing it not straight forward. Instead, you have to try out various different methods on your PC. So, make sure to go through the following solutions one by one if you are facing the “Unable to Initialize Steam API” error on your PC:
1. Allow Steam Client through the Firewall in Windows 10
The Firewall found in Windows 10 is one of the most useful security features for your computer. It gives you the option to either allow or deny internet access for all the applications installed on your PC. Because of this, if any app is not allowed in the Firewall, it will not be able to access the internet. And as the Steam Client requires an internet connection for most of its features, you might be facing the Steam API issue due to improper Firewall settings. Therefore, make sure to allow the Steam Client through the Firewall in Windows 10 by following the given instructions one by one:
- Use the Windows Search feature on your PC and open Windows Defender Firewall.
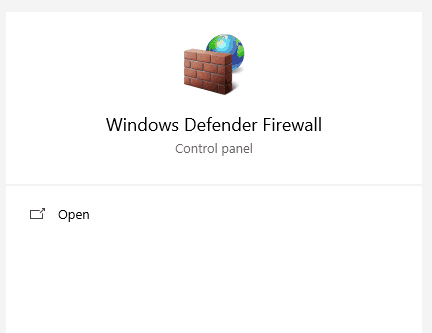
- In here, click on the Allow an app or feature through Windows Defender Firewall option in the left side menu.
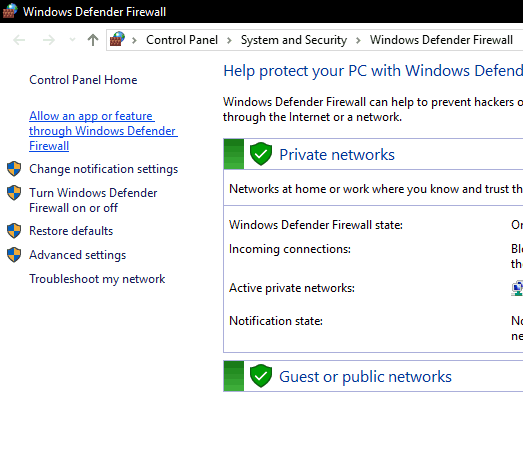
- After that click on Change Settings so that you can allow or deny apps through the Firewall.
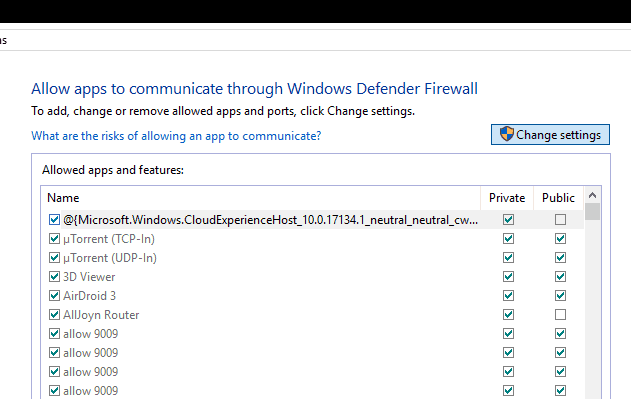
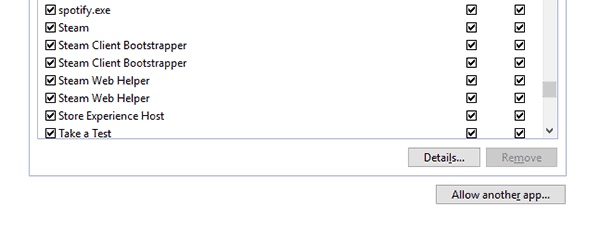
- Finally, find all the apps with Steam name and select the corresponding Private and Public options and click on OK to save your settings. After that, simply restart your Steam Client which will fix the “Unable to Initialize Steam API” error.
Checkout how to fix steam client not opening error on Windows 10
2. Opt out of Beta Program in the Steam Client
Just like many other applications available for Windows 10, Steam Client also has its beta versions available for its users. This beta version provides you with extra features but usually have some bugs associated with it. And these bugs can result in various possible errors and issues in the Steam Client. Because of this, if you are using the beta version of the Steam Client, you might be facing the Steam API error due to this. In such a case, you can opt out of the Steam beta program as shown in this step by step guide:
- First, open the Steam Client on your PC and open Steam Settings from the upper left corner of your screen.
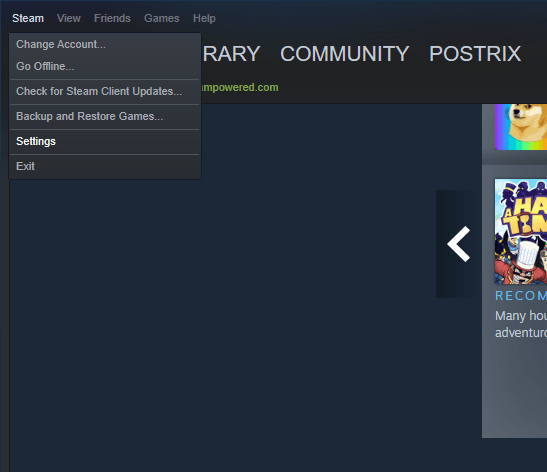
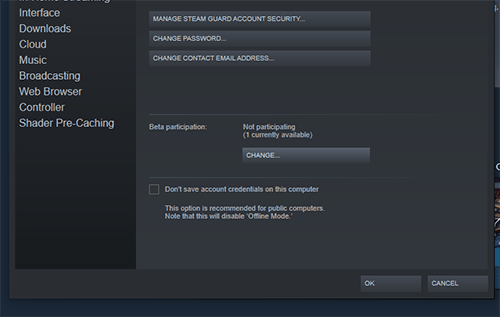
- In here, go to the Account tab and click on Change under the Beta participation
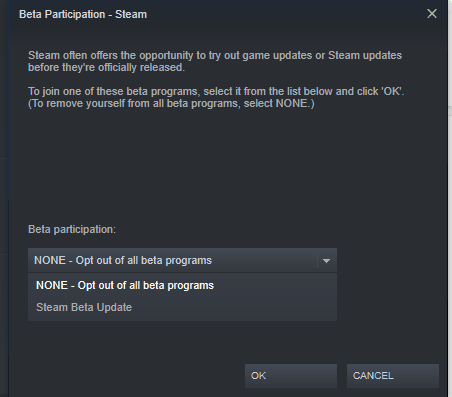
- After this, select the NONE – Opt out of all beta programs option under the Beta participation Finally, click on OK which will opt you out of the beta program fixing any issues caused due to the beta version of the Steam Client.
Fix missing file privileges steam error.
3. Verify Integrity of Game Files in the Steam Client
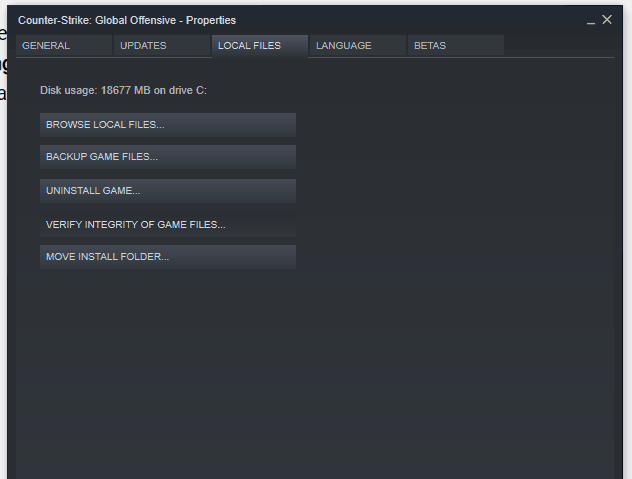
If you are facing the Steam API error in the Steam Client only for a specific game installed on your PC, chances are that the issue is with the game itself. It might be caused due to things like corrupted or missing game files from the data folder of that game. Thankfully, the Steam Client allows you to verify the integrity of game files in such a case. By verifying the game files, Steam Client will simply repair or download any corrupted or missing game files. Because of this, the Steam API error will be fixed if it was caused due to missing game files. If this is also the case with you, you can verify the integrity of game files by following the given steps one by one:
- Open your Library in the Steam Client from the upper left corner of your screen.

- In here, select the game with which you are facing the Steam API issue, and right-click on it and open its Properties.

- After that, go into the Local Files tab and click on Verify Integrity of Game Files. Now, Steam will check for all the game files and if any of them are missing or corrupted, Steam will automatically download them. After that, you will not face any Steam API related issue on your Windows PC.
4. Run Steam with Administrative Privileges in Windows 10
Administrative Privileges in Windows 10 allow any software to have all the required access permission on youPrivilegesr computer. It can even solve many issues with programs automatically. Similarly, if you are facing the “Unable to Initialize Steam API” error on your Windows PC, then you can try running the Steam Client with Administrative Privileges. Thankfully, Windows 10 allow you to run any program as an administrator quite easily. You can simply follow the given instructions one by one to Run the Steam Client with Administrative Privileges in Windows 10:
- Press Windows Key + E on your keyboard to open Windows Explorer.
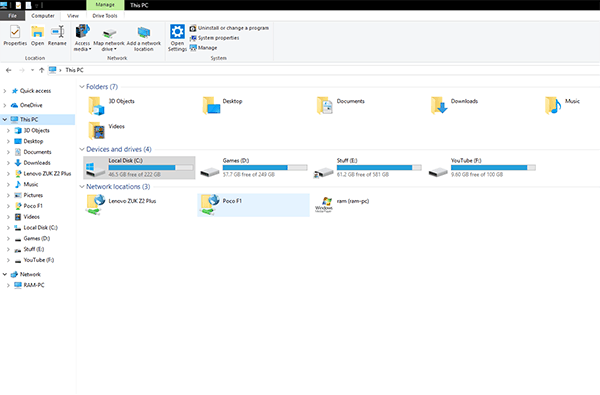
- In here, navigate to C:\Program Files (x86)\Steam and find the exe file.
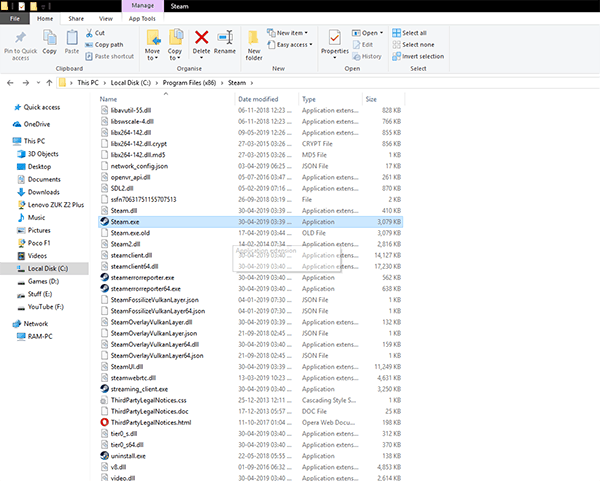
- After that, right-click on the Steam.exe file and open its
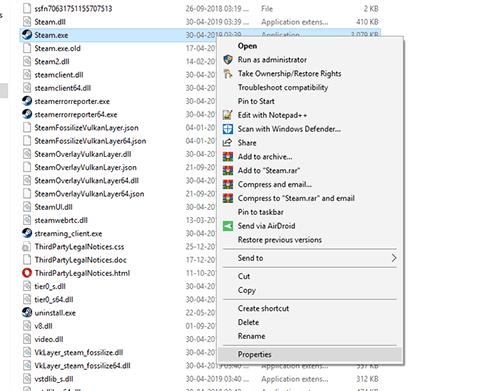
- Inside the Properties tab, go into the Compatibility tab and select the Run this program as an administrator option and click on OK to save your settings.
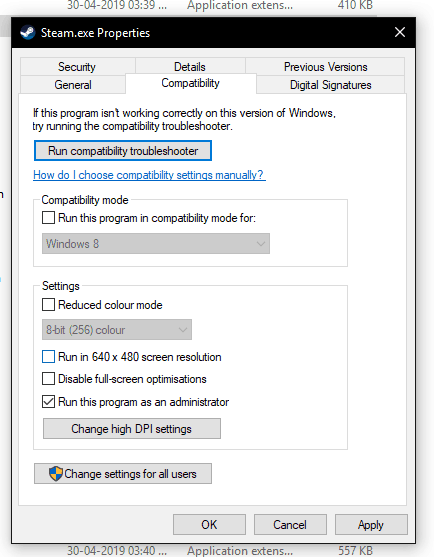
- Finally, restart the Steam Client and allow administrative privileges for it to fix the “Unable to Initialize SteamAPI” error.
Check out our other articles on steam errors, Unable To Connect To Steam Server, failed to load steamui.dll and know where are steam games stored!

