Razer is one big name in gaming devices category, its product line ranging from mouse and keyboard to laptops are designed with gamers in mind who like to have tight control on their hardware to maximise and squeeze every inch of performance so they can run games as fast and as smooth as they can.
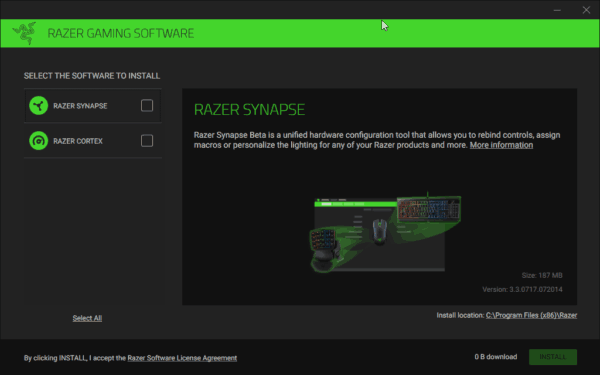
To fine tune and provide maximum control, Razer offers a software tool called Razer synapse. With Razer synapse, you can customise, rebuild, assign macros or adjust the device lightning as per your need. Unfortunately, many Windows 10 users are facing an issue where Razer Synapse doesn’t open at all. In this guide we will see how you can fix Razer Synapse on Windows 10.
Razer Synapse not opening on Windows 10, How to Fix?
- Reinstall Razer Synapse
- Unplug Razer Devices
- Windows USB Troubleshooter
- Run Razer Synapse in Compatibility Mode
- Turn off Antivirus and Firewall
Reinstall Razer Synapse
Although it may sound an easy thing to do but isn’t as simple as just uninstalling Razer synapse, you have to follow certain steps as described below in same order to fix the issue related to Razer synapse.
- Press win + r keyboard shortcut key and type devmgmt.msc
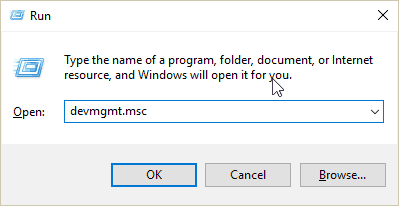 or you can right click on my computer/this pc desktop shortcut and go to properties. Under System properties, access Device manager from left navigation links.
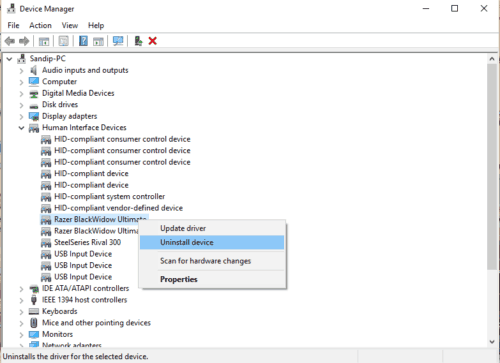
 - Once you are in Device Manager, browse and locate HID aka Human Interface Device and expand the list by clicking on >
- In that list right click on all Razer devices one by one that’s listed and hit uninstall device.
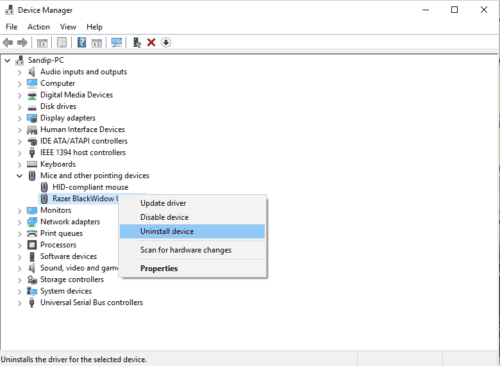
- Follow the same steps for the devices listed in Mice and other pointing devices if you use Razer Mice
- Follow the same steps for the devices listed in Sound, video and game controllers if you use Razer headphones
- Now close the device manager
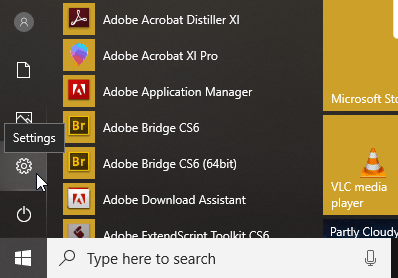
- Press win+i keyboard shortcut to open Windows settings or you can use start menu and access settings.
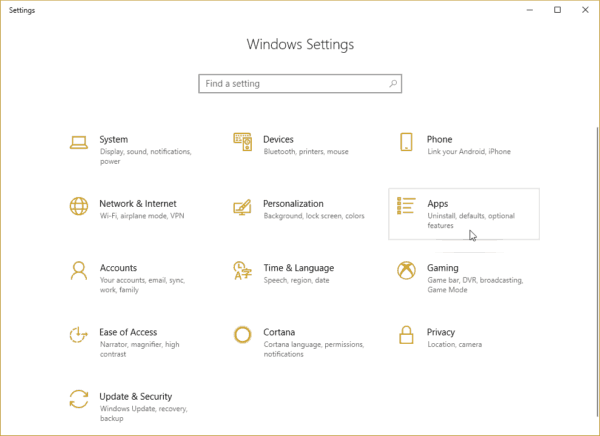
- In Windows Settings, click and open Apps
- Now search for Razer Synapse and click on uninstall

- Once Windows completes uninstalling Razer Synapse, must reboot your Windows 10 for changes to take effect.
- After your system is rebooted, download the latest version of Razer Synapse from Razer website.
- Now complete Installation of downloaded Razer Synapse, it may take some time and you will be asked not to unplug any devices while installation is running.
Once installations is complete, check and see if your Razer Synapse issue on Windows 10 is fixed or not.
Reconnect Razer Devices
Sometimes all it takes is unplugging and plugging your devices back to fix such issues. We advise you to disconnect all the Razer devices connected to your PC and do not plugin for 5-10 mins. After that reconnect and check Razer Synapse is opening or not. In case if it still do not open then follow the steps mentioned in Reinstall Razer Synapse but this time keep all your devices disconnected and connect only when you are about to install Razer Synapse.
Windows USB Troubleshooter
Microsoft offers a nifty utility to fix USB problems on Windows. It helps you to troubleshoot and fix issues related to USB audio, storage, thumb drives, USB hard drive and printers or the devices that do not require safely removal. The utility is only available in English but it will work perfectly fine on other languages too. You can try running this utility and check if your Razer Synapse working post fixing the issue.

Download Windows USB Troubleshooter.
Run Razer Synapse in Compatibility mode
Microsoft has been offering compatibility mode since Windows XP days. Basically, it is designed to run the software and programs which only works on the legacy system and do not support your current Windows version. There is no adverse effect of running program is compatibility mode and there won’t be any drop in features provided that software and utility. To run Razer Synapse in compatibility mode Windows 10 follow below steps,
- Open the drive where your Windows 10 is installed. For most is it c:/ drive.
- Now navigate to Program Files (x86)/Razer/Synapse and open that folder.
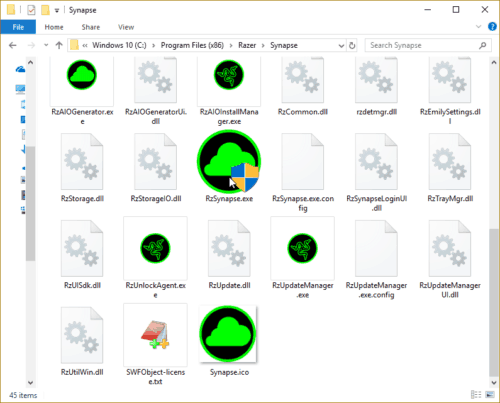
- In Synapse folder, search and locate RzSynapse.exe
- Right click on that executable file and go to properties
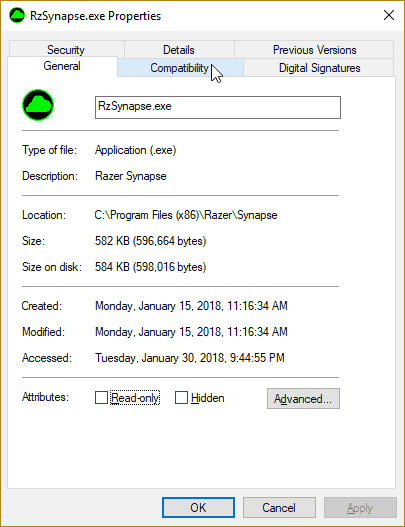
- Under properties window, click on Compatibility section
- Check “Run this program in compatibility mode for:” option and then select the OS (Windows 8 or Windows 7) from the drop-down menu.

You may have to try each one by one and see if issues id fixed for you. You can also run compatibility troubleshooter and check for the suggested OS.
Antivirus and Firewall
Your Antivirus software may be blocking Razer executable from running or blocking its related services from starting up, preventing Razer Synapse from starting up. It would be wise to disable antivirus software and check if Razer Synapse opening fine or not.
Since Razer Synapse saves your settings in the cloud and for that it needs an active internet connection to connect to Razer server. Sometime your firewall may block synapse from connecting to the internet to retrieve your profile and settings, and this affects its normal functioning and prevents from running properly. Do turn off your firewall and check Razer Synapse working or not.
Final Note :-
The above mentioned solutions have mostly worked for the users having Razor Synapse not opening issue on Windows 10, but if your issue still didn’t fix then it would be the best idea to contact Razor support or go for fresh installations of Windows 10.

