You had a long hectic day, and finally, you’re at home plopping down on your couch, just about to watch your favourite movie. Wait; what? You just found out your Roku remote not working! Arghh! What can go wrong now!
Well, thankfully, there can’t be too much stuff that can go wrong with your Roku remote at a time. So yes, you can take the shy of relief as you are at the right place. We’ve jotted down the effective methods to resolve the issue instantly. So, grab your remote and be ready to fix it on your own and give yourself the tag of a tech geek. Here you go!
Before you proceed with our troubleshooting guide, you must know your Roku Remote properly. Because it’s important to identify which model you use and ensure you’re following the right steps. So, have a look.
Table of Contents
Types of Roku Remote- Which One Do You Have?
The days of convoluted remote controls are gone now. Thanks to streaming brands like Roku, who made it more convenient for us by providing simple and straightforward remote controls.
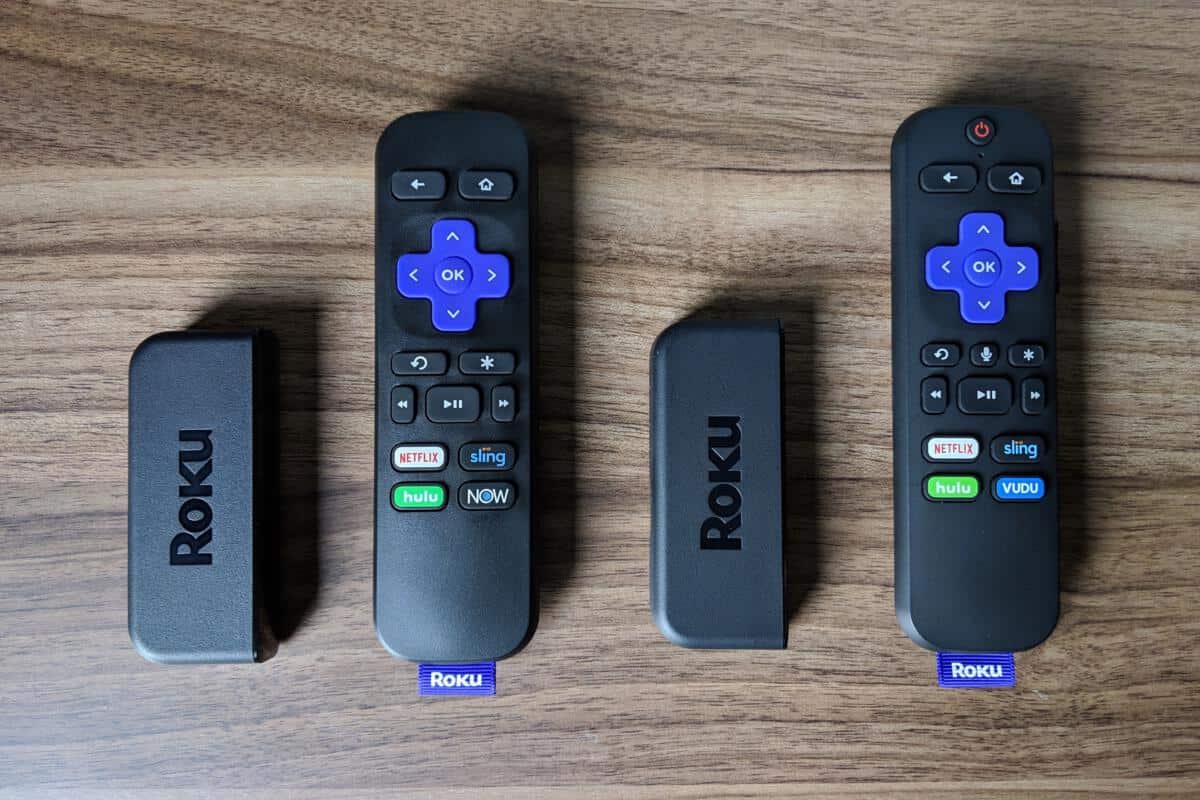
Basically, there are four types of Roku remotes available in the market, named as- Roku Voice Remote ($20), Roku Gaming Remote ($30), Roku Enhanced Voice Remote ($30), Roku Standard IR Remote ($15). These remotes work with certain Roku models.
Roku IR Remote works with the following models-
- Roku HD, XD, XDS
- Roku LT
- Roku N1
- Roku 2
- Roku 1
- Roku 2 HD, XD, XS
- Roku Express+
- Roku Express
- Roku 3
The Voice, Enhanced, and Gaming remotes of Roku works with the below models-
- Roku Ultra
- Roku Streaming Stick (Model 3600 and 3800)
- Roku 4
- Roku Streaming Stick+
- Roku Premiere+
- Roku 2 (Model 4210)
- Roku Premiere
The set of exact features varies depending on the remote. Where some of the Roku remotes offer headphone jacks, some offer volume and power controls of your TV; on the other hand, many Roku remotes offer programmable channel buttons. Whatever the case is, Roku ensures the high-end compatibility of each device clearly.
But there are always some points of improvement where the technology can work on, to provide enhanced services. So finding your Roku remote not working properly is not so shocking. Whenever you face this, instead of worrying, follow the rest of the guide to make things fall at the place. Let’s dive in!
How to Fix Roku Remote Not Working/Stopped Working
We’ve listed the top 10 methods of fixing Roku remote stopped working issues. You must follow each step religiously maintaining the order to get your desired result. Also, you have to make sure you’re following only those steps which are dedicated to your type of remote. Let’s roll up your sleeves and start by checking whether your Roku remote is paired properly or not.
Method 1: How to Pair Roku Remote Properly?
Improper pairing can force you to land upon the Roku remote not working error. So, you must get the pairing right.
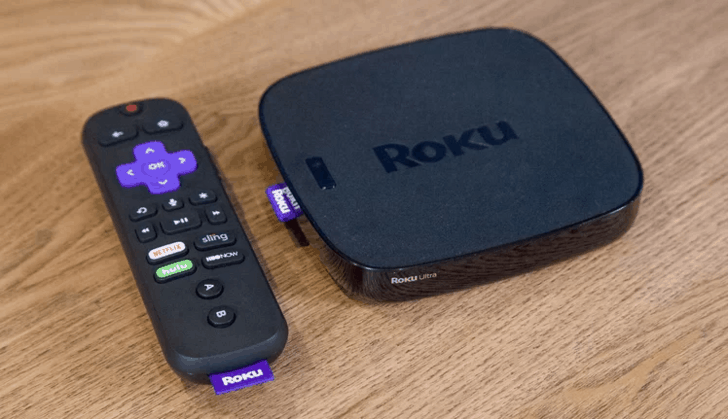
If you are setting up your Roku player for the first time, it must pair with your remote automatically. Moreover, some latest models have the in-built feature of pairing your remote control with your TV directly so that you can easily control the volume and power settings of your TV.
Now the trouble begins when this pairing process gets disturbed due to several reasons starting from a shaky Wi-Fi connection to a factory reset error. When your remote control doesn’t interact with your Roku player, your streaming gadget becomes inoperable. The best thing is, every Roku remote has an easy option to re-establish the connection. Here is how,
Step 1: Remove the back cover of your Roku remote, first
Step 2: Then find the small circle button underneath the batteries
Step 3: Now you have to bring the remote as closer as you can to your Roku device
Step 4: Next, hold the button for 3 seconds and a pairing dialogue must pop up on the screen within a few more seconds
Note: In case, the pairing dialogue doesn’t pop up, you must follow the below steps.
Step 5: Remove the batteries and re-insert
Step 6: Reboot your Roku device and hold down the pair button at the time of start-up
Step 7: Try to pair your remote on a different Wi-Fi network
Have you successfully paired your remote with the Roku device? If yes, and you are still facing the Roku remote stopped working issue, do try our next solutions to get rid of it.
Method 2: Check for Blocked IR Signal (For Roku IR Remotes Only)
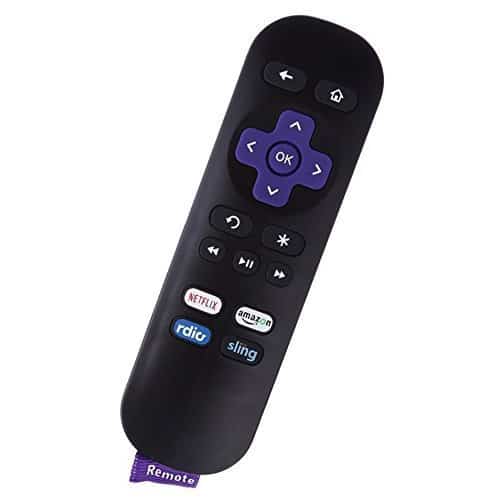
If you are using an IR remote, there can be the most common reason- blocked IR signal, behind your Roku remote not working issue. You might know, IR remotes require direct signal free from any kind of obstructions for the Roku player to receive instructions. So, if there is any object between your remote and your player, remove it to get your Roku remote in the working mode again. You may be required to lift the remote a bit to get a clear signal or have to ensure you are pointing at the front side of your player.
Method 3: Replace Your Remote’s Batteries to fix Roku remote stopped working
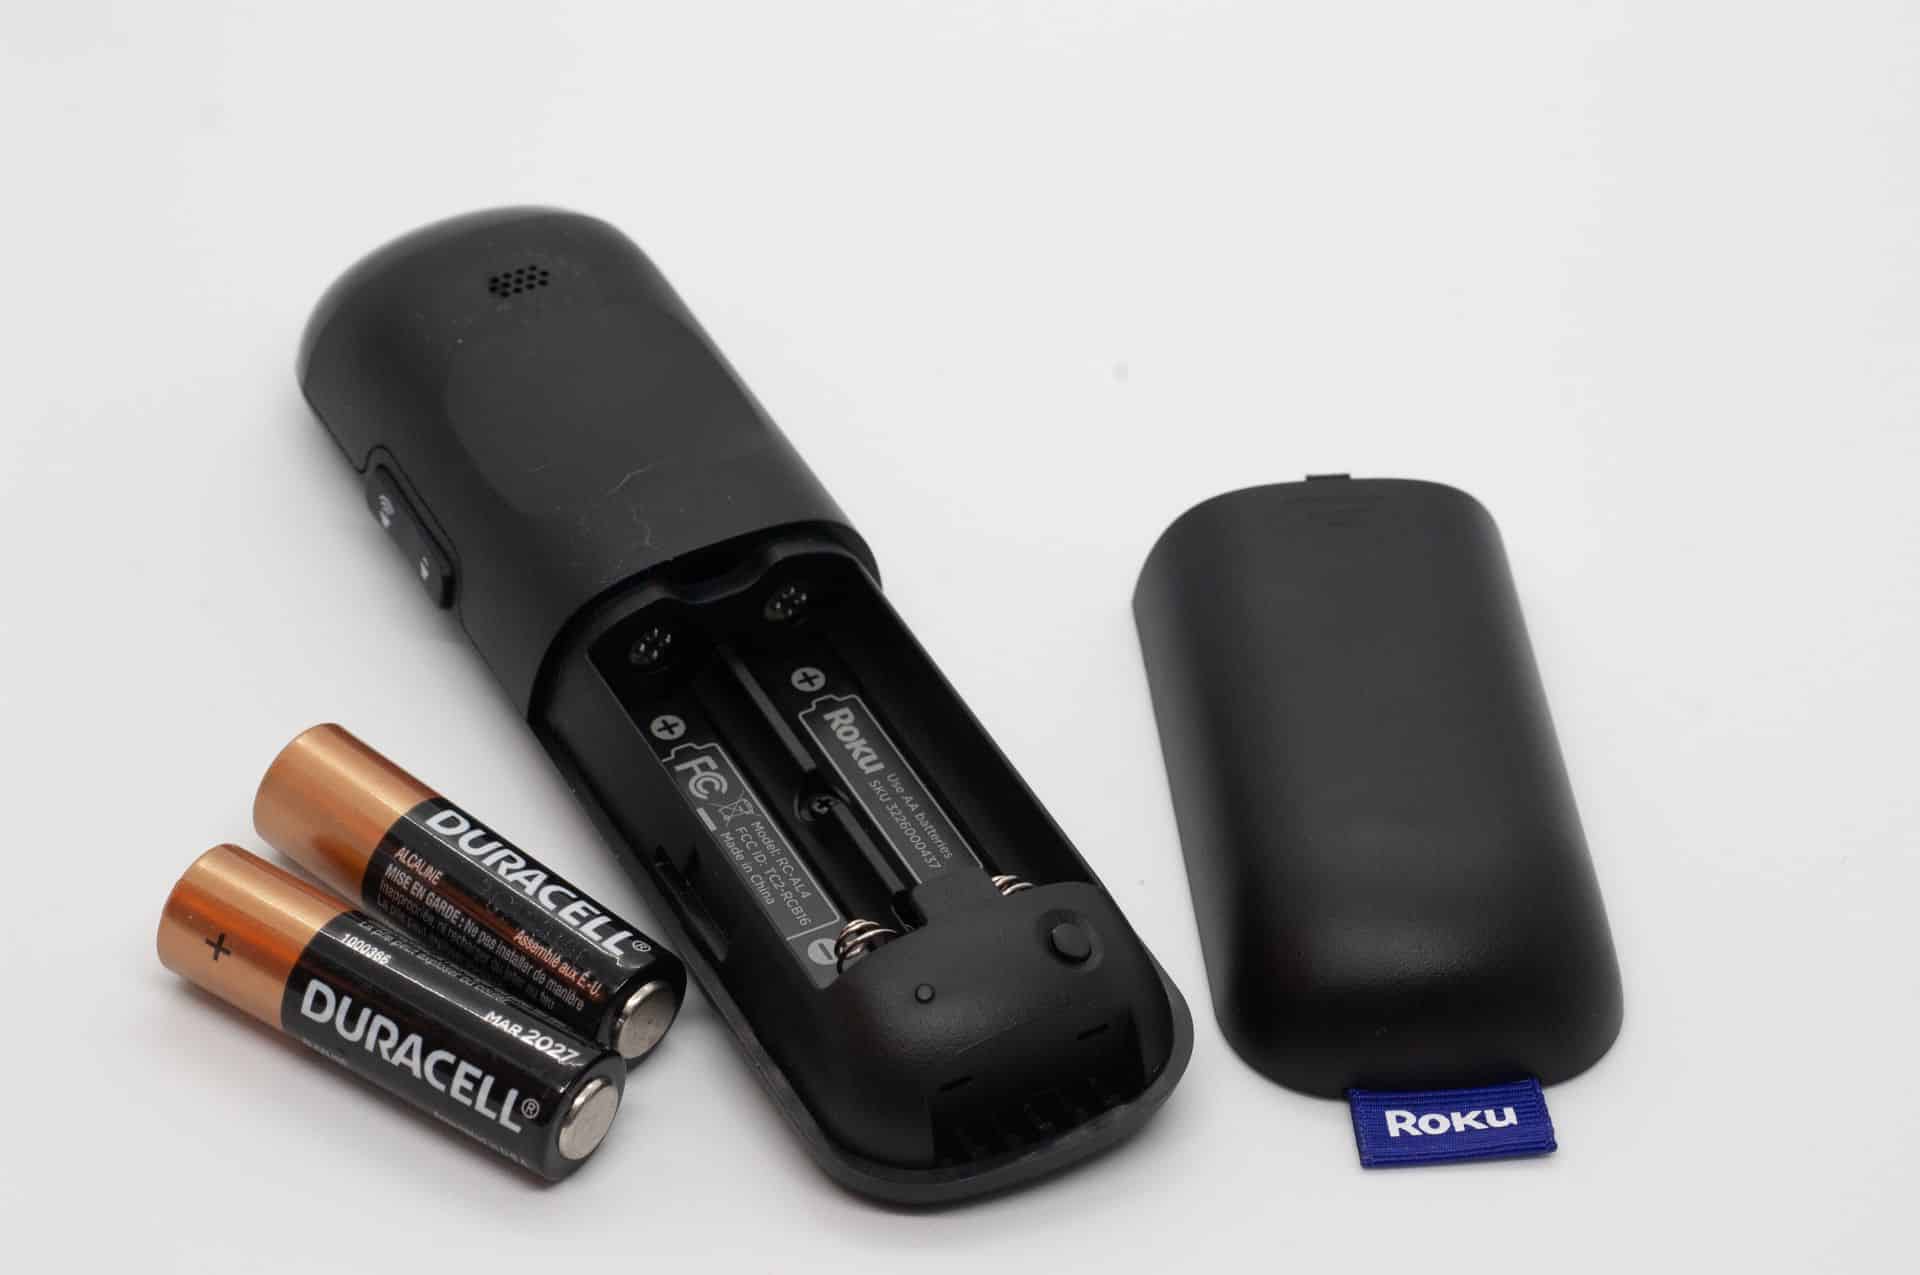
In case, you are trying to operate your remote with dead or weak batteries; you are more likely to face the Roku remote stopped working error. In this case, you have to first remove your batteries and re-seat them. If your remote remains unresponsive, get some new batteries and try again. If the issue still persists, try the next solution- reset your remote.
Method 4: How to Reset Roku Remote if its not working
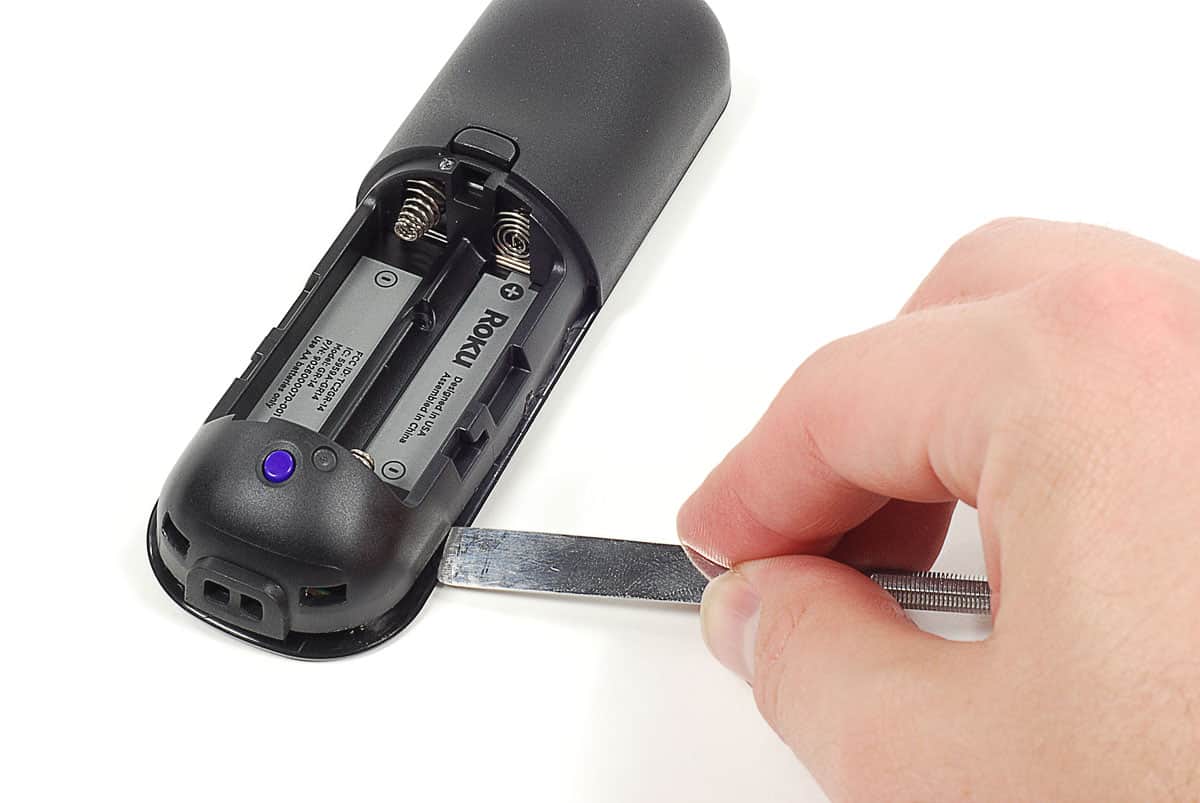
We have already mentioned how to pair Roku remote. But now that you have tried all three methods including a successful pairing, it’s time to reset your Roku remote. Who knows you might get a fruitful result just like other users got. So here is how to reset Roku remote and player to let them recognize each other and start working. Check now.
Step 1: Firstly, open the battery compartment of your remote and remove the batteries
Step 2: Next, unplug the power from your Roku device and wait for 5 seconds approximately
Step 3: Reconnect the power cable to your Roku device
Step 4: Once you see the Roku logo on the home screen of your device, re-insert the batteries in the remote
Step 5: Now, press and hold the pairing button, which is placed inside the battery compartment of your Roku remote, for 3 seconds or until you see your Roku remote blinking
Note: If you don’t see your Roku remote blinking, repeat this step
Step 6: Once you see the pairing light of your remote starts flashing, wait for 30 seconds approx while the remote establishes a connection with your Roku player
Step 7: A dialogue box will appear now after a successful pairing.
Now check, whether your device is operable using the remote control or not. If not, nothing to get worried about. You are entirely covered under our expert guidance. So check out our next method.
Method 5: Restart Your Roku Remote (For Roku Enhanced Remote, Player or Stick only)
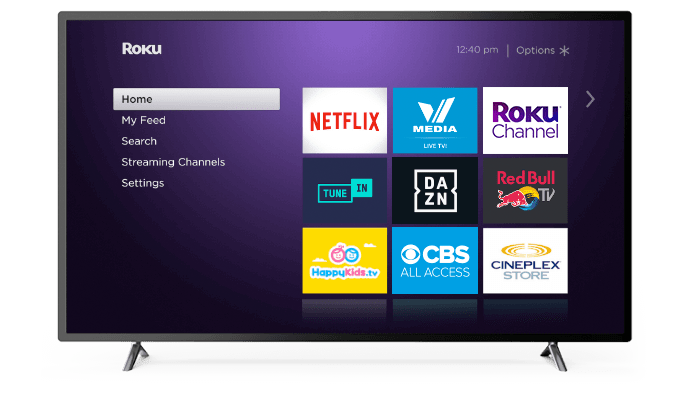
Restarting the Roku remote has fixed this problem for many users. So, if you own a Roku Enhanced remote or Roku Stick, these steps are going to help you out. Have a look.
Step 1: At first, pull out the batteries of your remote
Step 2: Next, you have to remove the power cable from your Roku stick or player and wait for 5 seconds
Note: For Roku IR remotes, follow this path- Settings> System> System Restart> Restart
Step 3: Now reconnect the power to your device
Step 4: After that, Roku logo will be displayed on your screen, re-insert the batteries in your remote
Step 5: Finally, wait for 30 seconds and check whether your remote re-establishes the connection with your Roku device or not
In case it fails to re-establish the connection, you have to perform another method to fix the Roku remote not working error.
Method 6: Fix Roku Stick Remote stopped working- Check HDMI Connector
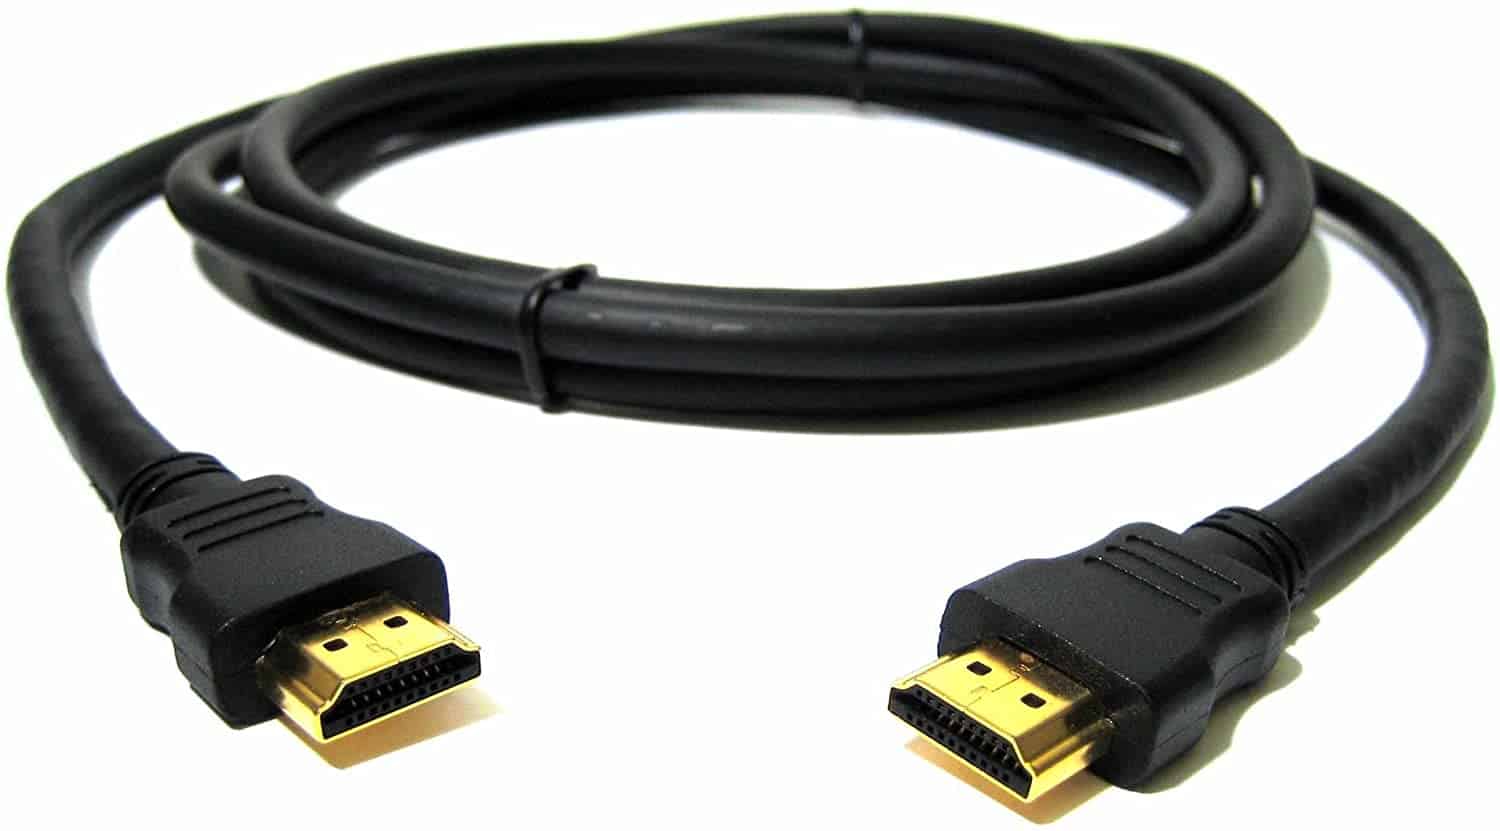
Roku streaming sticks are generally installed on your TV via HDMI port. If you have plugged your device directly into the HDMI port, you might face some interference. To discard the issue, you will need an HDMI extension that is available free of cost from Roku only. Just keep your Roku serial number handy, which you will find on the sticker of your device. If your TV has some spare HDMI port, consider moving your streaming device to one of those.
Note: Moving the streaming stick to another HDMI port may require you to set up your Roku again. But if you are facing the Roku stick remote not working, this step can fix the issue instantly.
Once you are done, try to operate your player from the remote control. If you are still facing the Roku remote not working, have a look at our next solution.
Method 7: Check Your Network Connection
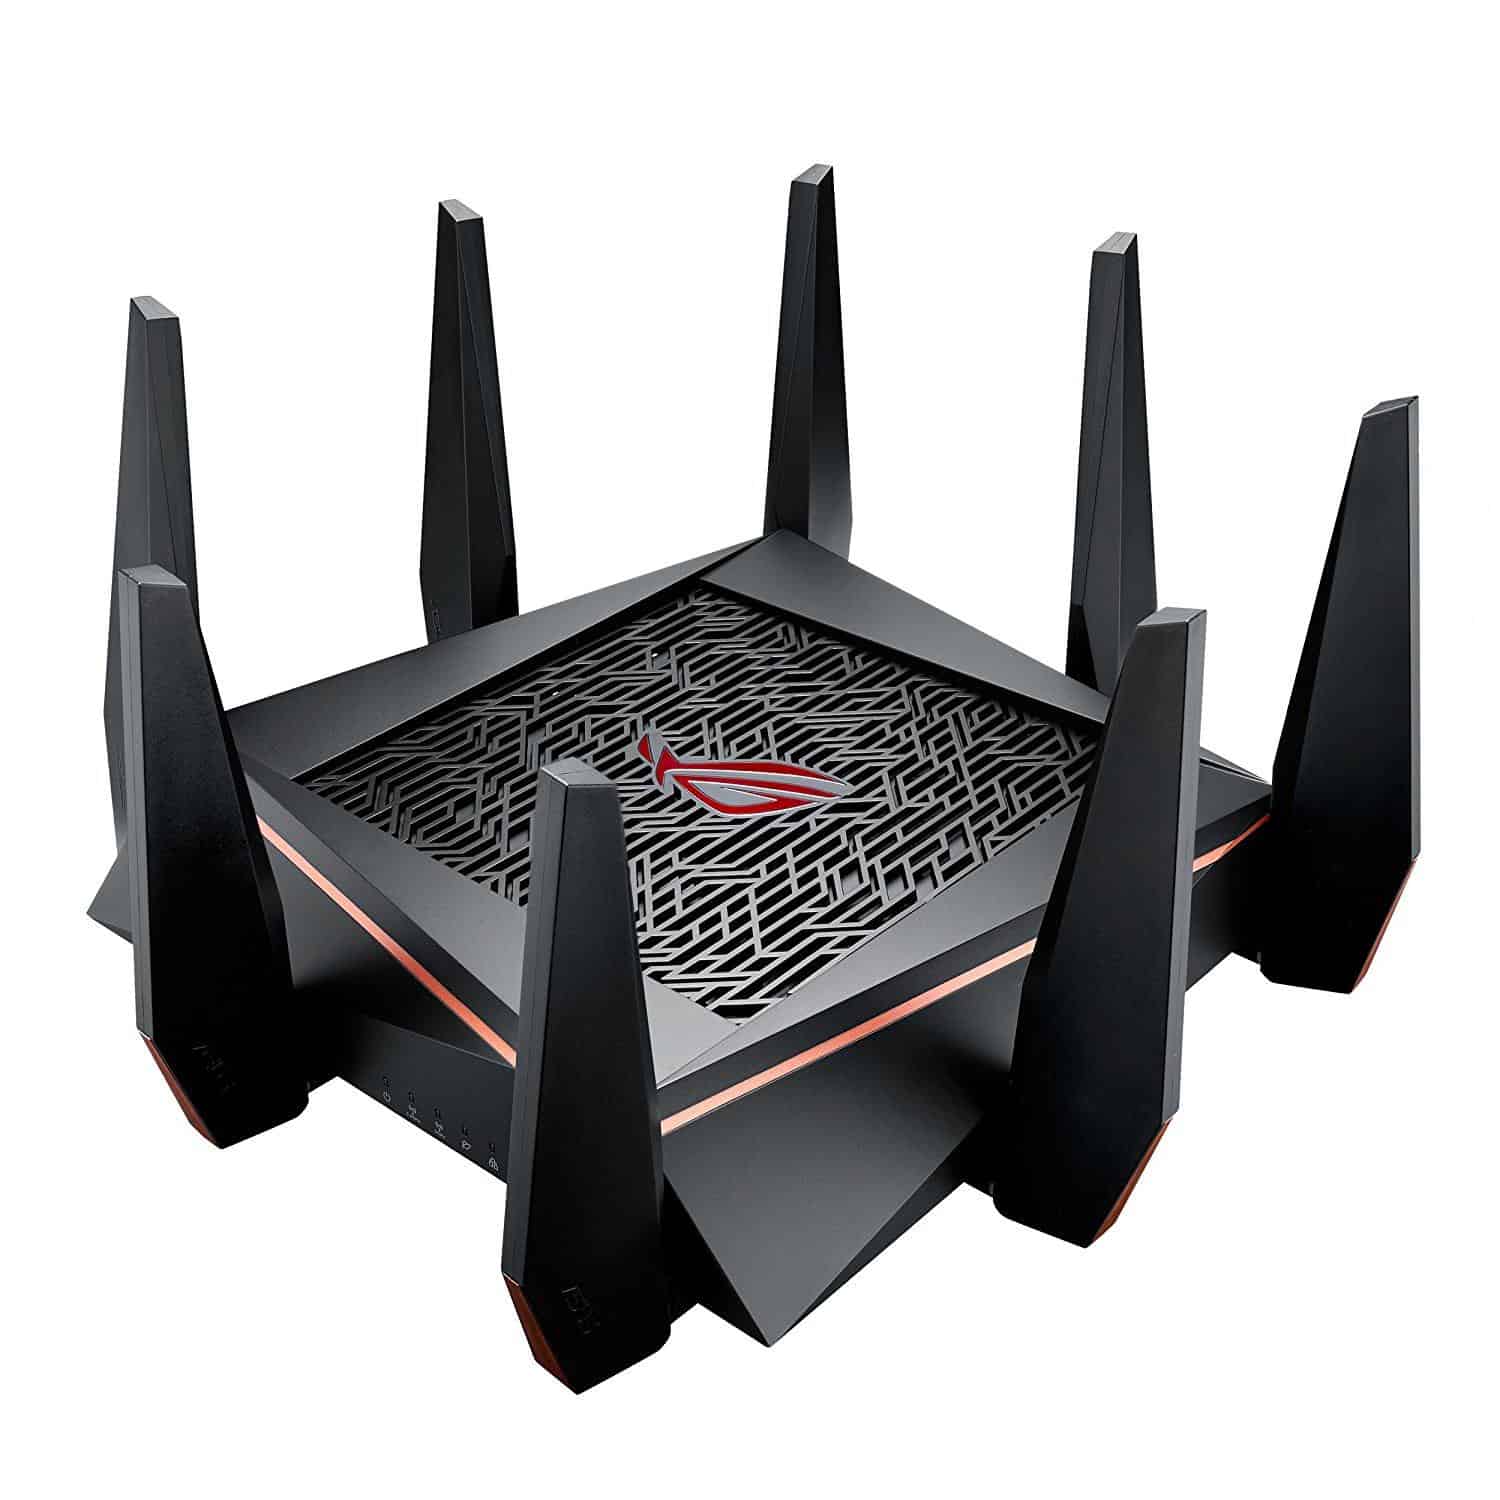
Having a stable network connection is important to fix the Roku remote stopped working issue. Depending on the type of your Roku device, (i.e., whether you have a Roku player or streaming stick) it will have at least one network connection. On Roku players, most of them have both wired and wireless connection options. But streaming sticks have only wireless network connectivity. So if your remote isn’t working after trying all the above methods, there must be a network error triggering the problem. To check the network connection of your Roku remote, you have to download the Roku app first and then follow the steps.
Step 1: Download and install the Roku app first
Step 2: Now, navigate to the Roku menu
Step 3: Next, scroll down to Settings and tap on OK
Step 4: After that, tap on Network
Step 5: Then, move to About
Step 6: On the About page you will see Status on the right-hand side of the screen
Step 7: Finally check whether it says Connected or not
If it says Connected, then this issue must not be related to your network connection. Fret not, in case the issue is still there; you have another option- just whip out your smartphone.
Method 8: Download The Roku Mobile App
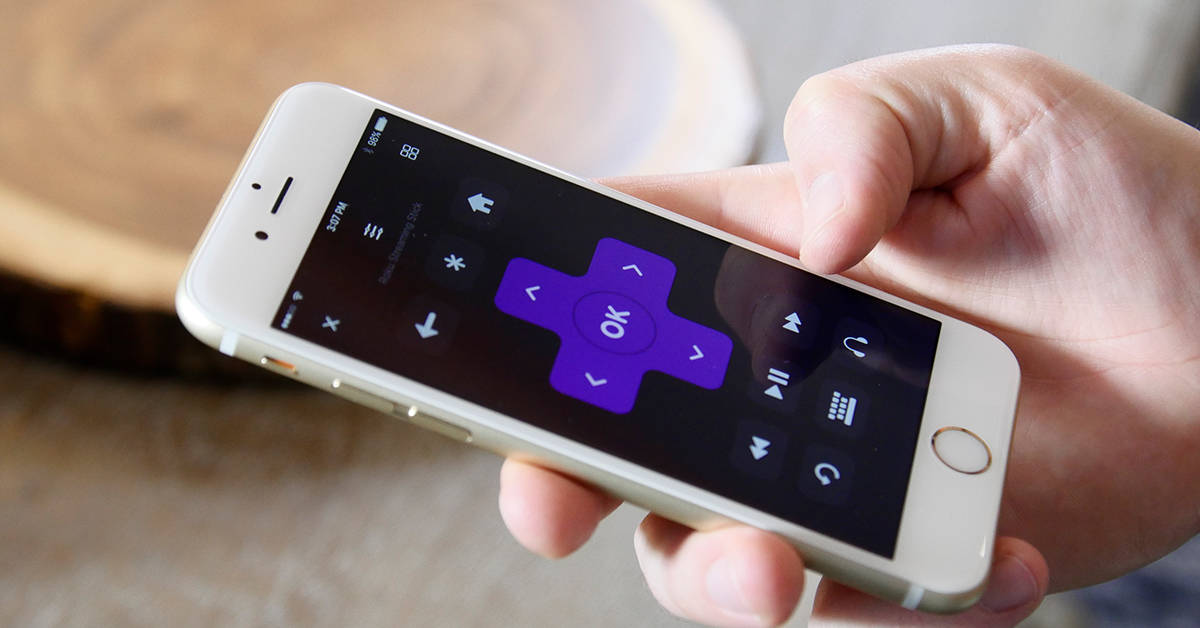
The mobile app of Roku is extremely robust. With this application, you can search for new media content, discover a number of channels, or cast your wished content on your TV screen. Most importantly, when your Roku remote stops working, and after trying all of the above methods, it doesn’t get fixed; you can easily use your smartphone as a remote control. For that, simply install the Roku app from Google Play Store (Android users) or App Store (iOS users). Once done, connect your phone with the same Wi-Fi network as your Roku player, and then tap on the Remote tab. Finally, a screen with D-pad and different media controls will pop up. Voila! You’ve got your bona fide Roku remote.
Method 9: Troubleshoot The Roku App If It Doesn’t See Your Roku Player
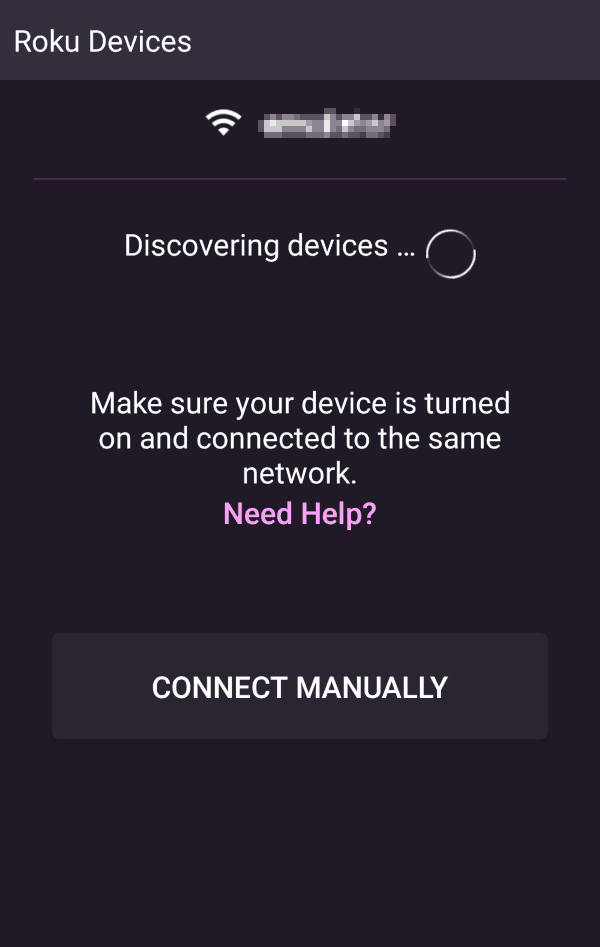
There are many users who faced issues while connecting their phones. If the Roku app on your phone can’t see your Roku box, you have to ensure your Roku box has not disabled the network access. To do so, follow the steps below.
Step 1: Go to Settings first
Step 2: Now tap on System
Step 3: Next you will get Advanced System Settings list
Step 4: From there, select Control By Mobile Apps
Step 5: Finally, click on Network Access and ensure the default or permissive option is selected
Note: If either of your phone or Roku box is connected to a VPN, it won’t get paired.
You can use your smartphone as a Roku remote forever. But this isn’t the best idea because it drains a huge amount of battery. Furthermore, you may have to use your phone for other purposes. So if you think your remote is completely inoperable, you have to get a new one.
Method 10: Replace Your Roku Remote
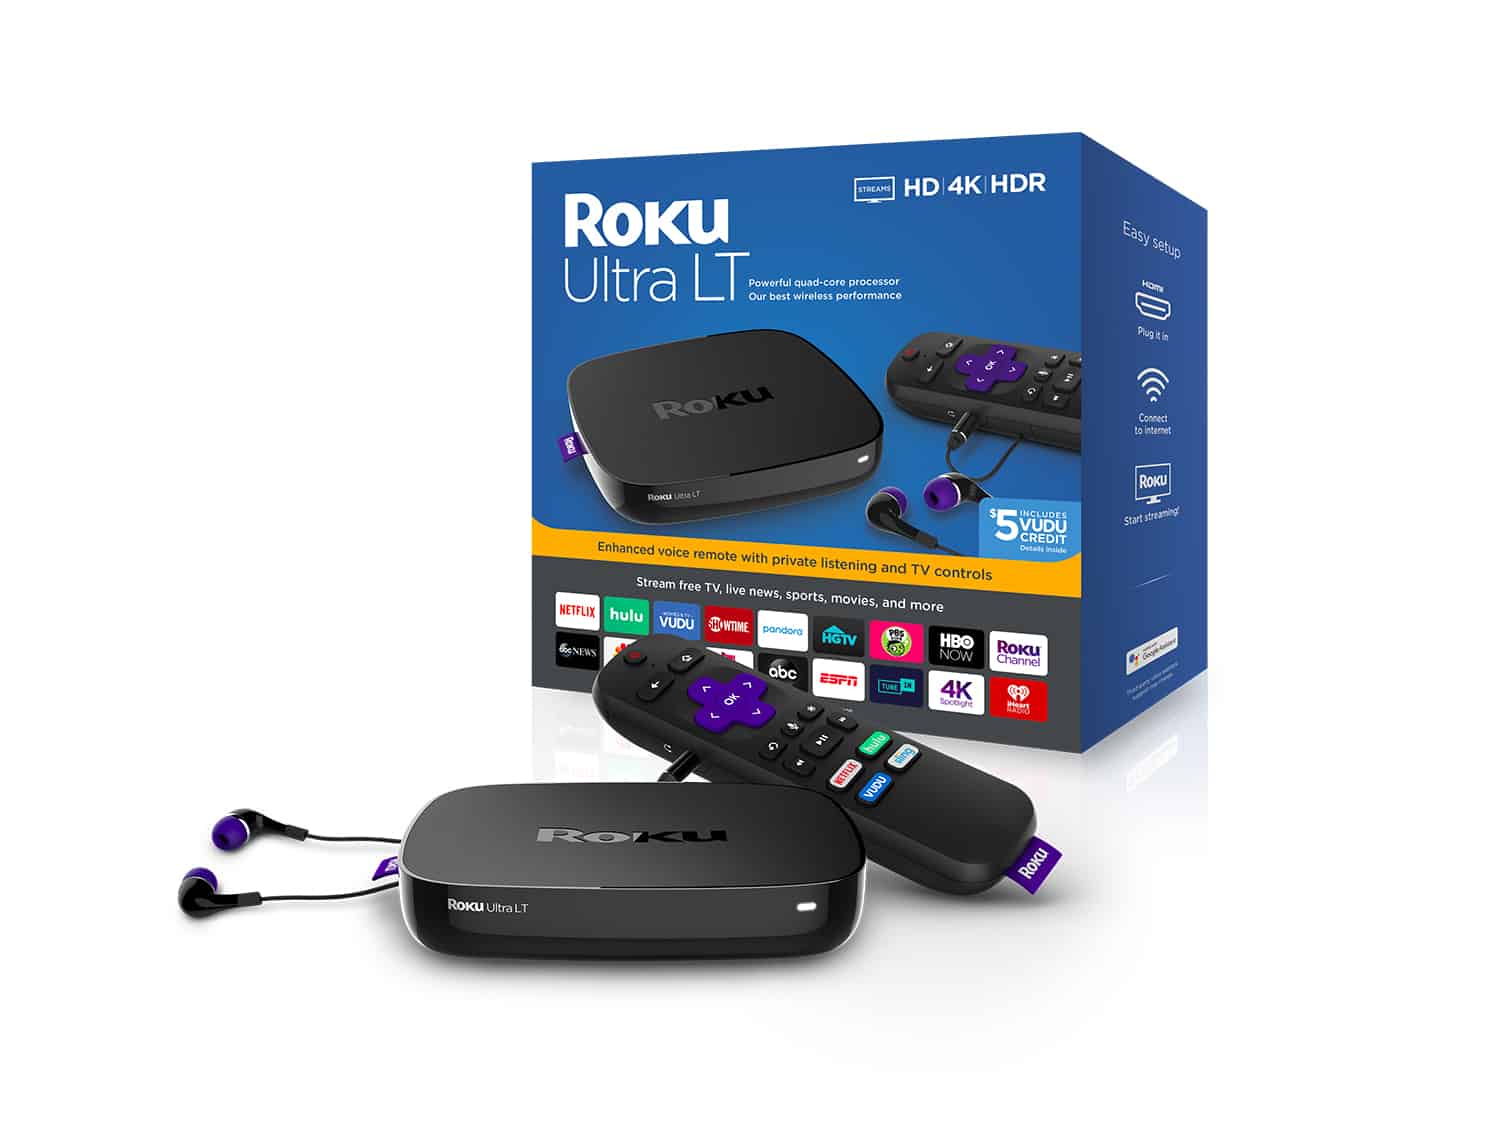
In this guide, we have shared each and everything about fixing the Roku remote not working issues. If any of these couldn’t resolve it for you, consider buying a new one. Visit Roku.com or some other third-party sellers like Amazon. But one thing you must keep in mind is that you have to get a remote which is compatible with your Roku player. And no one ensures it as Roku does. So we will suggest you purchase from the official website only.
That’s all!
So, if your Roku remote stopped syncing and a simple battery swap or all the above methods couldn’t fix the issue, you have to hurl the peripheral into your nearest bin and get a new one to replace your unsalvageable remote.
Got a query? Feel free to write it down in the below box. We will be right there to resolve it instantly.

