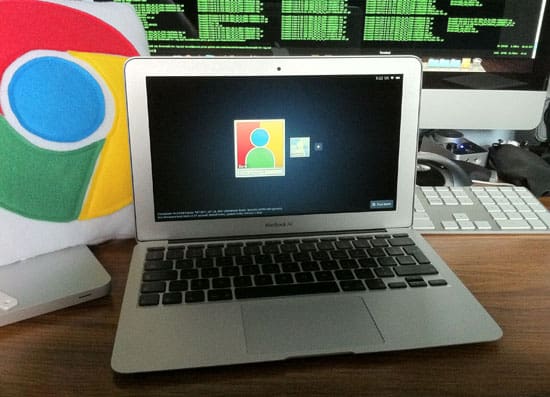
Hexxeh, a UK based developer and student has long standing contribution to Chromium OS, an open source project that aims to build an operating system that provides a fast, simple, and more secure computing experience for people who spend most of their time on the web. Starting from Chromium OS vanilla build to flow, a hugely popular version of Chromium OS and hacking CR-48 BIOS (Google’s pilot program) to Chromium OS Lime version, Hexxeh has done remarkable work on Chromium OS.
Recently he had announced to get Chromium OS for MacBook Air if he gets enough support from fans to buy MacBook Air and guess what he did succeed and fulfilled his promised though bit late. So finally Chromium OS for MacBook Air is here with every bit of hardware working except Bluetooth. Boot time may not be as fast as OS X but it is still around 22 seconds to the login screen, the delay is because of Apple’s EFI implementation & battery life is probably slightly better than that of OS X.

Hexxen has tested this on an 11″ model of the Air (MacbookAir3,1) and must not be of any issue with 13″ version (MacbookAir3,2) or generations of the Macbook Air.
There is however, one huge caveat, since nVidia’s GPU drivers don’t work very well under an EFI boot, you have to use BIOS emulation mode, probably more commonly known as Boot Camp. However, Apple’s BIOS emulation implementation doesn’t support booting from a USB stick. So, to boot Chromium OS you must first copy it to the SSD, overwriting OS X, meaning formatting your SSD completely and losing all your data. Which we feel will be major setback for early adopters.
Brave hearts may proceed with following installation process which is fairly simple except destroying your whole data.
How to Install Chromium OS on MacBook Air
1. FINAL WARNING: You’re going to destroy all of your data by following this guide!
2. Download the install image from here
3. Extract the archive using your decompression tool of choice (The Unarchiver for Mac works great)
4. Burn the image to a USB stick using dd (check the wiki if you need help with this, same as Flow/Vanilla instructions)
5. Insert both this USB stick and the OS X install drive into your Macbook Air while it’s switched off
6. Hold the “C” key down and press the power button, you can let go of the “C” key once the Apple logo appears
7. Once the language selection screen appears, pick the appropriate option and click next
8. Once the install wizard appears, click Utilities on the bar at the top, and then Terminal
9. Type the following command without quotes: “dd if=/dev/rdisk1 of=/dev/rdisk0 bs=4m count=512?
10. Once it says it’s finished (basically when it says X bytes copied in Y seconds), hold down the power button until your machine switches off
11. Remove both your USB stick and the OS X install drive
12. Hit the power button, wait about 22 seconds
Enjoy and don’t forget to say thanks to Heexeh.


3 thoughts on “Chromium OS for MacBook Air Released, Here is How to Install on Your Macbook Air”
Interesting, what about the application or app that lets you run the other types of software on their chromebooks?