If your Windows often reboots out of nowhere, you may encounter an “Unexpected Kernel Mode Trap” error. The kernel is a central part of the operating system and a failure will cause the PC to reboot. You can check for errors in the event log of your PC. It generally occurs when starting games and other demanding processes. Sometimes this error also causes BSOD (blue screen of death). Also, many users receive the message “The system rebooted without a preliminary full stop. This problem affects not only Windows 10 but also previous versions of the Windows.
Table of Contents
What Does Unexpected Kernel Mode Trap Means?

The UNEXPECTED KERNEL MODE TRAP (ntoskml.exe) error message states that the system was rebooted without first shutting down completely. This may be due to the fact that the OS stops responding or there is a crash or an unexpected power outage. More precisely, an error occurs when the computer unexpectedly shuts down or restarts. An Unexpected Kernel Mode Trap error is generated when a Windows computer starts after it was shut down unexpectedly and the OS detects that the previous shutdown was not performed correctly.
Reasons Behind Unexpected Kernel Mode Trap Error Stop Code
The error message itself provides a lot of information, and therefore it is important to know what was happening in the system just before the event and to identify a potential solution. The insufficient or faulty power supply can be one of the main reasons. For example, if you recently added random access memory (RAM), additional devices or hard drives after which you encounter an error, the cause may be the power source. Here are a few more reasons behind this error:
- Incorrect, damaged or outdated drivers.
- Incorrect BIOS settings.
- Antivirus software.
- Power Settings
In this article, there are several possible solutions for fixing the Unexpected Kernel Mode Trap Error. They relate to the Windows operating system and options that may cause problems.
How to Fix UNEXPECTED KERNEL MODE TRAP Windows 10 Error
Method 1: Update Drivers
Microsoft is constantly releasing various updates to improve the overall experience of Windows users. But such an event can bring a lot of problems since some of them make the system completely unusable. So, check to see if the error occurs after installing the latest driver update and whether it is worth removing it. Follow the instructions below to do this:
- Press Windows + I to open the “Windows Settings” window.
- Select the “Update and Security” option.
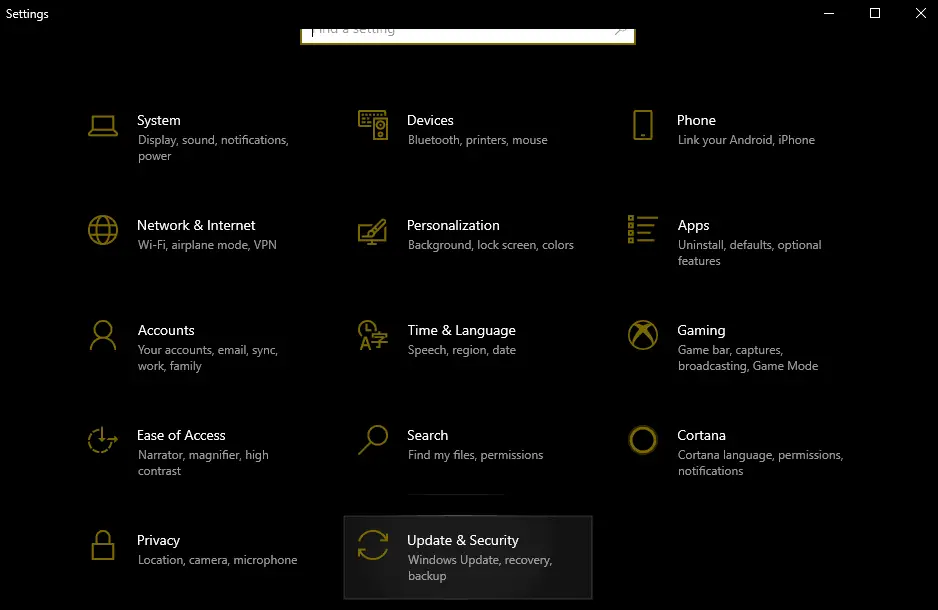
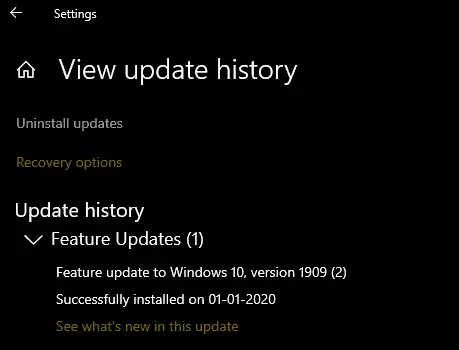
- Click on “View update history.”

- Here, you will see all the previously installed system updates
- Select “Uninstall Updates.”
This should fix the error if it was caused by a recent Windows update. if you are finding difficult to find and update drivers then you may try one these device driver updater software for Windows 10.
How to fix UNEXPECTED_STORE_EXCEPTION & DRIVE_POWER_STATE_FAILUER blue screen error on Windows 10.
Method 2: Check your RAM
Another common cause of a kernel malfunction in Windows is based on the RAM. When it is not connected properly or the slot (or strip itself) is dusty, it can cause Kernel to crash, resulting in such an error. We would recommend you to take a look at your RAM. You can manually remove the RAM and clean it yourself. To remove the RAM, just bend the special clips on the sides of the slot. First, Remove the RAM chip. After that, clean dust and dirt from the chip and put it back in place. Do not do this when your computer is turned on or connected to a power source. When finished, reconnect the computer to a power source and turn it on. Check the system for performance.
The next step is to use the built-in memory diagnostic tool in Windows. To get to it:
- Open the Control panel and click “Administrative Tools”.
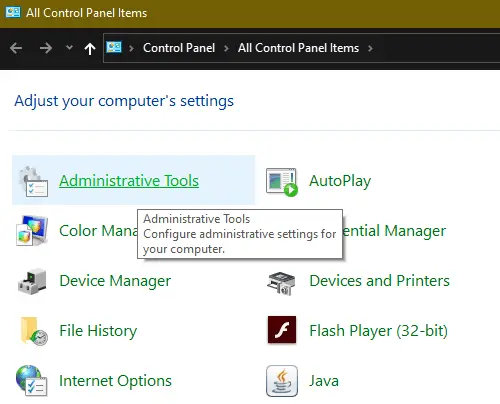
- Here, you will find shortcuts to all the administrative tools in Windows 10.
- In the list, find “Windows Memory Diagnostic” and double click on it to run the tool.

- You can also open this window by searching “Memory” in the search bar.
- Now, You will then be asked if you want to restart the computer immediately or run the test the next time you restart.
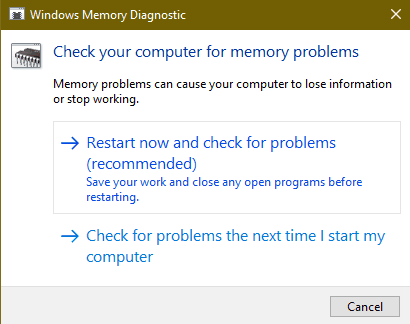
- Once you restart the computer, it boots into the diagnostic tool and starts the test.
- This is divided into two separate stages. Below you will see the “Status” field, in which the detected problems will be displayed.
- You can also press the F1 key and change several parameters, such as the type of test (basic, standard or advanced), cache settings, and the pass counter.
Method 3: Check Your Power Connection
An Unexpected Kernel Mode Trap error is usually related to power and indicates that something is wrong with the computer’s power supply. The cause may be rust on the back of the device switch. In this case, contact a specialist to check the power supply. A replacement of the power cable may also solve the problem.
Another possible cause of this error is overheating. The computer usually turns off when the temperature is too high. You can download the CPU-Z program, which monitors the temperature and checks to see if the PC components overheat when you turn on the computer. Make sure that all wires are connected correctly (inside and outside the computer unit), and check that the power connectors for the GPU and main (motherboard) are connected correctly. In addition, remove the processor, change the thermal paste and reinstall it.
Method 4: Change BIOS Settings
BIOS (Basic Input Output System) is software that is stored on a small memory chip on the motherboard. To update the BIOS, go to the motherboard manufacturer’s website and download the latest BIOS for the motherboard. There should be a guide describing how to update the BIOS. Make sure you read that carefully. Keep in mind that updating the BIOS is a procedure for advanced users and if not performed properly, can result in permanent damage to the equipment. If you do not know how to update the BIOS, find an expert to avoid damaging your computer. Most IT professionals have come to the conclusion that changing certain background modes in the BIOS and in Windows 7 and others can also help in fixing the problem. To do this, follow these steps:
- Turn off the computer.
- Now turn on your PC and enter the BIOS by pressing the specific key during system boot time. The BIOS key is usually displayed on the boot screen that says “Press ___ to enter the BIOS.” Common BIOS startup buttons are F1, F2, Del, Esc, and F10. Please note that you need to act immediately after turning on the PC, as the message disappears quite quickly.
- Find the Power section. It is located on different tabs of the BIOS firmware tools, depending on the manufacturer. Usually, it is in the “Power Options” or something similar to it called “the ACPI Settings”.
- Find the “Enable Sleep Mode” or “ACPI Features” option and make sure they are enabled.
- You should see ACPI sleep state or ACPI sleep state options below, so make sure you change them from S1 to S3.
- Go to the “Exit” section and select “Save Changes and Exit.”
Guide to fix if your PC is stuck in reboot loop with no bios or select proper boot device message.

