Updating Windows in your computer from time to time is very important. It makes sure that you have the latest security patches and bug fixes. Not only that but you will also have the latest Windows features at your disposal. Unfortunately, if you have ever updated your PC, then you must know that Windows Updates can sometimes cause errors in your computer. And today we are here to talk about such an error found in Windows while updating it. In this article, we will show you how to fix Windows Update Error 0x8024a105. Not only that but you will also learn a lot about this error its possible causes. You will find various methods in this article that you can use to successfully fix this error.
Table of Contents
What is Windows Update Error Code 0x8024a105?
If you have ever faced an error while updating your Windows PC, then you might have seen an error popup on your screen along with an error code. And different error codes on your computer have different meanings and causes. Similarly, the Windows Update Error 0x8024a105 is also caused due to specific reasons. If you are facing this error code on your computer, then you will also see a message which says “There were problems downloading some updates, but we’ll try again later.” As this error explanation is quite vague, it can be caused in your Windows 10 due to a number of reasons.
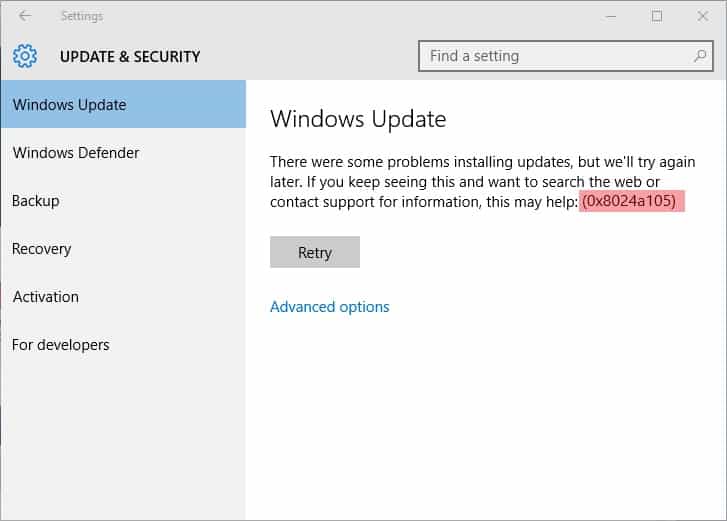
For example, if the Windows Update process is itself corrupted, then you might face this issue. Microsoft has rolled back its Windows Updates many times in the past due to this reason. And if you are installing a recently released update, then it might have issues which can lead to this error. Apart from this, different programs installed on your computer can also cause 0x8024a105. There are many programs out there which might be installed on your PC and can cause interruptions while downloading and installing Windows 10 updates.
How to Fix Windows Update Error 0x8024a105?
For those of you who are facing this issue, fixing it right away is quite important. As if you do not fix this issue, you will be stuck on an older build of Windows. Due to this, you will be missing out on all of the latest Windows features. Apart from that, it can even cause security issues on your computer due to lack of any security patches. Unfortunately, since this error can be caused due to a number of possible reasons, fixing it requires the user to try out different things. So, if you also wish to Fix Windows Update Error 0x8024a105, make sure to go through the following solutions and fixes one by one:
1. Scan and Fix Corrupted Windows Files via Command Prompt
One of the most common issues which can cause various issues in Windows 10 is corrupted system files. It can even result in improper Windows Updates and its related errors. Due to this, if you are facing the Windows Update Error 0x8024a105 on your computer, you can try scanning for corrupted Windows system files and fix them. Thankfully, this can be done quite easily using the Command Prompt in your computer. Command Prompt allows you to perform various operations on your computer via commands. And you can follow the given instructions one by one to successfully scan and fix system files in Windows 10 via the Command Prompt:
- First, press Windows Key + R on your keyboard to open Windows Run on your PC.
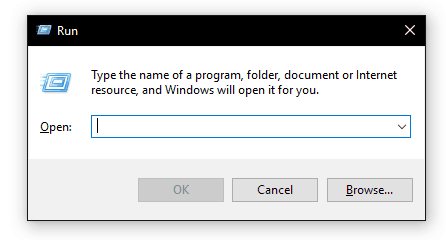
- In here, type CMD and press enter which will open Command Prompt in Windows.
- Then, inside the Command Prompt window, type the following commands one by one. And press enter on your keyboard after entering each command.
- sfc /scannow
- Dism /Online /Cleanup-Image /CheckHealth
- Dism /Online /Cleanup-Image /ScanHealth
- Dism /Online /Cleanup-Image /RestoreHealth

- Once you have successfully entered these commands via the Command Prompt, simply reboot your computer. Doing so will make Windows 10 scan for all system files of your PC. And if it finds any issues with the system files, they will be fixed which will get rid of the Windows Update Error 0x8024a105.
2. Update Windows via Clean Boot
In many cases, the programs installed on your computer can cause issues with the Windows Updates. In such a case, you can simply disable all extra programs installed on your computer by performing a clean boot. Once you have rebooted your computer in clean boot mode, any extra programs will not be running in the background. And if you update your computer after this, you will not face any issues. Therefore, if you are also facing issue while updating your computer, make sure to follow the given steps one by one to update Windows via Clean Boot:
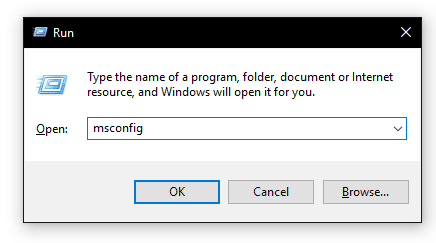
- Open Windows Run on your computer by pressing Windows Key + R on your keyboard.
- Now, type msconfig and click on OK which will open the System Configuration window.
- After that, go into the Services tab and check the Hide all Microsoft Services Doing so will show you the programs installed on your computer which were installed by the user.
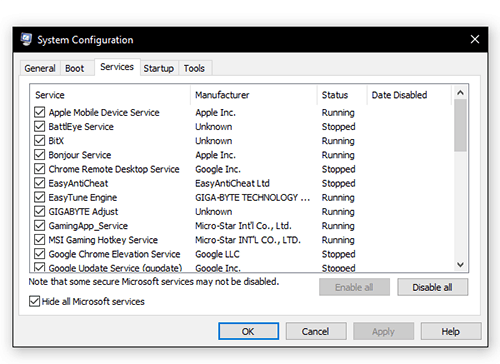
- Finally, click on the Disable all option and reboot your computer which will perform a Clean Boot. You can now try updating your Windows as no third-party program will be interfering with the Windows Updates.
How to Boot Windows 10 into Safe Mode.
3. Reset Software Distribution Folder in Windows PC
Software Distribution is a very important feature of Windows when it comes to updating it. It is responsible for handling all the files which get downloaded during a Windows update. And if it is not working properly, you might face issues while updating your Windows PC. If you are also facing issues on your computer while updating, then you can try resetting the Software Distribution Folder which will fix any issues with this program. You can do so in Windows using the Command Prompt by following instructions one by one:
- Use the Windows Search feature to open Command Prompt as an Administrator on your PC.
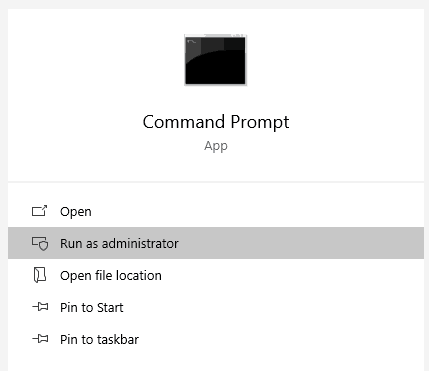
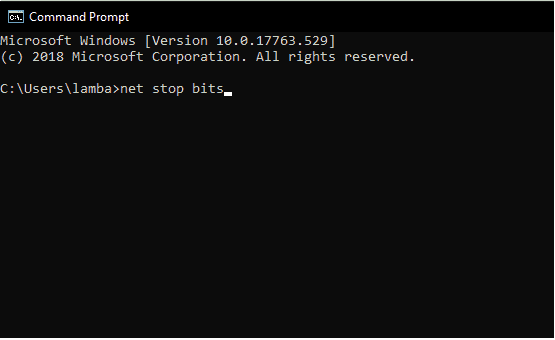
- In here, type the following the commands one by one followed by an enter to stop the Software Distribution software:
- net stop bits
- net stop wuauserv
- net stop appidsvc
- net stop cryptsvc
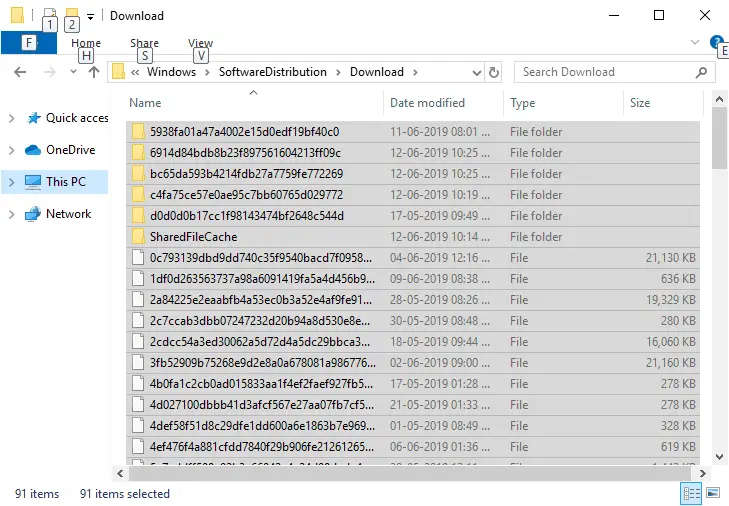
- After that, press Windows Key + E on your keyboard to open Explorer.
- Now, navigate to C:\Windows\SoftwareDistribution\Download and delete all of the files and folder stored in this location.
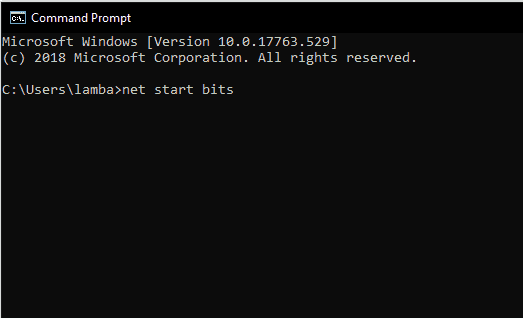
- Finally, go back to the Command Prompt window and enter the following commands followed by an enter to restart the Software Distribution Software:
- net start bits
- net start wuauserv
- net start appidsvc
- net start cryptsvc
- Now, restart your computer and try updating your PC afterwards as you will not face any errors due to the Software Distribution Software.
Windows
4. Reset Catroot2 Folder in Windows PC
The Catroot2 is also responsible and quite important for downloading and installing Windows Updates on your PC. Because of this, if you are facing any issues while updating your PC, you might be facing the issues due to corrupted files in the Catrootw folder. In such a case you can try resetting the Catrootw folder on your computer. This can be done via the Command Prompt and File Explorer on your PC. In order to do so, you can follow the given steps one by one to successfully reset the catroo2 folder on your PC:
- First, press Windows Key + R on your keyboard to open Windows Run.
- In here, type cmd and press enter to open Command Prompt on your PC.
- After that, type the following commands one by one and press enter on your keyboard after each command:
- net stop cryptsvc
- md %systemroot%\system32\catroot2.old
- xcopy %systemroot%\system32\catroot2 %systemroot%\system32\catroot2.old /s
- net start cryptsvc
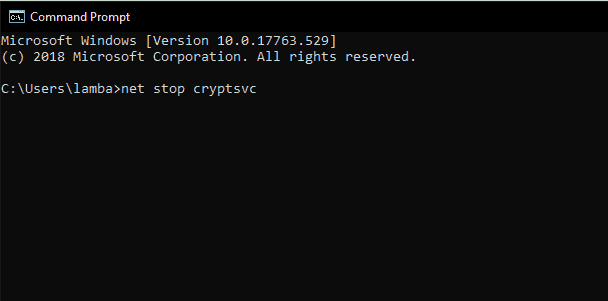
- Doing so will successfully reset the Catroot folder on your computer. And now you will not face any issues while updating your computer.

