The change is good for everyone but not when we are talking about software that Microsoft makes, as Redmond has mastered the art of breaking perfectly working products. After Windows 10, Skype will be the next victim of Microsoft’s long-standing approach of not listening to its users and forcing down the updates. At the start of September 2018, the Skype 7 Classic version will retire and will be taken over by Skype 8.
Although users still have some time before Skype 8 is pushed to the public, the notification of new Skype update has hit the Skype 7 Classic users. The enthusiastic users and developers can grab the Skype 8 Insider Preview using the following link.
While we are yet to ascertain the features of Skype 7 that are lost & a new annoyance that has made its way to Skype 8 but we do have a small list that we collected in a short time.
Skype 8 Annoyance/Missing Features
- No longer can set Away status
- Third-party call recorders will not work
- Can no longer increase text size
- Can not jump back in chat history.
- Lossing Skype Credits [very few users reported]
- Missing customisations and hard to navigate user interface
Without a doubt, users want to go back to the old version of Skype 7 Classic, and it is still possible to do as of today. Although for the time being you can get relief from Skype 8 but won’t be long before it will stop working and you will be again forced to upgrade to Skype 8.
If you still want to uninstall Skype 8 and downgrade to Skype 7 Classic then follow the below guide.
How to Uninstall Skype 8 and Get Back Old Skype 7 Classic
Skype 8 – Export Chat History
- Before you proceed to uninstall Skype 8, you have to export the chat history, as you will lose everything.
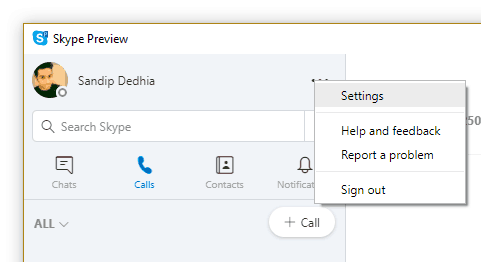
- Click on the three dots (…) next to your profile photo and name, under that go to settings.
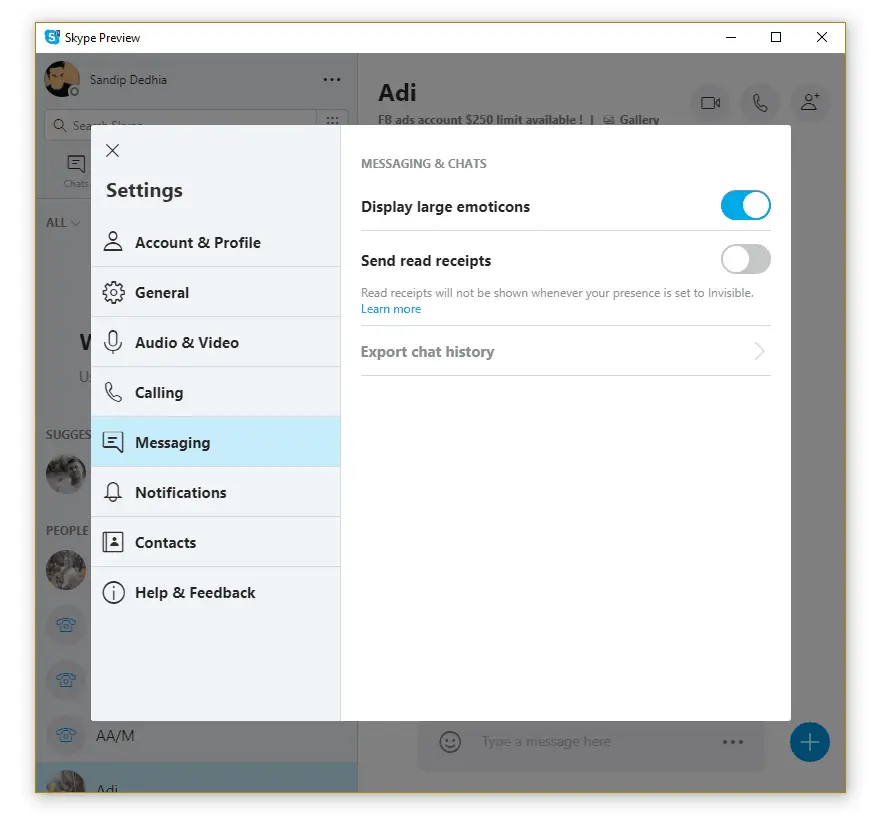
- Click on Messaging and then Export chat history
- On the next screen, Skype will ask you to select the skype account for which you want to export the history. Click on Next to proceed.
- Wait for skype to export the chat history, it may take time depending on how old your chat history is.
- The exported chat history will be saved in Skype-export folder under user folder as a .html file.

How to Uninstall Skype 8
- Press Win + I shortcut to open Windows Settings.

- Now go to Apps [Uninstall, default, optional features] section.
- Under Apps & features, type Skype in search this list.
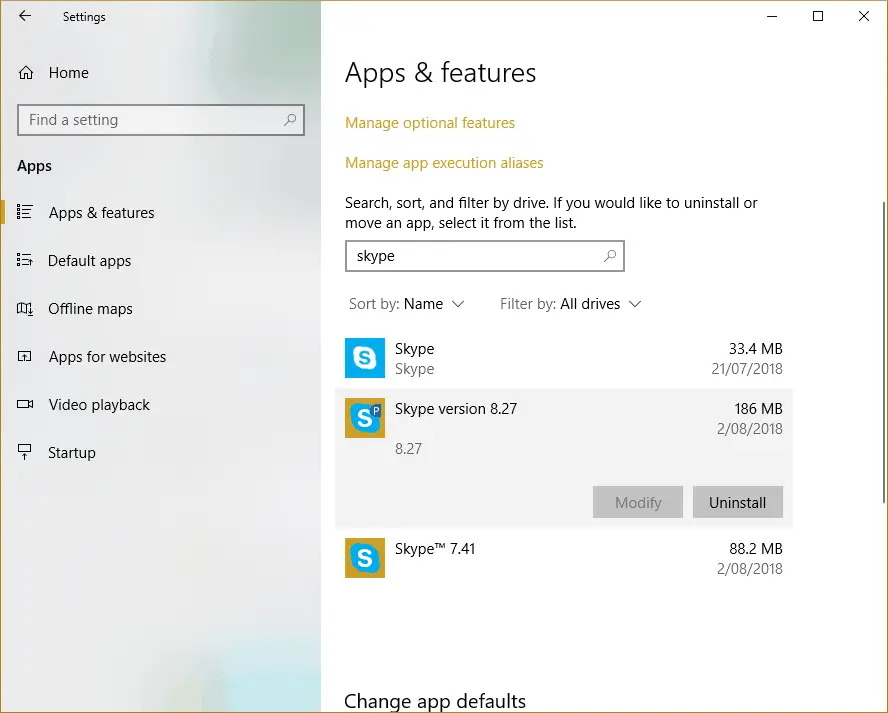
- Now click on Skype 8.x from the list and click on Uninstall.
That’s it; You have successfully uninstalled Skype 8 from your Windows.
How to Get Back Old Skype 7 Classic
- Use this link to download Skype 7 classic version [build 7.41 or 7.40]
- Double on click SkypeSetupFull.exe downloaded from above link to start the installer
- Click ‘yes’ to allow the app to make changes on UAC message window.
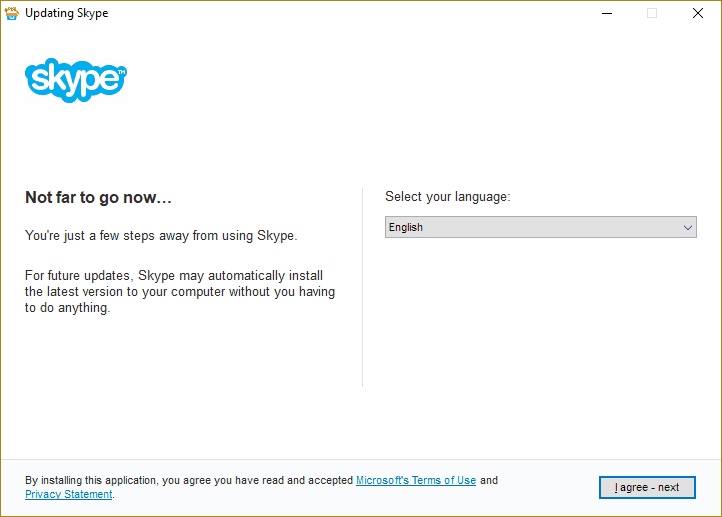
- Click on ‘I agree’ and on next screen make sure to uncheck make bing and MSN my homepage and click continue.
- Now, wait for the installer to finish the installations.
Now enjoy the Skype 7 Classic as long as you can.
Note: You can run Skype 7 Classic along with Skype 8. If you like to do that, then skip the steps to uninstall Skype 8 and simply download and install Skype 7 Classic.

